
## 1 mongdb.dll下载
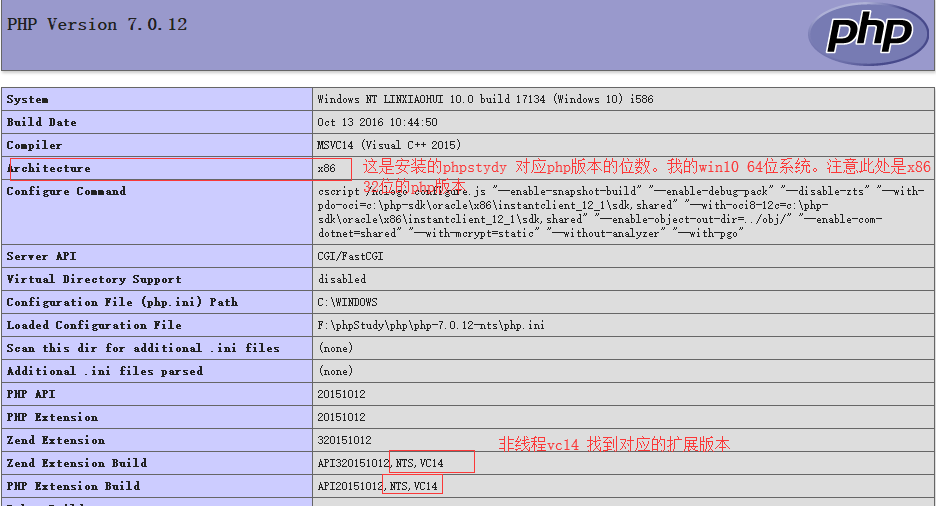
(1). 打开phpinfo 查看 nts(非线程) 还是 ts (线程),然后查看操作位数
注: 86 等于 32 位 ,和你的windows系统64 or 32位无关。比如我的:
(2). [链接](https://pecl.php.net/package/mongodb/1.2.9/windows)选择对应版本
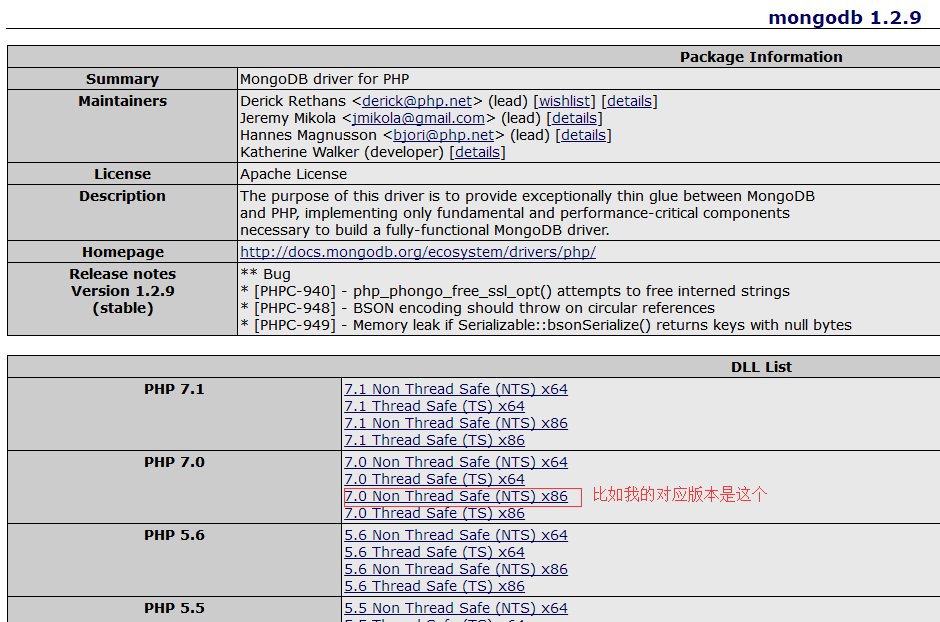
(3). 把文件解压出来 php\_mongodb.dll 文件复制到php安装目录下的 ext 目录下(我的是: F:\\phpStudy\\php\\php-7.0.12-nts\\ext)
打开php.ini 配置文件增加行 : extension=php_mongodb.dll
(4).重启,再打开phpinfo() 查看是否有mongodb扩展,出现下图则安装成功

## 2 配置并启动
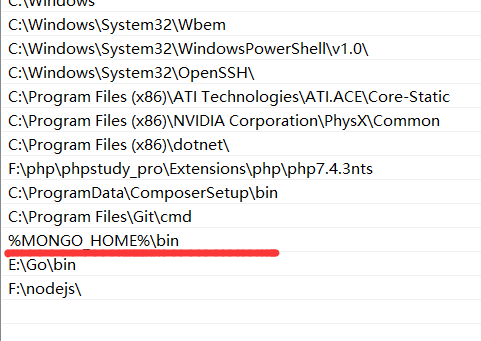
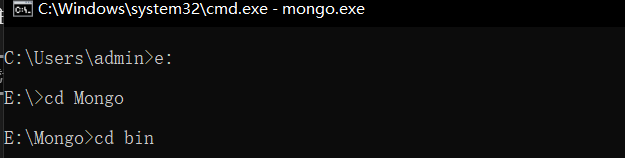
(1).配置环境变量到安装目录的bin下

(2).启动服务 mongod.exe
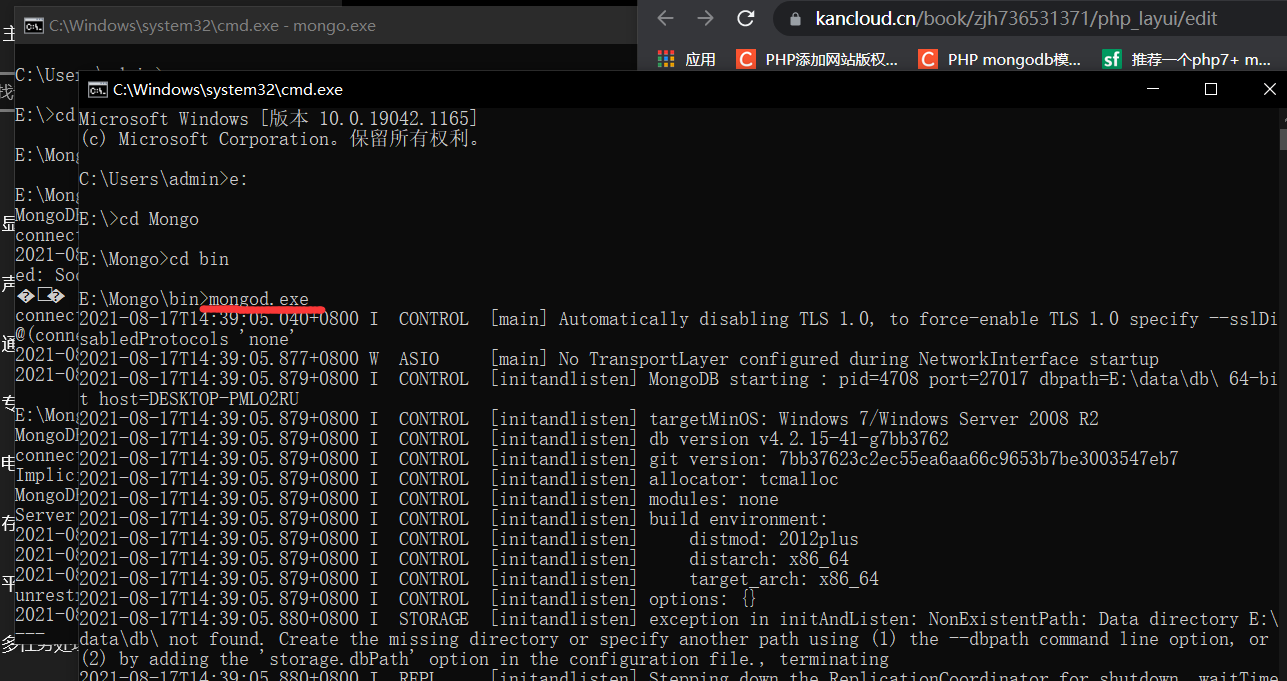
(3).启动客户端 mongo.exe
(4).开启php扩展

- 公共页面js
- 公共页面添加js
- 公共页面编辑js
- 公共页面列表js
- 文件上传方法
- 分类相关
- 获取ip
- Response类
- Curl类
- JWT
- tp5.1下redis的使用
- tp5.1使用RabbitMQ
- tp5.1+easywechat相关
- tp5.1+easywechat实现小程序登录
- uniapp页面
- tp控制器
- git相关操作
- php文件操作
- 大文件上传
- laravel队列
- 1.安装laravel并进行相关配置
- nginx反向代理解决微信公众号,小程序,微信支付域名限制,回调
- readme
- do
- 杂项
- cas单点登录
- tp6跨域(中间件不起作用版)
- php算法
- 冒泡排序
- knn算法
- 使用es
- 使用mongdb
- tp6+rabbirmq
- 一些问题
- php文件操作/文件操作的一些方法
- 客户端请求相关