## GitLab安装
* 关闭防火墙
```
[root@VM_0_11_centos ~]# systemctl stop firewalld
[root@VM_0_11_centos ~]# systemctl disable firewalld
```
* selinux禁用
```
vim /etc/sysconfig/selinux
```
修改成disabled
* 安装gitlab
```
curl -sS https://packages.gitlab.com/install/repositries/gitlab/gitlab-ce/script.rpm.sh | sudo bash
```
```
yum -y install gitlab-ce
```
* 配置ssl证书
```
#新建目录
[root@VM_0_11_centos ~]# mkdir -p /etc/gitlab/ssl
#目录中生成密钥文件
[root@VM_0_11_centos ~]# openssl genrsa -out /etc/gitlab/ssl/gitlab.example.com.key 2048
#利用生成的密钥生成证书请求文件
[root@VM_0_11_centos ~]# openssl -new -key /etc/gitlab/ssl/gitlab.example.com.key -out /etc/gitlab/ssl/gitlab.example.com.csr
```
```
#需要输入一些信息
Country Name (2 letter code) [XX]:cn
State or Province Name (full name) []:js
Locality Name (eg, city) [Default City]:nt
Organization Name (eg, company) [Default Company Ltd]:
Organizational Unit Name (eg, section) []:
Common Name (eg, your name or your server's hostname) []:gitlab.example.com
Email Address []:admin@example.com
Please enter the following 'extra' attributes
to be sent with your certificate request
A challenge password []:934158
An optional company name []:
```
> 请求证书
```
[root@VM_0_11_centos ~]# openssl x509 -req -days 1900 -in /etc/gitlab/ssl/gitlab.example.com.csr -signkey /etc/gitlab/ssl/gitlab.example.com.key -out /etc/gitlab/ssl/gitlab.example.com.crt
```
> 请求之后生成了crt文件

> 生成pem文件
```
[root@VM_0_11_centos ssl]# openssl dhparam -out /etc/gitlab/ssl/dhparams.pem 2048
```
* 修改权限
```
[root@VM_0_11_centos ssl]# chmod 600 *
```
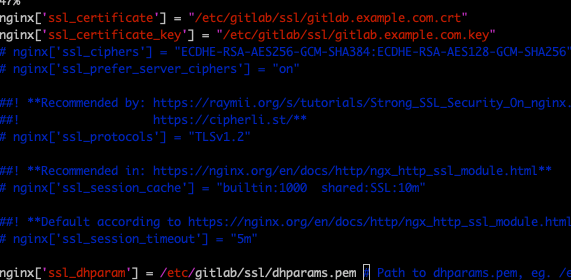
* 修改gitlab.rb配置
> 位于/etc/gitlab/gitlab.rb
```
#修改几处地方
external_url 'https://gitlab.example.com'
```

> 这几项暂时不打开注释
* 重新配置gitlab
```
gitlab-ctl reconfigure
```
> 然后要等好久,我一度认为卡死了。

* 修改gitlab-nginx代理
```
vi /var/opt/gitlab/nginx/conf/gitlab-http.conf
```
```
server {
listen *:80;
server_name gitlab.example.com;
#加上下面这句话
rewrite ^(.*)$ https://$host$1 permanent;
server_tokens off; ## Don't show the nginx version number, a security best practice
```
* 重启gitlab
```
[root@VM_0_11_centos ~]# gitlab-ctl restart
```
* 默认占据80端口,要改掉,我改成了8099
```
vi /var/opt/gitlab/nginx/conf/gitlab-http.conf
```
在以上文件中修改。
然后再次重启gitlab。
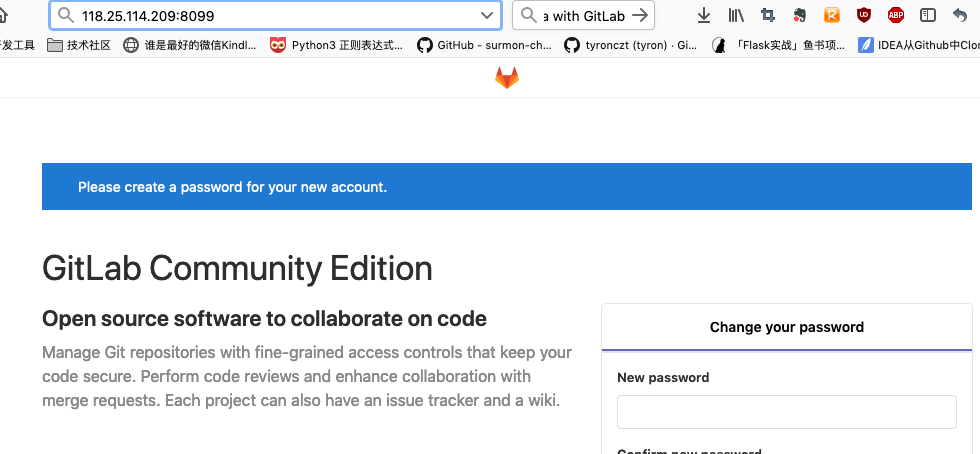
* 在本地浏览器访问gitlab

* 第一次需要设置新密码,目前是934158qq。
* 然后使用root用户进入

* 创建仓库克隆到本地
```
git -c http.sslVerify=false clone https://gitlab.example.com/root/test-repo.git
```
> 这里用的https的方式。
* 会要输入用户名和密码。
```
Username for 'https://gitlab.example.com': root
Password for 'https://root@gitlab.example.com':
warning: You appear to have cloned an empty repository.
wangyijiadeMacBook-Air:Projects bizzbee$
```
* 最后提交push的时候也需要用如下:
```
wangyijiadeMacBook-Air:test-repo bizzbee$ git -c http.sslVerify=false push origin master
Enumerating objects: 3, done.
Counting objects: 100% (3/3), done.
Writing objects: 100% (3/3), 217 bytes | 217.00 KiB/s, done.
Total 3 (delta 0), reused 0 (delta 0)
To https://gitlab.example.com/root/test-repo.git
* [new branch] master -> master
```
