* 第一步需要写一个配置文件,可以复制官网的example
~~~
# example.conf: A single-node Flume configuration
# Name the components on this agent
a1.sources = r1
a1.sinks = k1
a1.channels = c1
# Describe/configure the source
a1.sources.r1.type = netcat
a1.sources.r1.bind = localhost
a1.sources.r1.port = 44444
# Describe the sink
a1.sinks.k1.type = logger
# Use a channel which buffers events in memory
a1.channels.c1.type = memory
# a1.channels.c1.capacity = 1000
# a1.channels.c1.transactionCapacity = 100
# Bind the source and sink to the channel
a1.sources.r1.channels = c1
a1.sinks.k1.channel = c1
~~~
* 以上配置写入example.conf文件,放到flume的conf文件夹下。
* 然后启动flume
```
[bizzbee@spark conf]$ flume-ng agent --name a1 --conf $FLUME_HOME/conf --conf-file $FLUME_HOME/conf/example.conf -Dflume.root.logger=INFO,console
```

* 因为启动flume监听本机44444端口,所以用telnet进行测试,要安装下telnet。
[centos安装telnet服务](https://www.cnblogs.com/ermao0423/p/9510604.html)
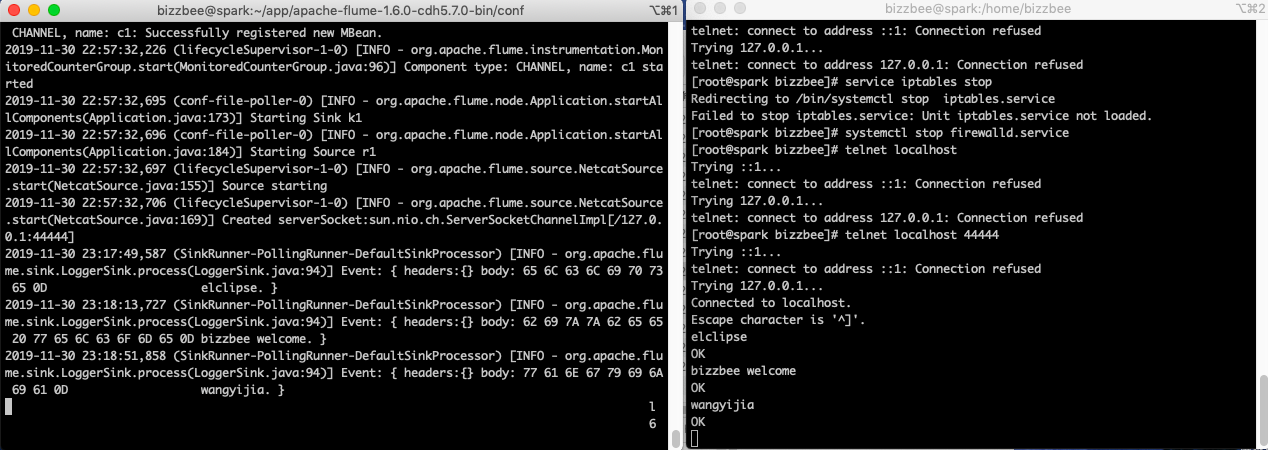
* 然后另开一个终端,向44444端口输出。
```
[root@spark bizzbee]# telnet localhost 44444
Trying ::1...
telnet: connect to address ::1: Connection refused
Trying 127.0.0.1...
Connected to localhost.
Escape character is '^]'.
elclipse
OK
bizzbee welcome
OK
wangyijia
OK
```
* flume会打出event,其中有收到的信息
```
2019-11-30 23:18:51,858 (SinkRunner-PollingRunner-DefaultSinkProcessor) [INFO - org.apache.flume.sink.LoggerSink.process(LoggerSink.java:94)] Event: { headers:{} body: 77 61 6E 67 79 69 6A 69 61 0D wangyijia. }
```

