## **1. 源码下载**
### **(1) 官网下载**
点击 [官网下载地址](https://store.hiphp.net/download),下载最新版安装即可
#
### **(2) git安装**
```
[码云] https://gitee.com/qimo2020/hiphp.git
[github] https://github.com/qimo2020/hiphp.git
```
#
#### 注意: 安装前必须配置好伪静态,相关配置方法请跳到 [伪静态配置方法](https://www.kancloud.cn/ppyy321/hiphp-dev/1483839)
#
#
#
## **2. 安装教程**
官网下载解压后得到 uploads文件夹,打开后如下图

更改 “uploads” 为你的项目名,上传到web服务器,**注意**:记得设置项目目录权限!
#
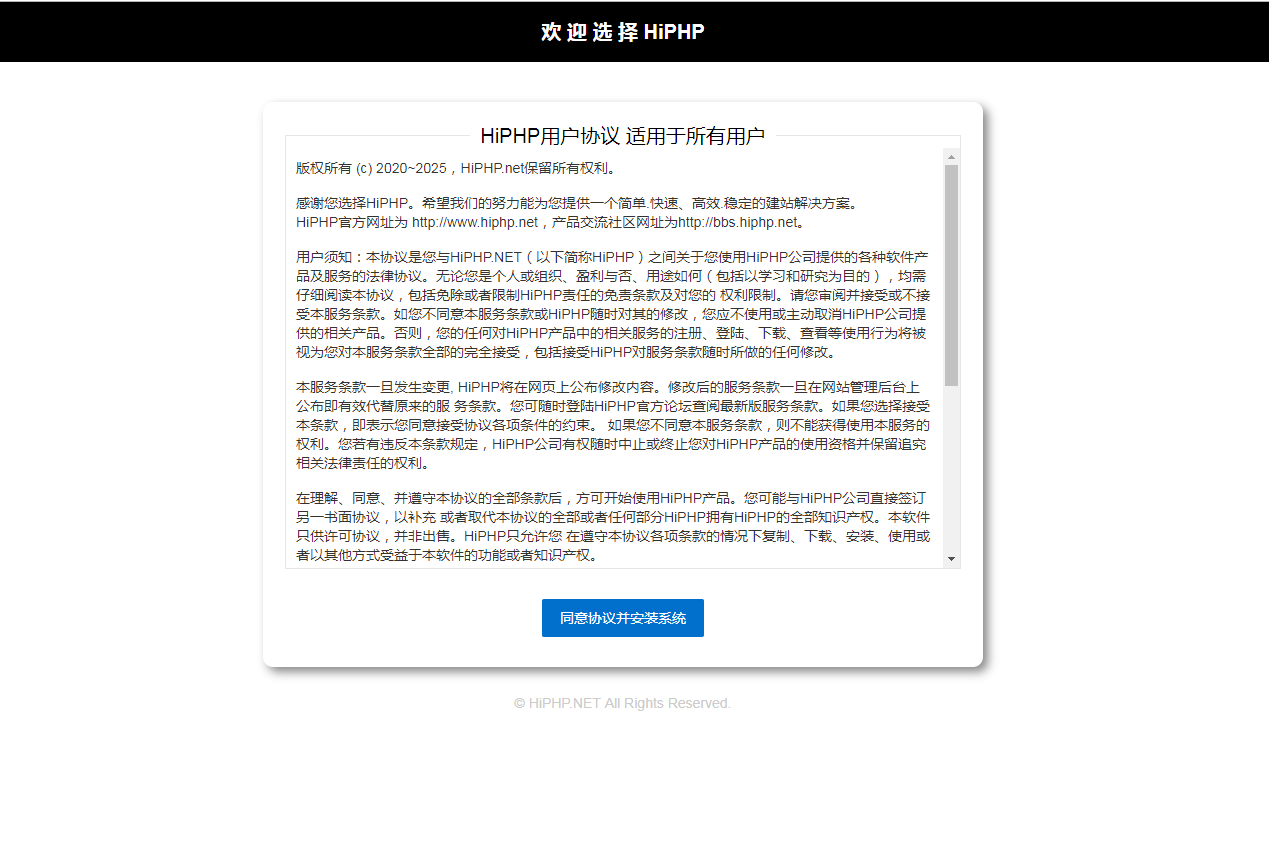
### 第一步
### 第二步
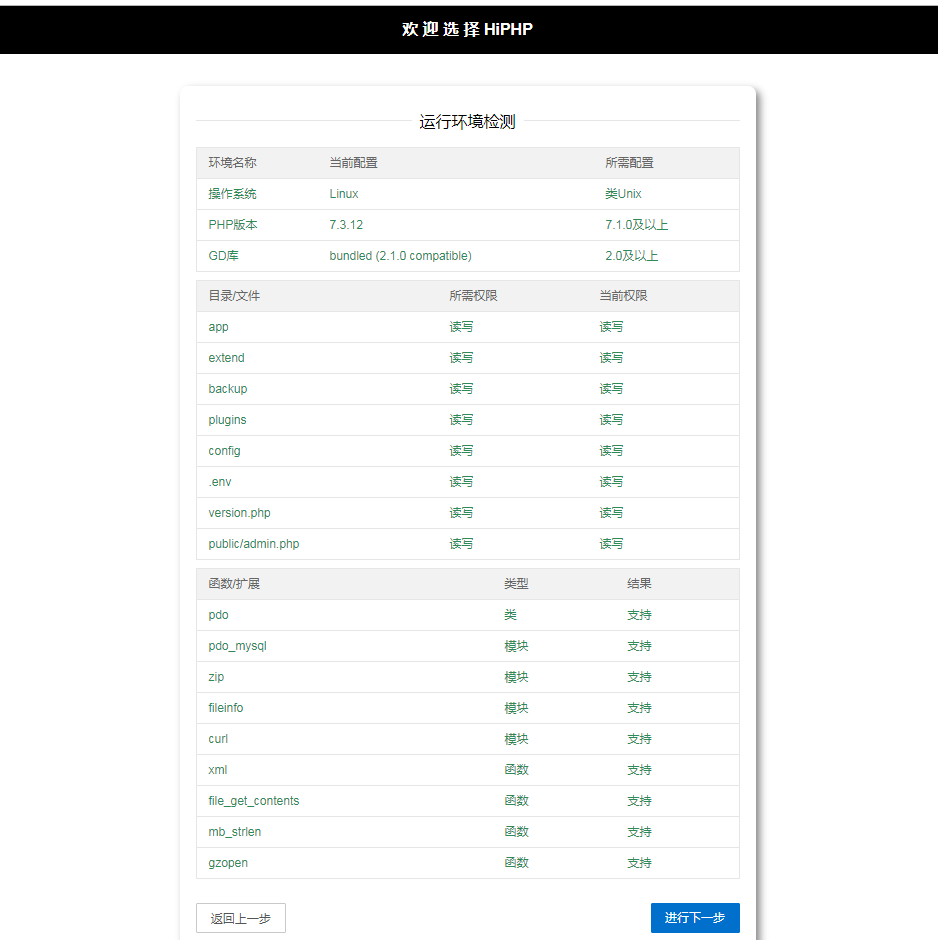
确保目录和文件有读写权限;
### 第三步
填入需要的信息后,点击测试 “测试数据链接”;

### 最后安装成功

#
#
## **3. 服务端配置**
### 1. 安装扩展
(1) 安装 php 的 fileinfo 扩展
举例如宝塔里: 软件商店 -> php7.x -> 安装扩展 -> fileinfo
