先将所有代码给大家看一下,避免学习过程出错找不到问题。
admin/src/views/CategoryList.vue:
```
<template>
<div>
<h1>分类列表</h1>
<el-table :data="items">
<el-table-column prop="_id" label="ID" width="220">
</el-table-column>
<el-table-column prop="name" label="分类名称">
</el-table-column>
<el-table-column
fixed="right"
label="操作"
width="100">
<template slot-scope="scope">
<el-button type="text" size="small" @click="$router.push('/categories/edit/' + scope.row._id)">编辑</el-button>
<el-button @click="remove(scope.row)" type="text" size="small">删除</el-button>
</template>
</el-table-column>
</el-table>
</div>
</template>
<script>
export default {
data() {
return {
items: []
}
},
methods: {
async fetch(){
const res = await this.$http.get('categories')
this.items = res.data
},
remove(row){
this.$confirm('是否确定要删除分类"' + row.name + '"?', '提示', {
confirmButtonText: '确定',
cancelButtonText: '取消',
type: 'warning'
}).then(async () => {
// 要想使用await,函数必须使用async
// await异步执行,待调用接口获取数据完成后再将值传给res,进行下一步操作
const res = await this.$http.delete('categories/' + row._id)
this.$message({
type: 'success',
message: '删除成功!'
});
if(res.status == 200){
// 接口调用成功后,刷新页面
this.fetch()
}
}).catch(() => {
this.$message({
type: 'info',
message: '已取消删除'
});
});
}
},
created() {
this.fetch()
}
}
</script>
```
server/routes/admin/index.js:
```
module.exports = app => {
// 要想使用express,该文件就需要引入express
const express = require('express')
// 定义路由方法,将我们定义的路由挂载到express
const router = express.Router()
// 引入Category模型
const Category = require('../../models/Category')
// router挂载post方法,因为表单传值时用的就是post传值
// 接口地址是categories,接收的是分类功能(创建分类、修改分类、查询分类列表)的操作
// 之后其他功能实现与此模板相同,与此功能平级
// 上传数据(增)
router.post('/categories', async(req, res) => {
// 在里边放该接口的具体操作,所有操作同级放置
// 数据来源是接受到的req中的body
// 为避免阻塞,要用异步操作,故加入await
const model = await Category.create(req.body)
// 接收返回值
res.send(model)
})
// 查询数据(查)
router.get('/categories', async(req, res) => {
const items = await Category.find().limit(10)
res.send(items)
})
// 根据id查询数据(查)
router.get('/categories/:id', async(req, res) => {
const model = await Category.findById(req.params.id)
res.send(model)
})
// 编辑数据(改)
router.put('/categories/:id', async(req, res) => {
const model = await Category.findByIdAndUpdate(req.params.id, req.body)
res.send(model)
})
// 删除数据(删)
router.delete('/categories/:id', async(req, res) => {
// 不需要返回值
await Category.findByIdAndDelete(req.params.id, req.body)
// 只发送一个bool值,表明删除成功
res.send({
success: true
})
})
// 定义“admin/api”路由方法,挂载存入到router
app.use('/admin/api', router)
}
```
1.创建list页面组件。
vue.js不同于以往html\css的开发方式,全程以组件为主体进行视觉呈现,其中.vue文件就是vue的单文件组件,开发方式就是包装组件,然后将已开发的子组件引入父级组件中,从而进行进一步操作。现我们基本都会用前端框架进行视觉的呈现,很少用到css,其中css不可在vue组件中使用,后期我们需要的时候可能会用到.less文件,大家需要的话可以学习一下.less相关的引入方法。
进入正题:
(1)创建CategoryList.vue组件
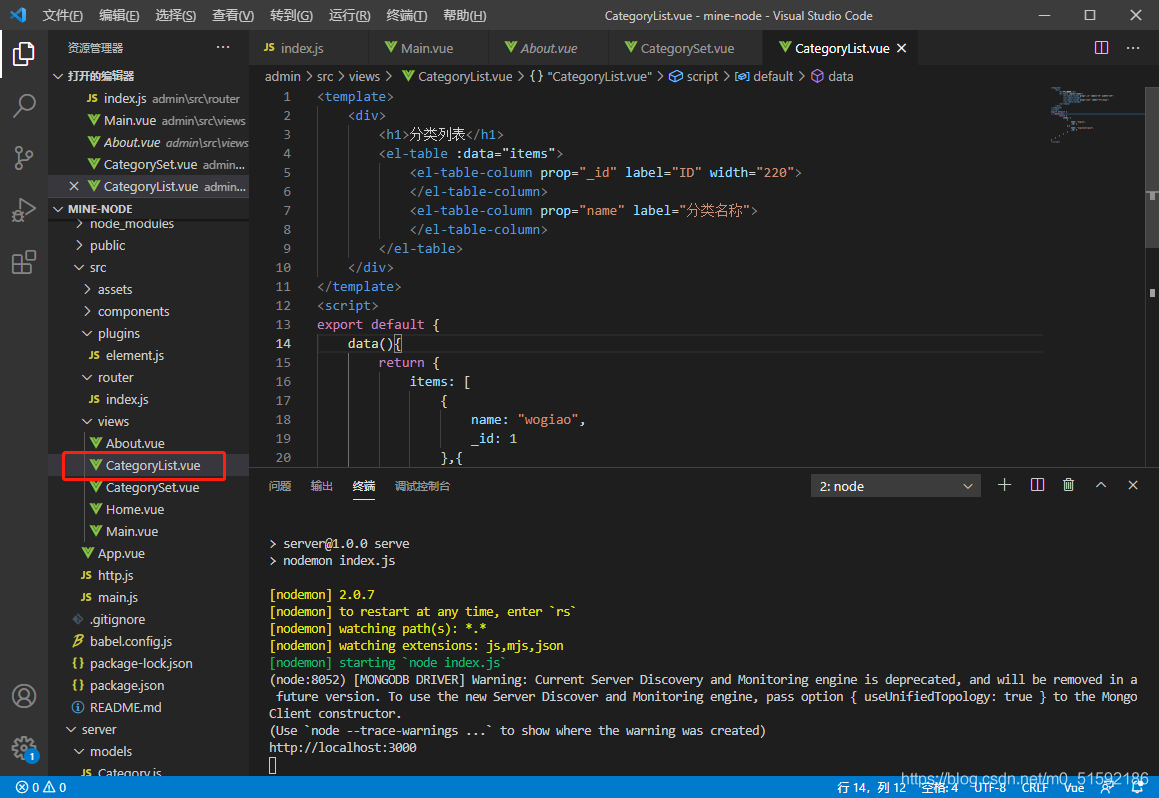
```
<template>
<div>
<h1>分类列表</h1>
<el-table :data="items">
<el-table-column prop="_id" label="ID" width="220">
</el-table-column>
<el-table-column prop="name" label="分类名称">
</el-table-column>
</el-table>
</div>
</template>
<script>
export default {
data(){
return {
items: [
{
name: "wogiao",
_id: 1
},{
name: "yigiaowoligiao",
_id: 2
}
]
}
}
}
</script>
```
(2)在路由中引入
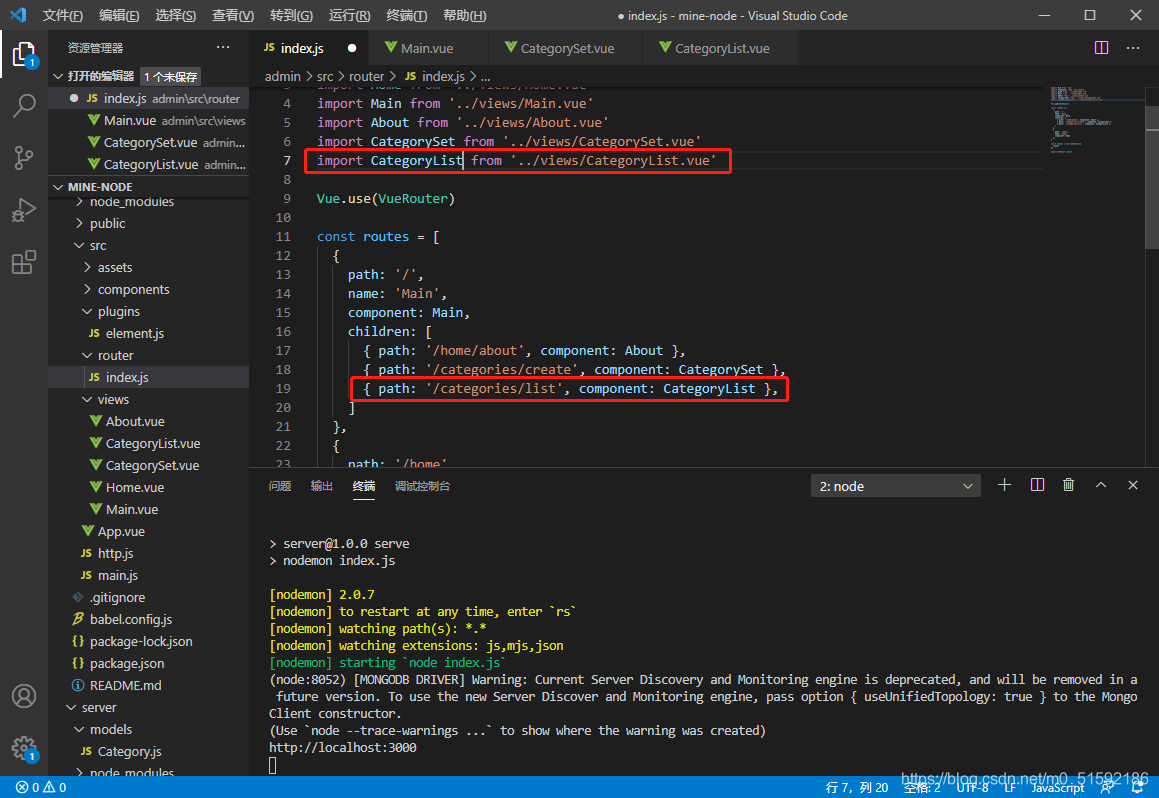
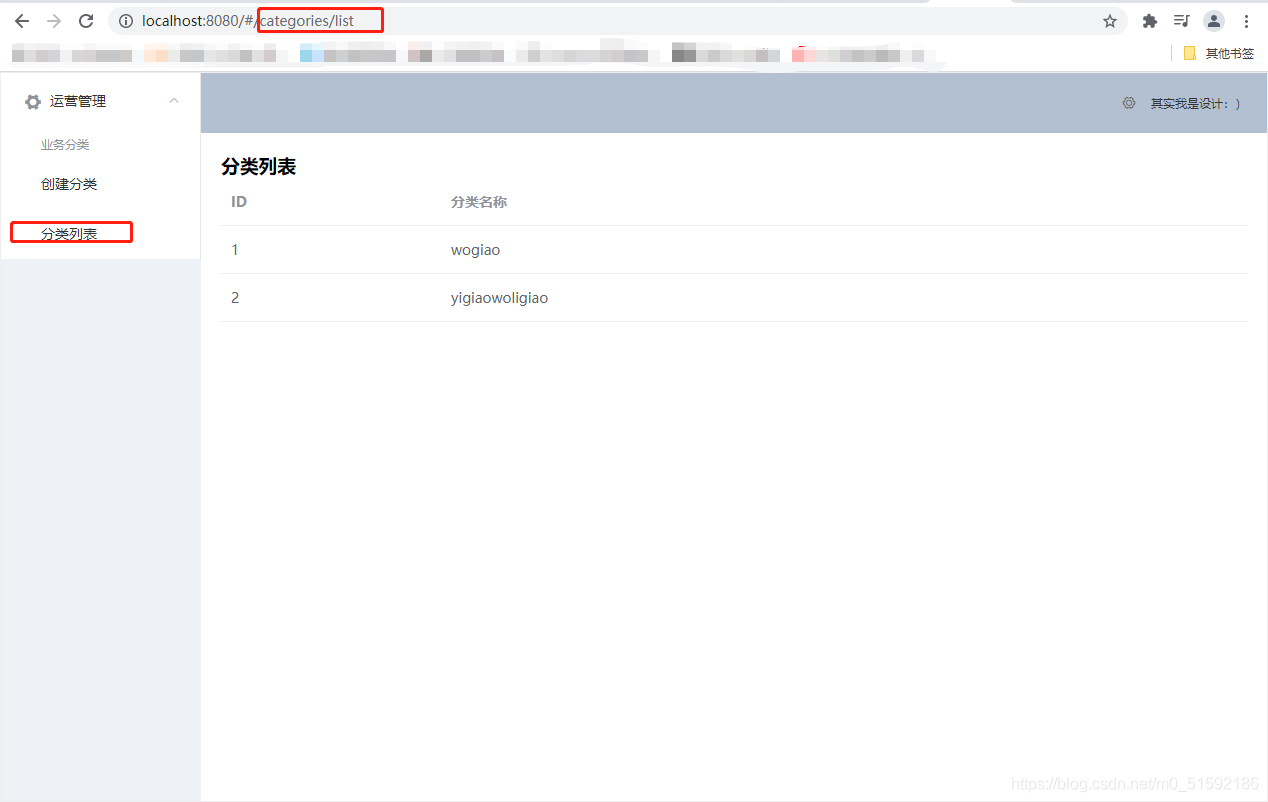
此时就可以在页面中进入页面了。
```
```
2.创建接口-删改查
进入服务器端
```
cd server
```
```
npm run serve
```
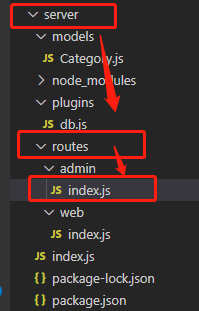
找到服务端admin路由主文件
(1)查询数据
上篇文章的上传数据接口就是“增”,在下方并列写下“查”的方法接口:
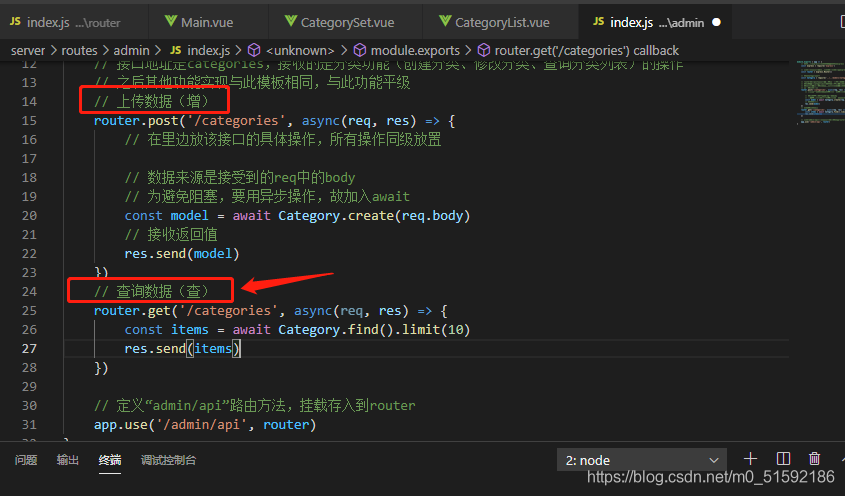
```
// 查询数据(查)
router.get('/categories', async(req, res) => {
const items = await Category.find().limit(10)
res.send(items)
})
```
(2)根据id查询数据(查)
```
// 根据id查询数据(查)
router.get('/categories/:id', async(req, res) => {
const model= await Category.findById(req.params.id)
res.send(model)
})
```
(3)编辑数据-改
```
// 编辑数据(改)
router.put('/categories/:id', async(req, res) => {
const model = await Category.findByIdAndUpdate(req.params.id, req.body)
res.send(model)
})
```
(4)删除数据-删
```
// 删除数据(删)
router.delete('/categories/:id', async(req, res) => {
// 不需要返回值
await Category.findByIdAndDelete(req.params.id, req.body)
// 只发送一个bool值,表明删除成功
res.send({
success: true
})
})
```
3.调用接口
(1)呈现数据到页面-使用查询接口
回到CategoryList.vue组件中,删除items原始数据的内容,添加方法fetch(),且使用初始化钩子函数created方法调用。
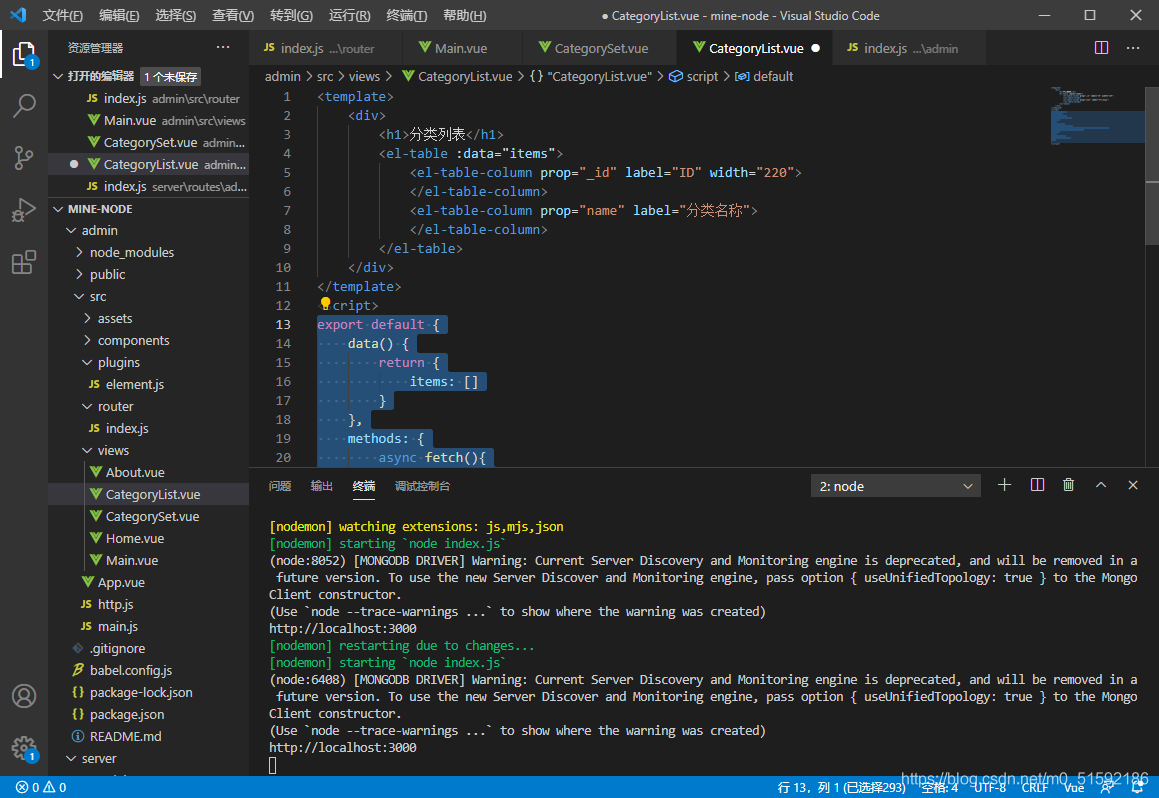
```
export default {
data() {
return {
items: []
}
},
methods: {
async fetch(){
const res = await this.$http.get('categories')
this.items = res.data
}
},
created() {
this.fetch()
}
}
```
保存代码后,页面数据就改变了,打开网站开发面板检查调用数据,发现接口调用没问题。
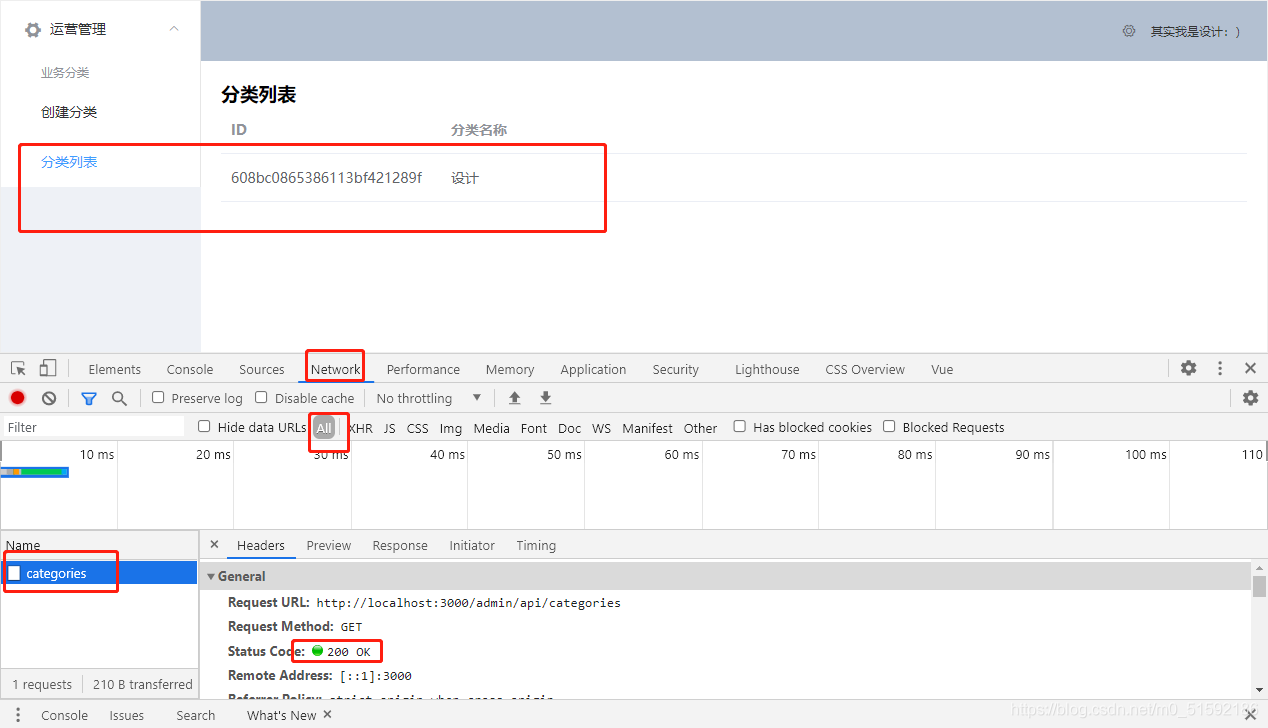
回到创建分类页面再次添加一个分类,测试:


没问题,到此查询功能实现。
(2)显示编辑前数据-根据id查询接口(查)
在elementUI官网找到表格的按钮代码:
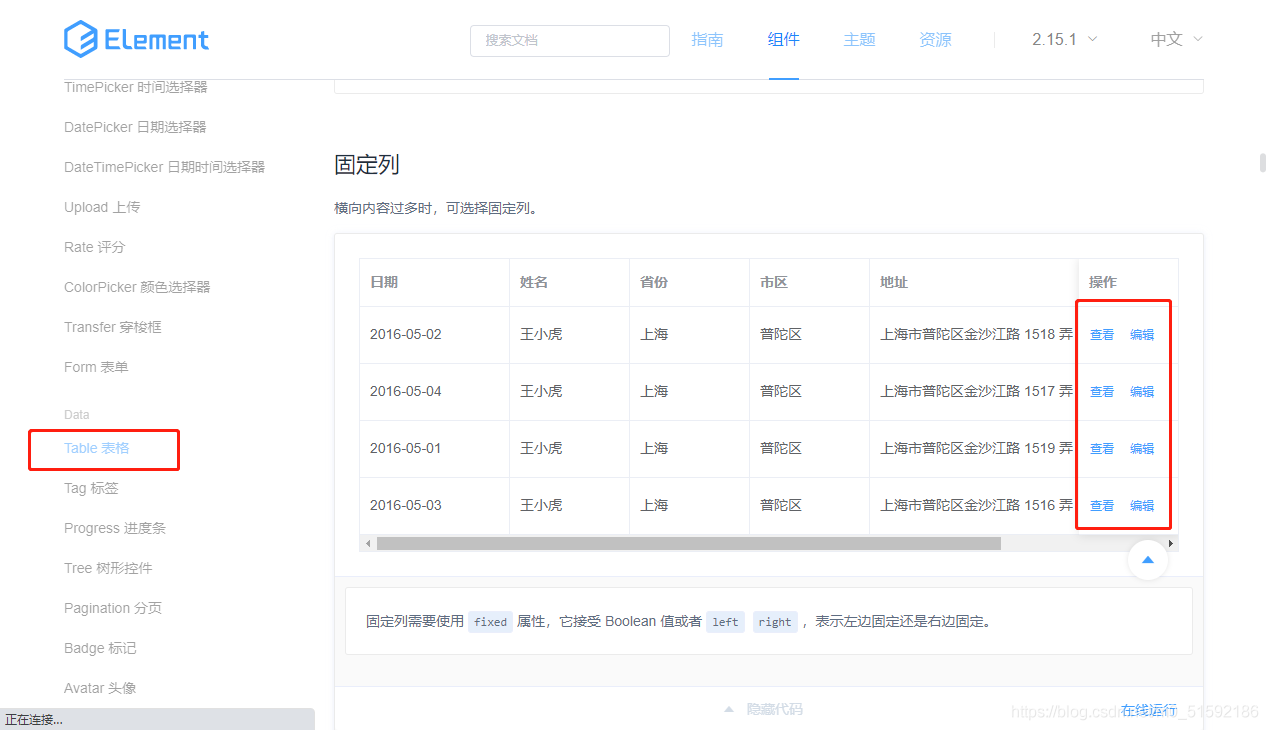
```
<el-table-column
fixed="right"
label="操作"
width="100">
<template slot-scope="scope">
<el-button @click="handleClick(scope.row)" type="text" size="small">查看</el-button>
<el-button type="text" size="small">编辑</el-button>
</template>
</el-table-column>
```
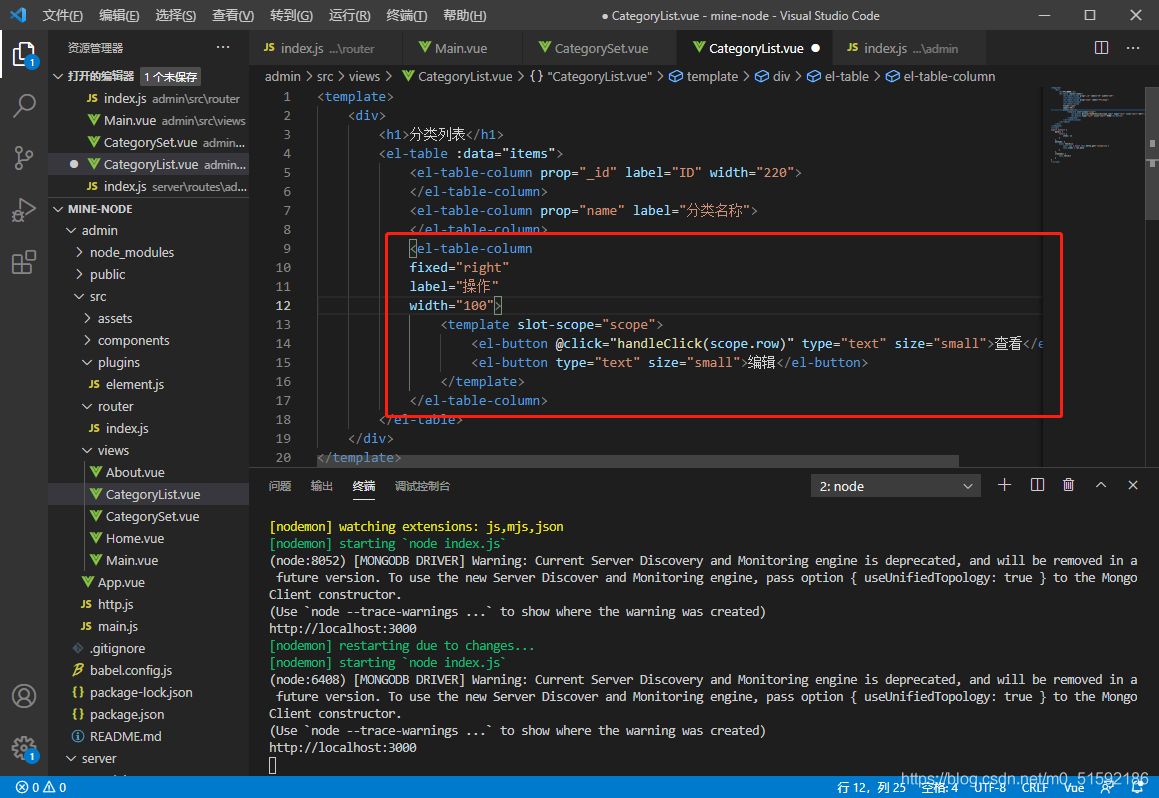
修改编辑按钮,添加@click方法,传入这个按钮所在行的id:
```
<el-button type="text" size="small" @click="$router.push('/categories/edit/' + scope.row._id)">编辑</el-button>
```
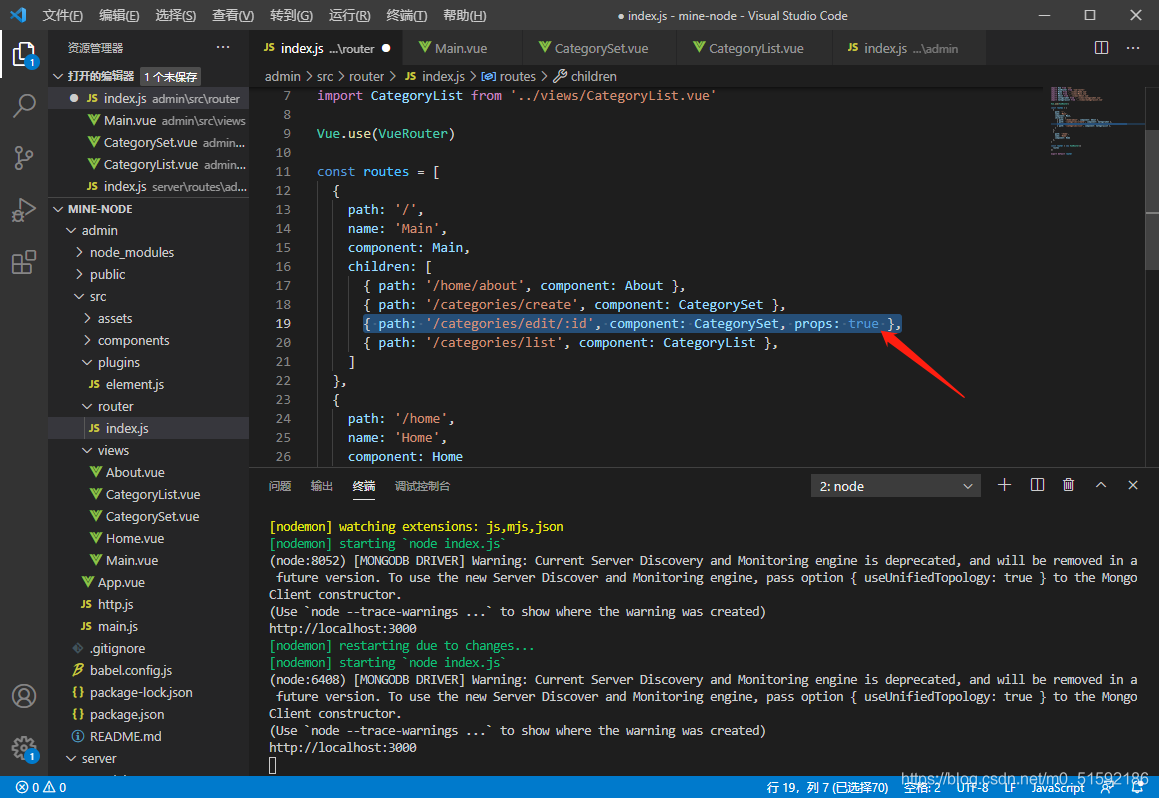
在服务器端路由admin添加接口的路径信息,由于修改分类的页面与添加分类页面相同,所以让edit修改页面地址指向同一个.vue组件CategorySet.vue。
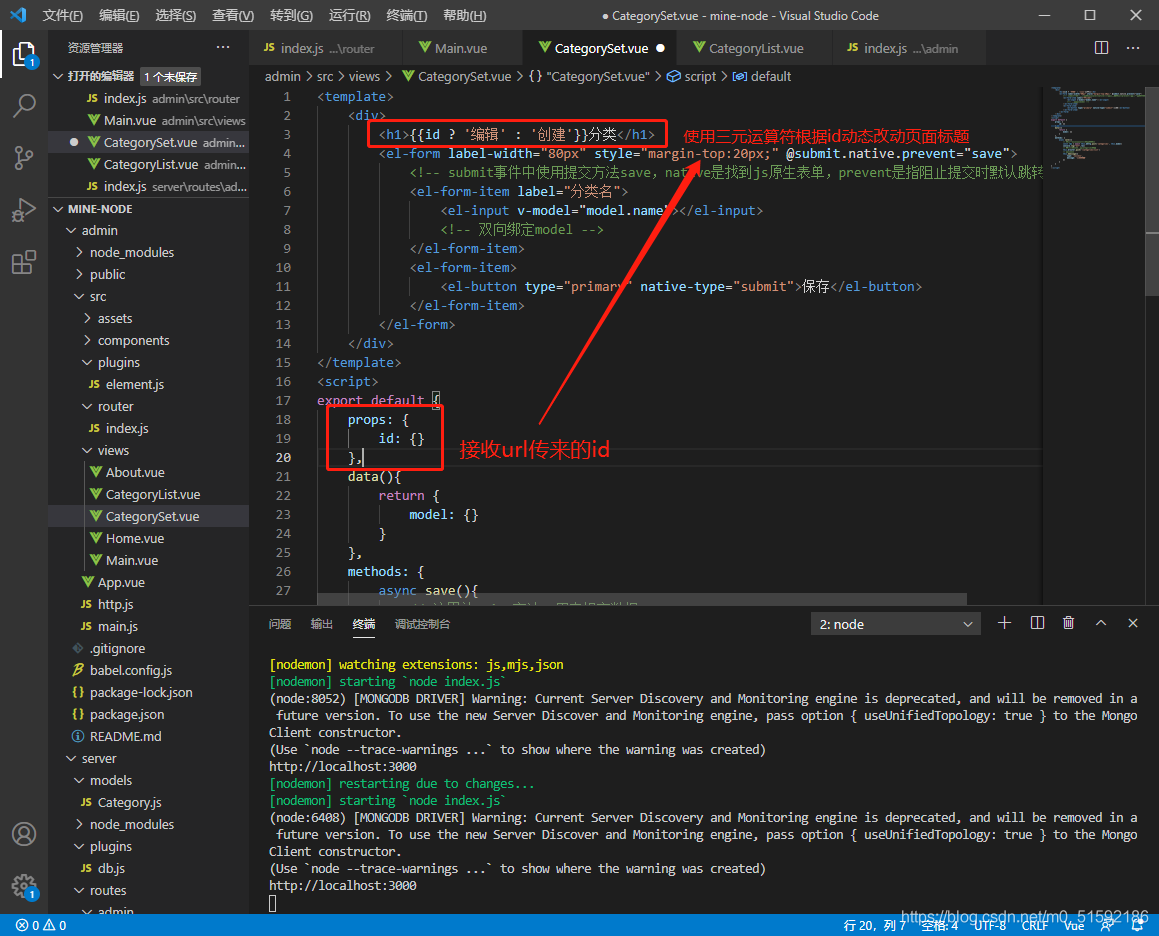
同时最后要加一个props,指将链接传入的url参数值传入页面内,可以在页面内使用我们传入的id。
同时,页面内要接收传来的id,在CategorySet.vue作改动:
点击按钮跳转:
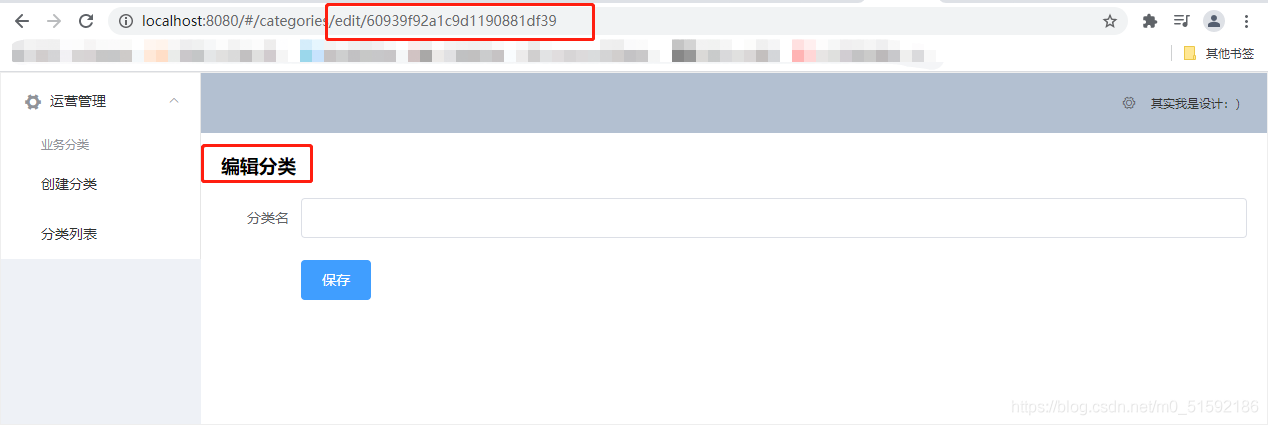
进入编辑页面后,根据id查询修改前的分类名,所以我们要调用根据id查询的查询接口,改动CategorySet.vue:
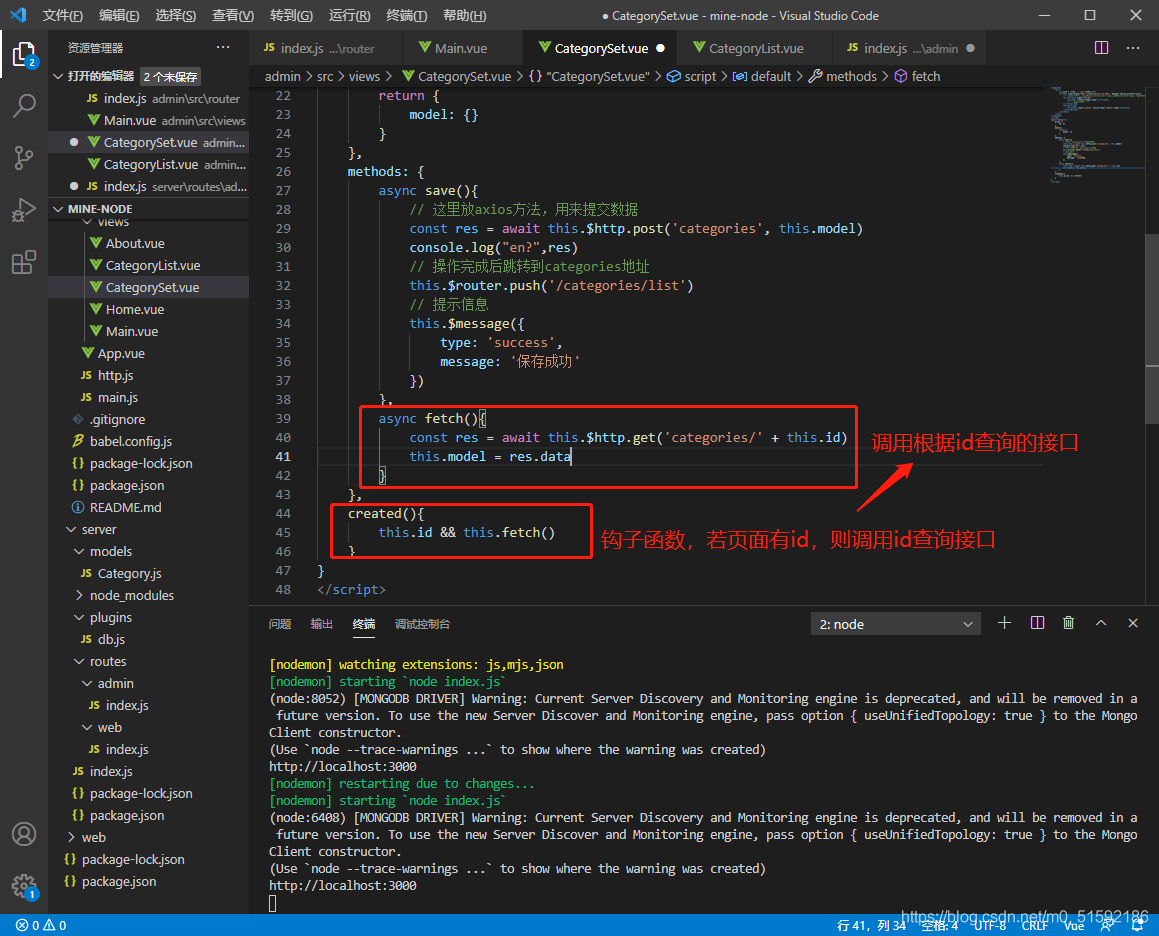
这样,页面原值就出现了:

(3)使用编辑接口(改)
改动原save()方法,如果页面有id(编辑分类)则修改数据,若没有id(新建分类)则创建数据。
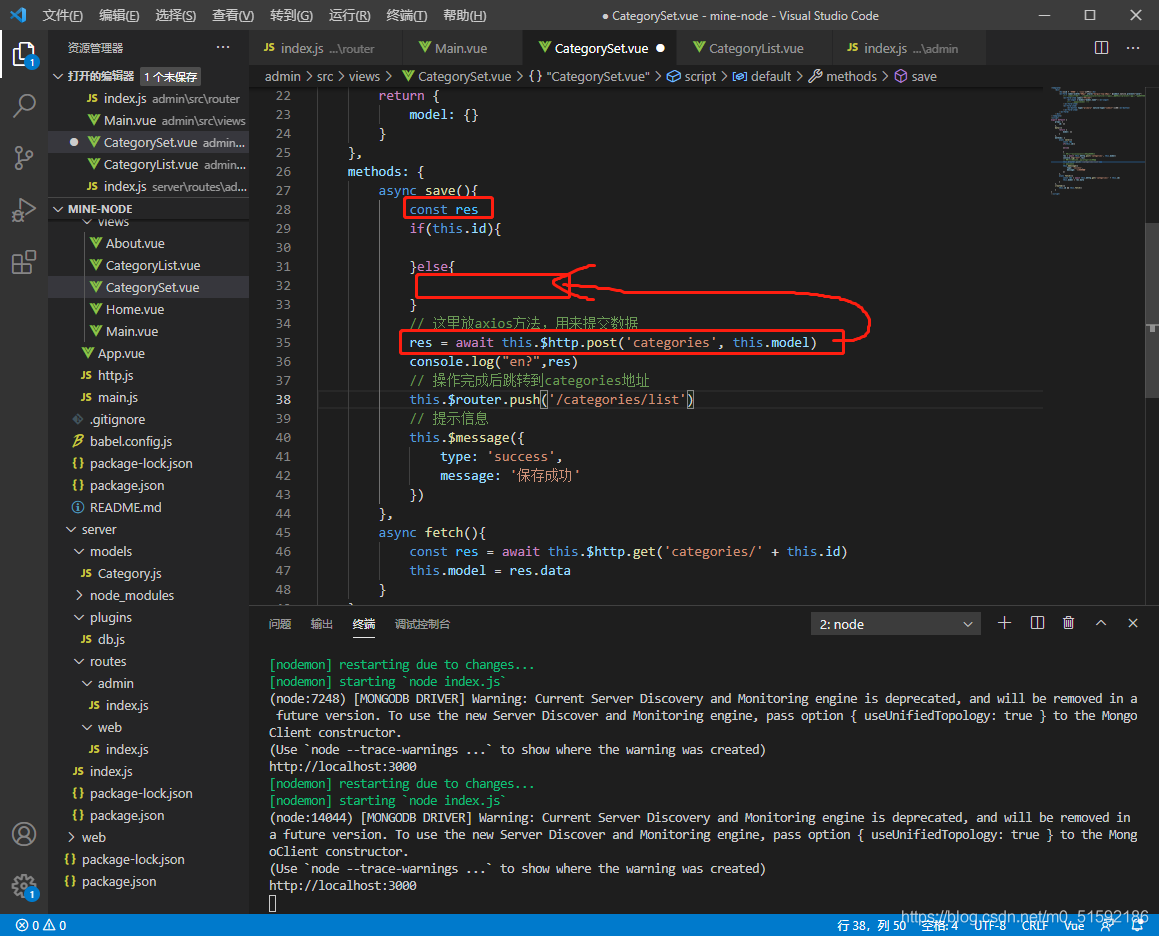
改动后save()方法:
```
async save(){
const res
if(this.id){
// 传id值,表明修改哪一条数据
res = await this.$http.put('categories/' + this.id, this.model)
}else{
// 这里放axios方法,用来提交数据
res = await this.$http.post('categories', this.model)
}
// 操作完成后跳转到categories地址
this.$router.push('/categories/list')
// 提示信息
this.$message({
type: 'success',
message: '保存成功'
})
},
```
测试一下,没问题:

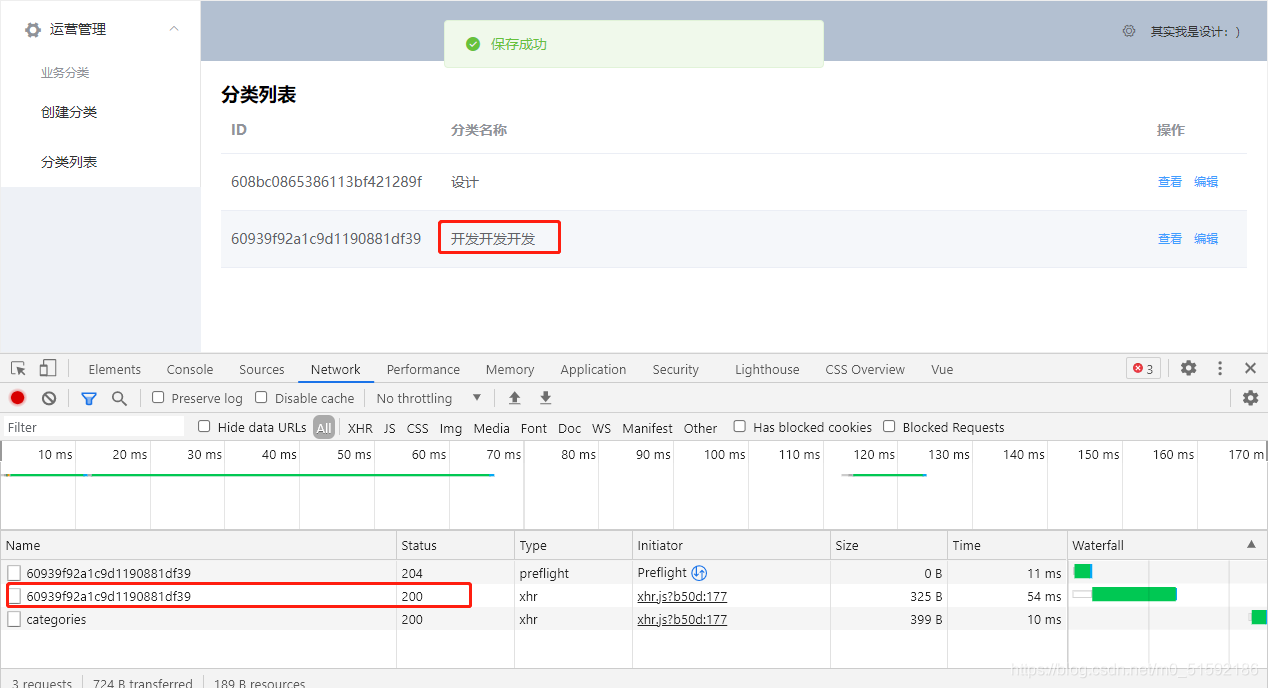
(4)使用删除接口(删)
首先,将“查看”按钮改成“删除”按钮,由于我们多数制作删除按钮是要注意避免误删,所以在点击删除应该多一步是否确认删除该条分类。因此与编辑保存后直接跳转接口不同,在这里要点击后跳转remove()方法,将整行信息传到方法中。
```
<el-button @click="remove(scope.row)" type="text" size="small">删除</el-button>
```
然后,在methods中编写remove()方法,在elementUI中找到messageBox弹框,使用其中的确认消息。
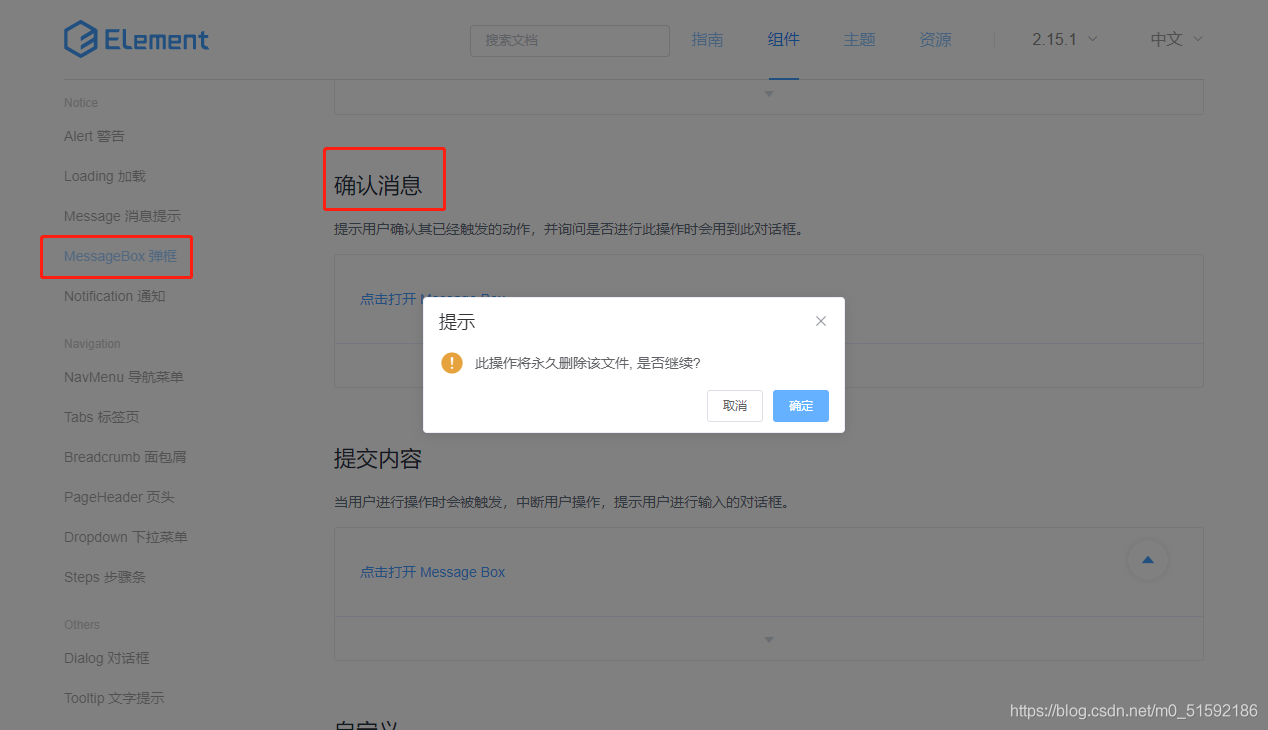
```
remove(row){
this.$confirm('是否确定要删除分类"' + row.name + '"?', '提示', {
confirmButtonText: '确定',
cancelButtonText: '取消',
type: 'warning'
}).then(async () => {
// 要想使用await,函数必须使用async
// await异步执行,待调用接口获取数据完成后再将值传给res,进行下一步操作
const res = await this.$http.delete('categories/' + row._id)
this.$message({
type: 'success',
message: '删除成功!'
});
if(res.status == 200){
// 接口调用成功后,刷新页面
this.fetch()
}
}).catch(() => {
this.$message({
type: 'info',
message: '已取消删除'
});
});
}
```
测试该功能:


没问题。
4.路由页面的跳转
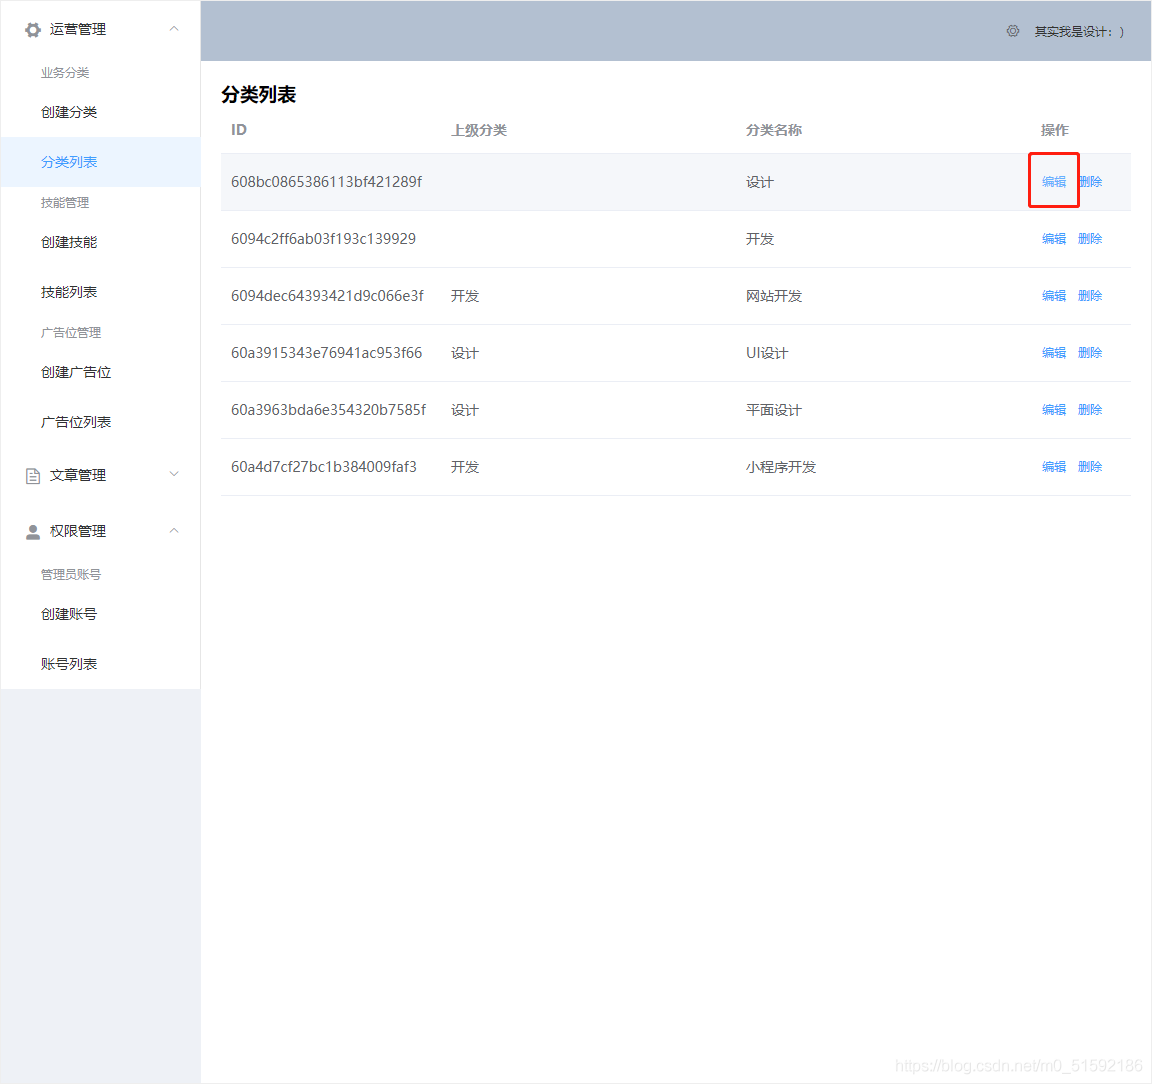
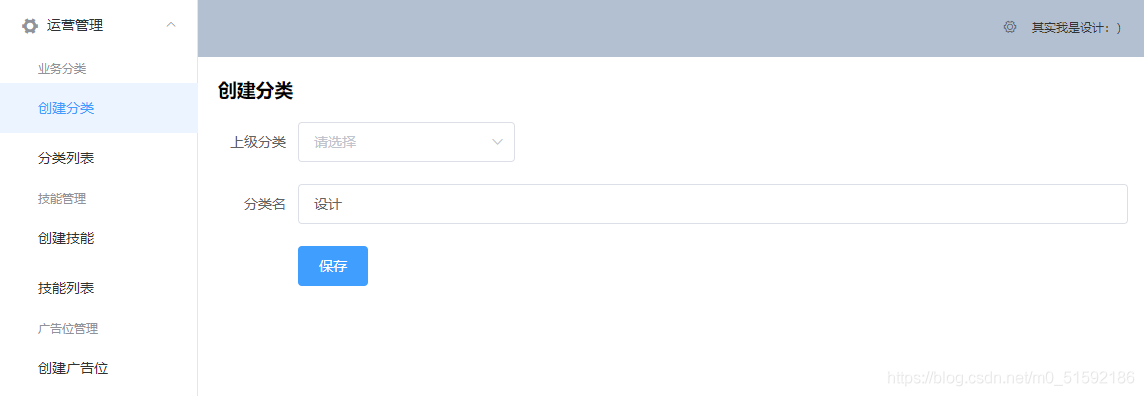
如果我们编辑某一个分类,进入页面后进入新建分类页面,页面中的数据依然是之前编辑的页面:
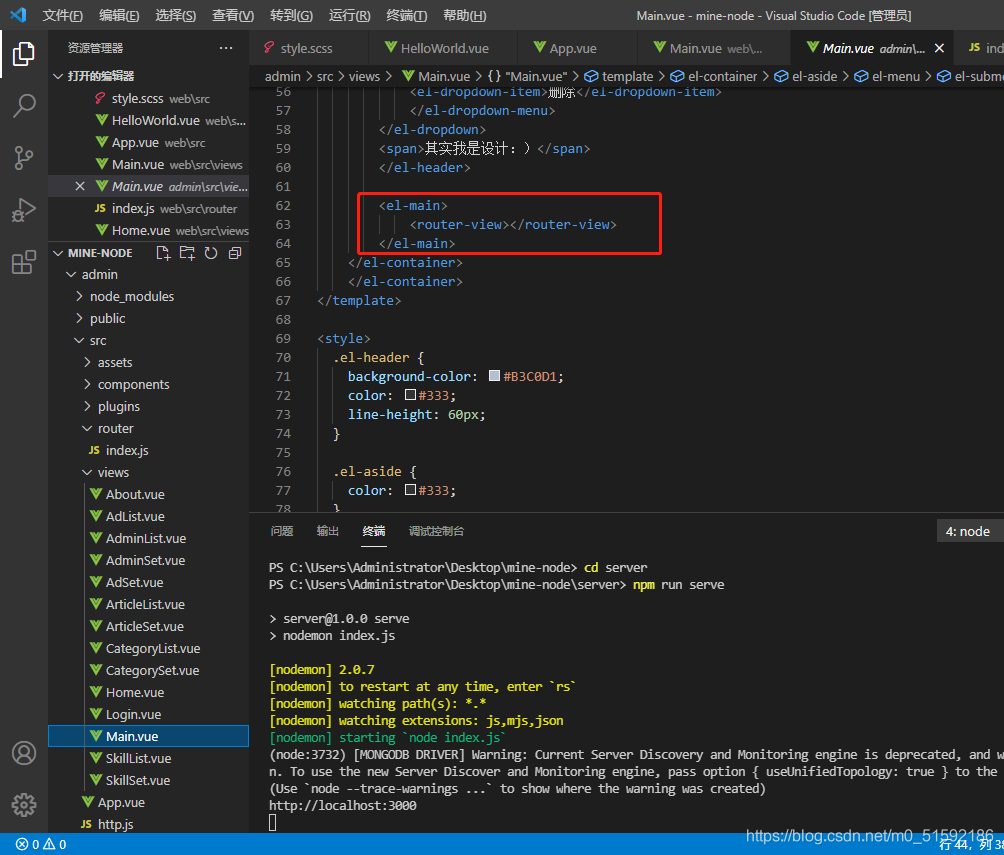
这是因为页面的路由是以组件来区分的:
由于修改和新建分类使用的是同一个页面,所以我们不可以使用组件来区分,应该用路由地址区分:
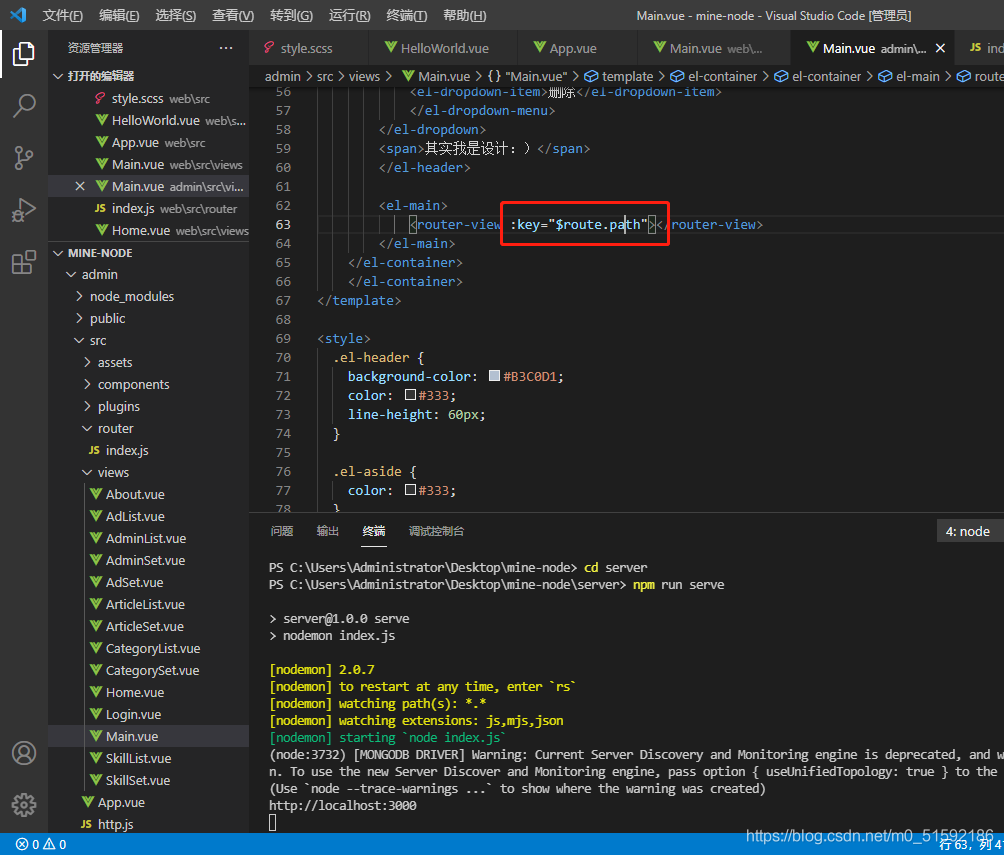
此时问题得以解决。
5.总结
到此,mongodb的增删改查都学习完了。所有功能都可以照此相关接口完成,可以一步步制作我们的动态网站了。但是分类是一个网站内容的起始、根源,一切内容都以分类为进一步扩展。下篇文章我们学习mongodb的强大功能之一子分类,即分类的关联(绑定)。
- tp6+vue
- 1.工具和本地环境
- 2.启动项目
- 3.路由、模型与数据库操作
- 4.优化后端接口,前端使用axios实现接口功能
- 5.用户登录,bcrypt(hash)加密与验证
- 6.用户登录(二),token验证
- 7.分类的模型关联和通用CRUD接口
- 8.使用vue的markdown编辑器并批量上传图片
- Node.js + Vue.js
- 工具,本地环境
- 2.1启动项目
- 3.element-ui和vue-router路由的安装和使用
- 4.使用axios,并创建接口上传数据到mongodb数据库
- 5.mongoodb数据库的“删、改、查”操作
- 6.mongodb数据库无限层级的数据关联(子分类)
- 7.使用mongodb数据库关联多个分类(关联多个数据)
- 8.server端使用通用CRUD接口
- 9.图片上传
- 10.vue的富文本编辑器(vue2-editor)
- 11.动态添加分栏上传多组数据
- 12-1.管理员模块
- 13-1.搭建前台web端页面
- 1.使用sass工具搭建前台web端页面
- 2.sass工具的变量
- 3.使用flex布局并开始搭建web端
- 4.vue广告轮播图,并使用接口引入数据
- 5.使用字体图标(iconfont)
- 6.卡片组件的封装
- 14-1.生产环境编译
- 1.环境编译
- 2.购买域名服务器并解析域名到服务器
- 3.nginx配置web服务器并安装网站环境
- 4.git拉取代码到服务器
- 5.配置Nginx反向代理
- 6.迁移本地数据到服务器(mongodump)
- uni
- 1.工具&本地环境
- 2.页面制作
- 3.页面制作、组件与轮播
- 4.页面跳转与横向滑动
- 5.用户授权登录和用户信息获取
- 6.用户注册和数据存储
- 7.用户填写表单信息
