
之前我们做出了分类功能模块,同时在分类中实现了无限级分类关联;又制作文章功能模块,利用文章做出了多个分类的关联。本篇文章我们再建立一个技能模块,用来讲解图片的上传功能实现。
有了图片上传功能,我们在下节才能更方便地研究富文本编辑器和富文本编辑器的图片上传。
1.根据文章模块实现流程制作出技能模块
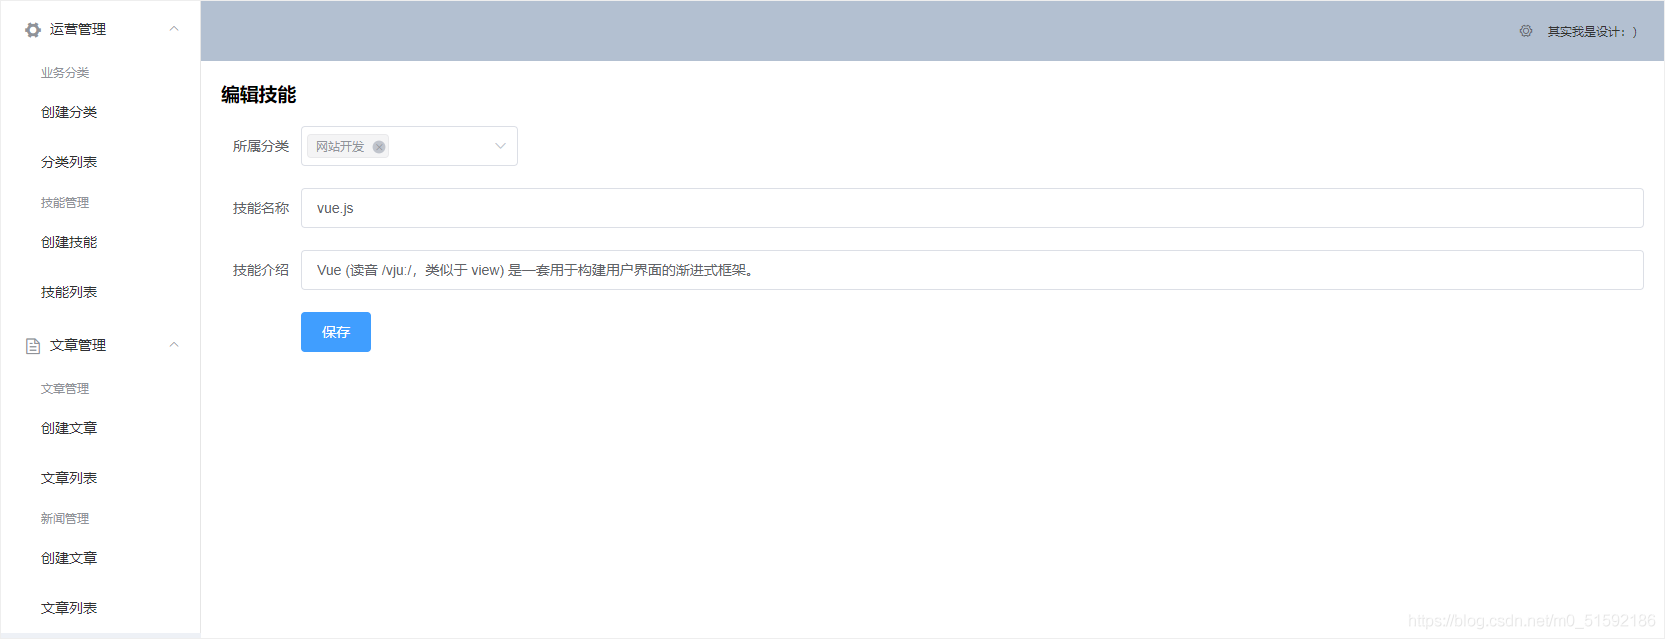
SkillSet.vue:
```
<template>
<div>
<h1>{{id ? '编辑' : '创建'}}技能</h1>
<el-form label-width="80px" style="margin-top:20px;" @submit.native.prevent="save">
<el-form-item label="所属分类">
<el-select v-model="model.categories" multiple>
<el-option v-for="item in categories" :key="item._id" :label="item.name" :value="item._id"></el-option>
</el-select>
</el-form-item>
<el-form-item label="技能名称">
<el-input v-model="model.name"></el-input>
</el-form-item>
<el-form-item label="技能介绍">
<el-input v-model="model.introduce"></el-input>
</el-form-item>
<el-form-item>
<el-button type="primary" native-type="submit">保存</el-button>
</el-form-item>
</el-form>
</div>
</template>
<script>
export default {
props: {
id: {}
},
data(){
return {
model: {},
categories: [],
}
},
methods: {
async save(){
let res
if(this.id){
res = await this.$http.put('rest/skills/' + this.id, this.model)
}else{
res = await this.$http.post('rest/skills', this.model)
}
console.log("en?",res)
this.$router.push('/skills/list')
this.$message({
type: 'success',
message: '保存成功'
})
},
async fetch(){
const res = await this.$http.get('rest/skills/' + this.id)
this.model = res.data
},
async fetchCategories(){
const res = await this.$http.get('rest/categories')
this.categories = res.data
}
},
created(){
this.id && this.fetch()
this.fetchCategories()
}
}
</script>
```
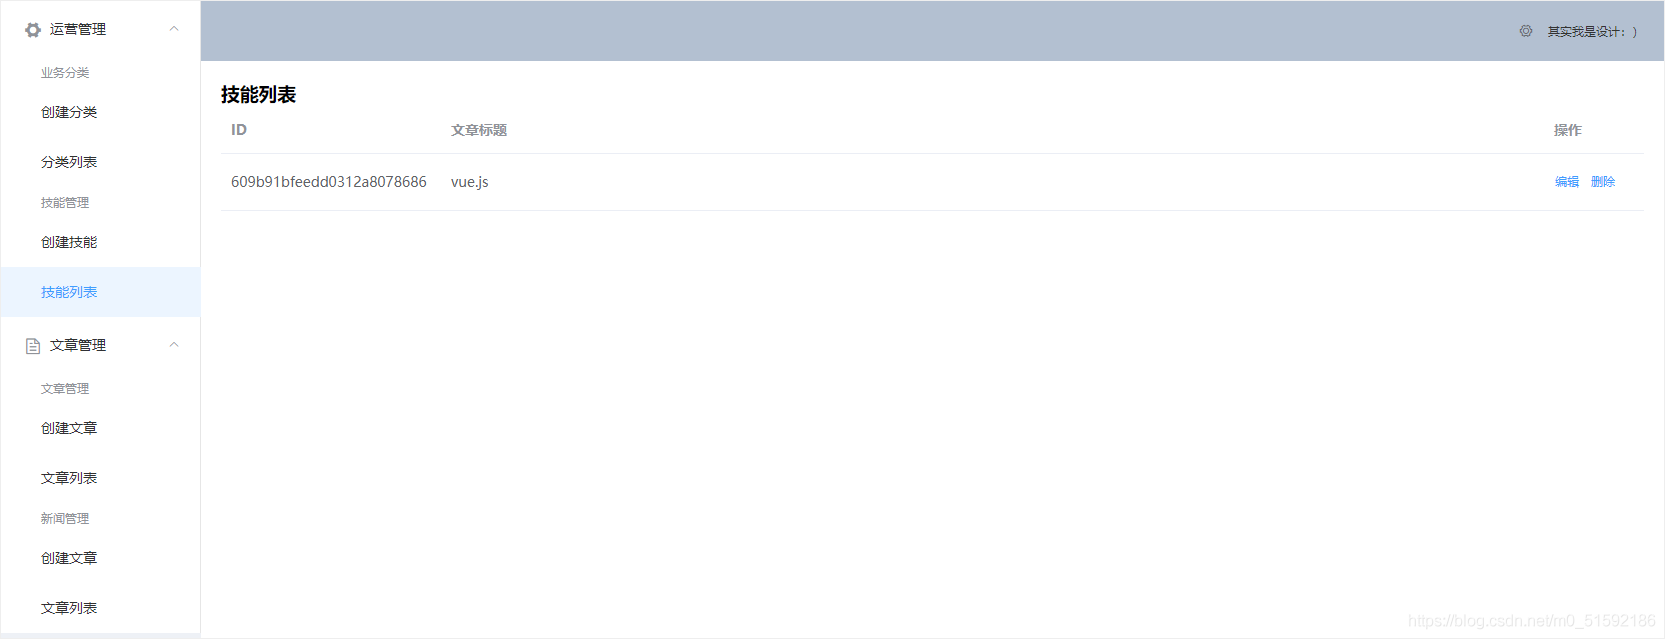
SkillList.vue:
```
<template>
<div>
<h1>技能列表</h1>
<el-table :data="items">
<el-table-column prop="_id" label="ID" width="220">
</el-table-column>
<!-- <el-table-column prop="categories[0].name,categories[1].name" label="所属分类">
<template slot-scope="scope"> {{scope.row.categories[0].name}},{{scope.row.categories[1].name}} </template>
</el-table-column> -->
<el-table-column prop="name" label="文章标题">
</el-table-column>
<el-table-column
fixed="right"
label="操作"
width="100">
<template slot-scope="scope">
<el-button type="text" size="small" @click="$router.push('/skills/edit/' + scope.row._id)">编辑</el-button>
<el-button @click="remove(scope.row)" type="text" size="small">删除</el-button>
</template>
</el-table-column>
</el-table>
</div>
</template>
<script>
export default {
data() {
return {
items: []
}
},
methods: {
async fetch(){
const res = await this.$http.get('rest/skills')
this.items = res.data
},
remove(row){
this.$confirm('是否确定要删除文章"' + row.name + '"?', '提示', {
confirmButtonText: '确定',
cancelButtonText: '取消',
type: 'warning'
}).then(async () => {
// 要想使用await,函数必须使用async
// await异步执行,待调用接口获取数据完成后再将值传给res,进行下一步操作
const res = await this.$http.delete('rest/skills/' + row._id)
this.$message({
type: 'success',
message: '删除成功!'
});
if(res.status == 200){
// 接口调用成功后,刷新页面
this.fetch()
}
}).catch(() => {
this.$message({
type: 'info',
message: '已取消删除'
});
});
}
},
created() {
this.fetch()
}
}
</script>
```
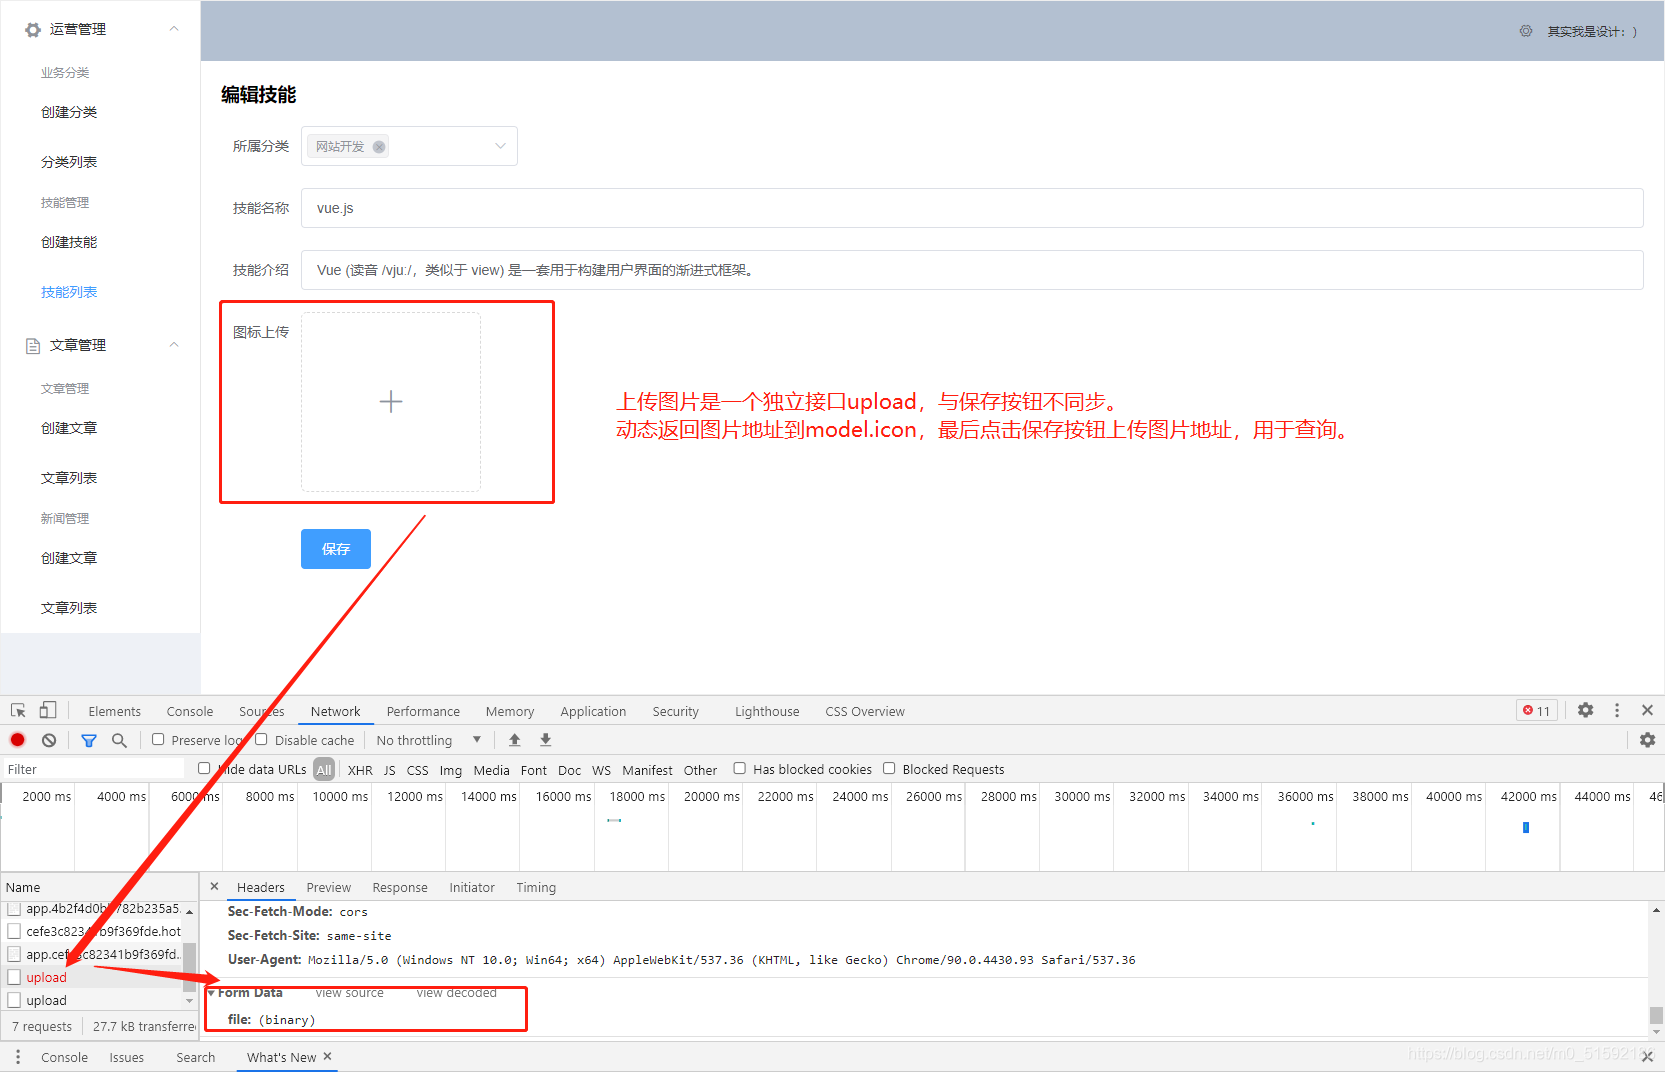
2.使用elementUI放入图片上传组件
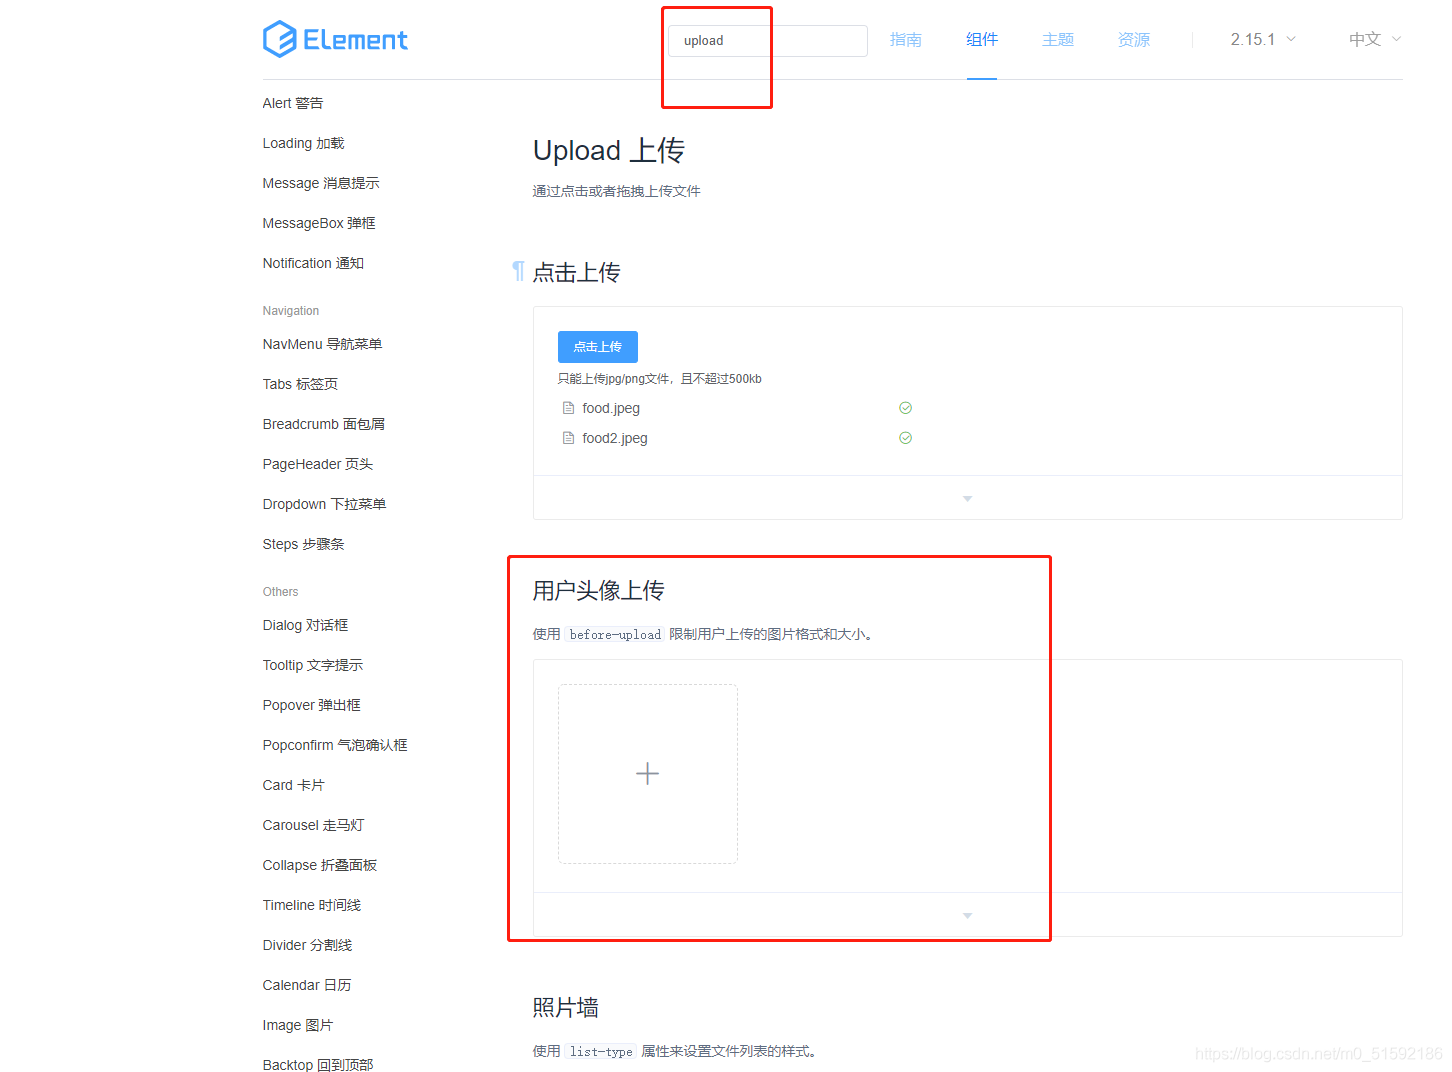
在技能介绍放置修改后的图片上传模块:
```
<el-form-item label="图标上传">
<!-- 动态获取接口地址,所以action加冒号 -->
<el-upload
class="avatar-uploader"
:action="$http.defaults.baseURL + '/upload'"
:show-file-list="false"
:on-success="handleAvatarSuccess"
:before-upload="beforeAvatarUpload">
<img v-if="model.icon" :src="model.icon" class="avatar">
<i v-else class="el-icon-plus avatar-uploader-icon"></i>
</el-upload>
</el-form-item>
```
下方引入效果样式style:
```
<style>
.avatar-uploader .el-upload {
border: 1px dashed #d9d9d9;
border-radius: 6px;
cursor: pointer;
position: relative;
overflow: hidden;
}
.avatar-uploader .el-upload:hover {
border-color: #409EFF;
}
.avatar-uploader-icon {
font-size: 28px;
color: #8c939d;
width: 178px;
height: 178px;
line-height: 178px;
text-align: center;
}
.avatar {
width: 178px;
height: 178px;
display: block;
}
</style>
```
在methods中添加图片的上传之前和成功之后两个事件:
```
// 图片上传成功之后
handleAvatarSuccess(res) {
console.log(res)
},
// 图片上传之前的验证
beforeAvatarUpload(file) {
console.log(file)
const isJPG = file.type === 'image/jpeg' || file.type === 'image/png' || file.type === 'image/jpg' || file.type === 'image/gif' ;
const isLt2M = file.size / 1024 / 1024 < 2;
if (!isJPG) {
this.$message.error('上传格式必须为常用图片格式,如png,jpg,gif等');
}
if (!isLt2M) {
this.$message.error('上传图标图片大小不能超过 2MB!');
}
return isJPG && isLt2M;
}
```
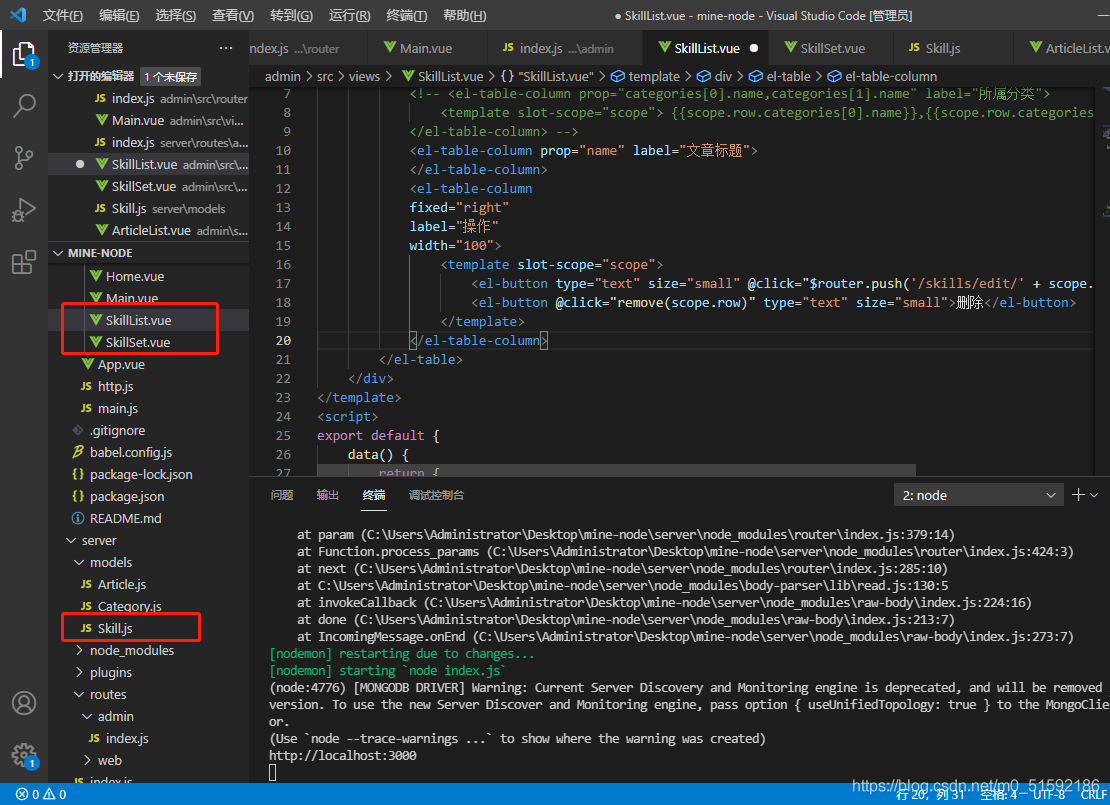
测试,现在没有编写upload接口,binary表示二进制文件,file是图片数据名:
3.编写上传接口upload
server/routes/admin/index.js:
上传图片接口不属于之前做的通用CRUD接口rest,在最下方另开一个app.post用于新建图片上传接口地址。
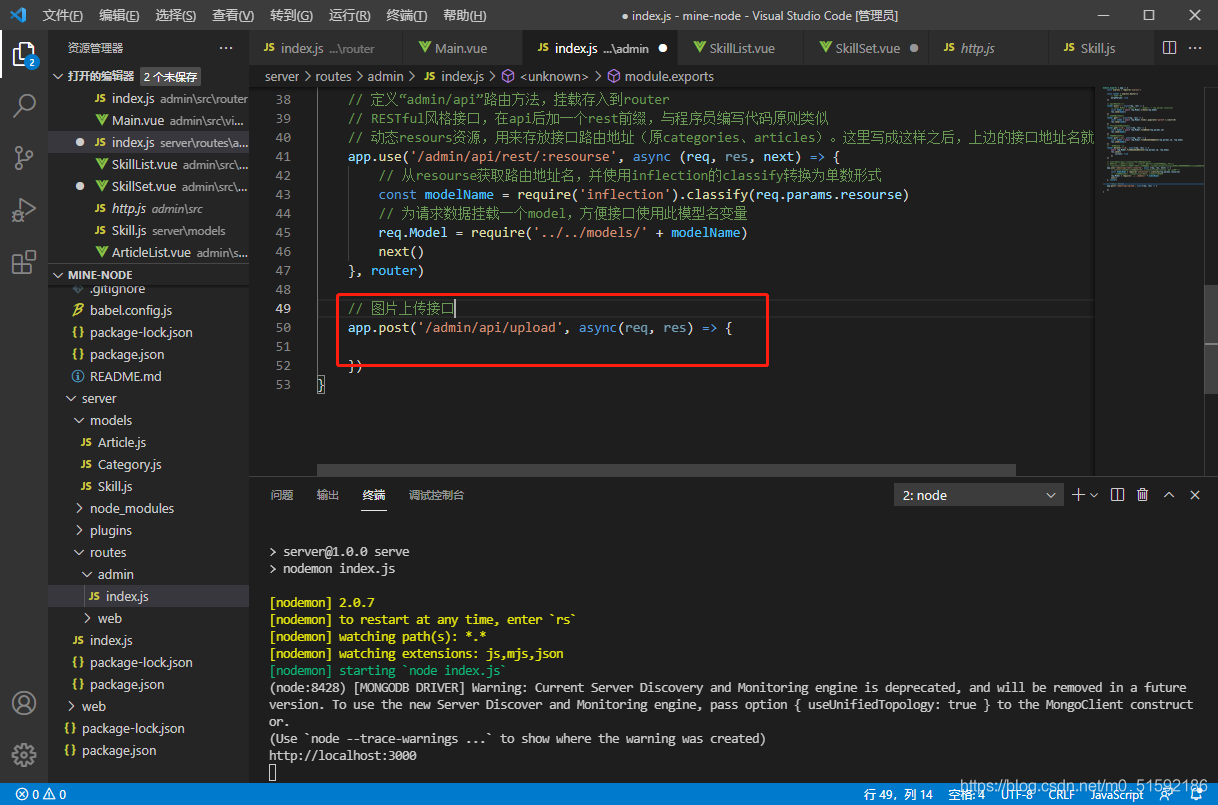
由于express不能获取到文件上传的数据,所以我们要使用获取文件数据的类包multer,定义在中间件中使用:
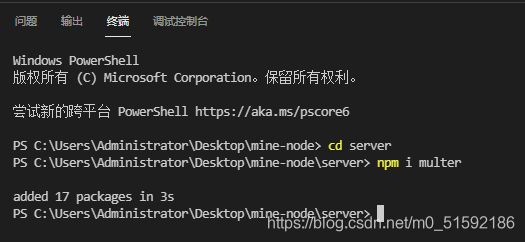
```
cd server
```
```
npm i multer
```
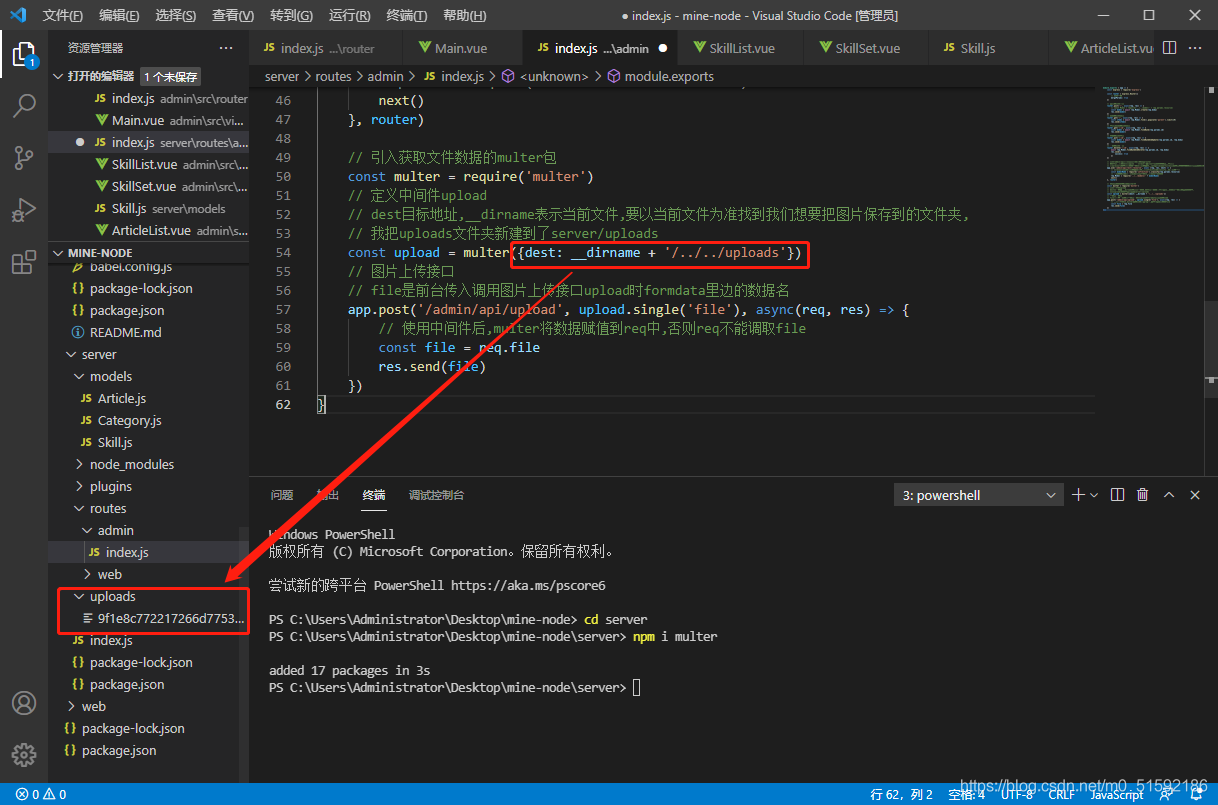
使用multer,并定义中间件:
```
// 引入获取文件数据的multer包
const multer = require('multer')
// 定义中间件upload
// dest目标地址,__dirname表示当前文件,要以当前文件为准找到我们想要把图片保存到的文件夹,
// 我把uploads文件夹新建到了server/uploads
const upload = multer({dest: __dirname + '/../../uploads'})
// 图片上传接口
// file是前台传入调用图片上传接口upload时formdata里边的数据名
app.post('/admin/api/upload', upload.single('file'), async(req, res) => {
})
```
完善图片上传接口:
```
app.post('/admin/api/upload', upload.single('file'), async(req, res) => {
// 使用中间件后,multer将数据赋值到req中,否则req不能调取file
const file = req.file
res.send(file)
})
```
此时,上传图片就可以把图片文件保存到指定的uploads文件夹中了,测试:

图片上传成功,没问题。
4.将文件路径返回给前台数据。
看一下接口成功后的信息,这些信息就是利用multer将值传到req的file数据:
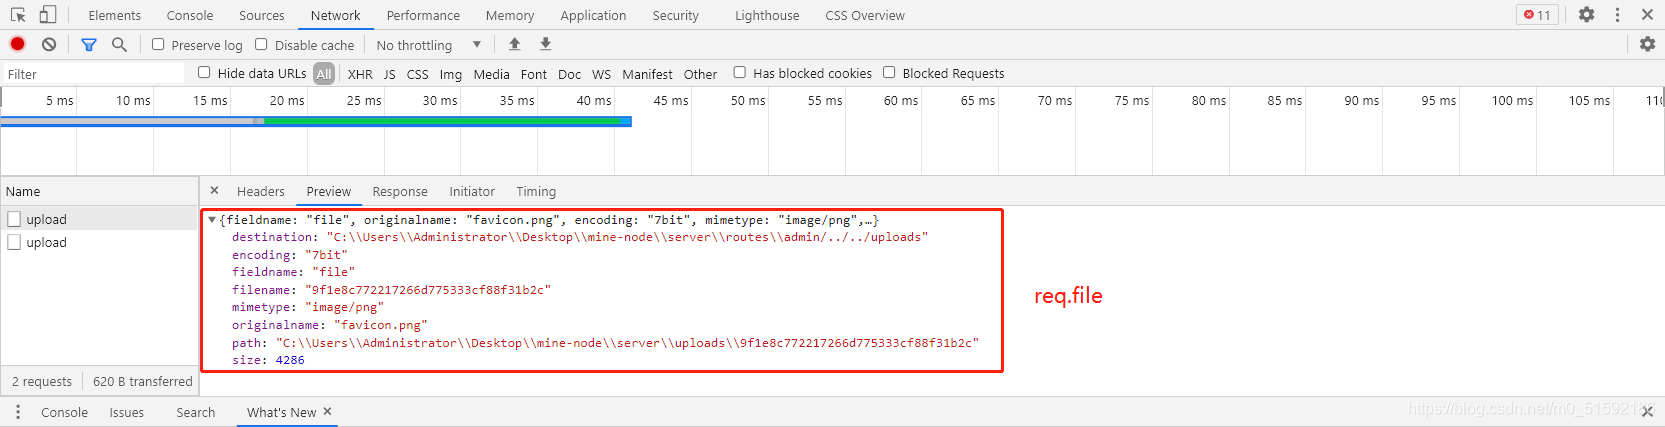
其中filename就是我们保存下来文件的文件名,所以我们要访问到图片的话,就要通过接口地址再加上这个filename,也就是给图片添加路由地址。因为在我们学习路由的时候就发现,在node.js中与其他后端不同,这里的文件地址都是由我们自己定义的,而不是真实路由,这也就是node.js路由的弊端吧。
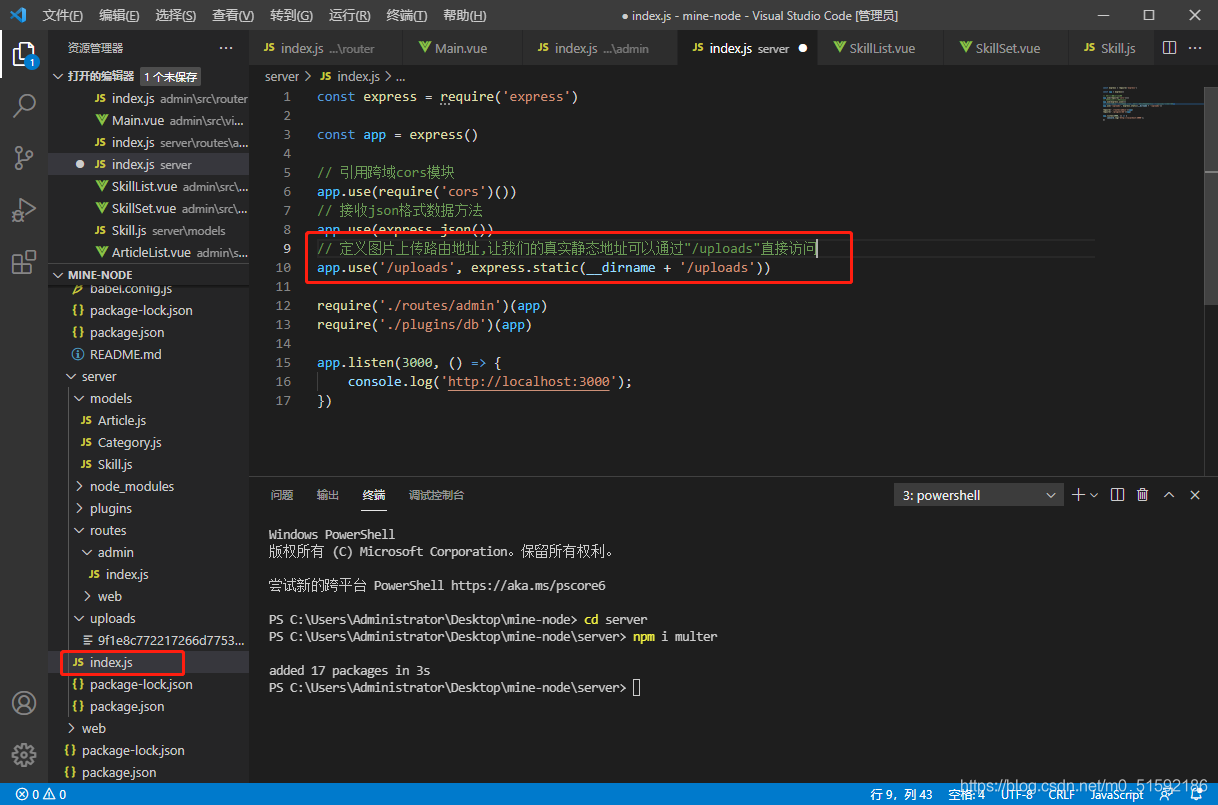
(1)在server端index.js定义路由,找到uploads文件夹的静态真实地址,定义路由地址
(2)定义图片的路由地址,将路由地址放入准备输出的file中,从而方便前台调用查询
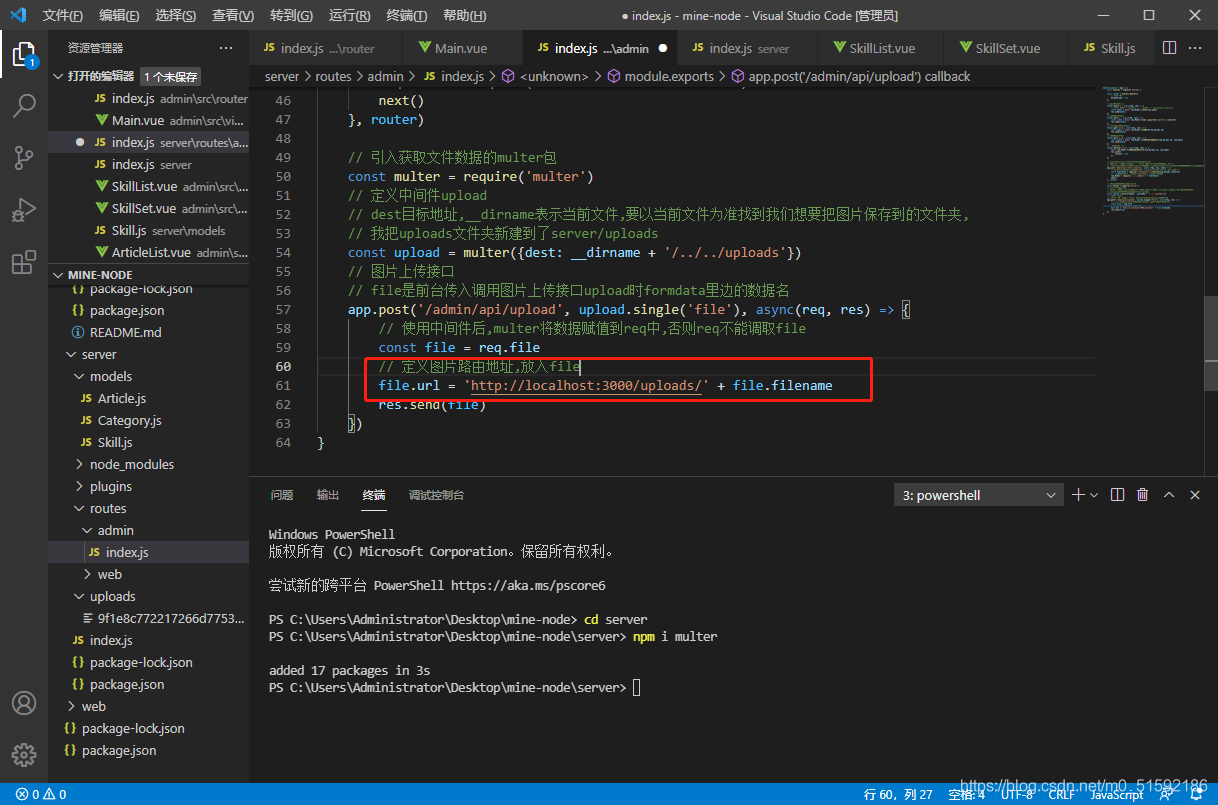
再测试一下,查看url能否正常生成:
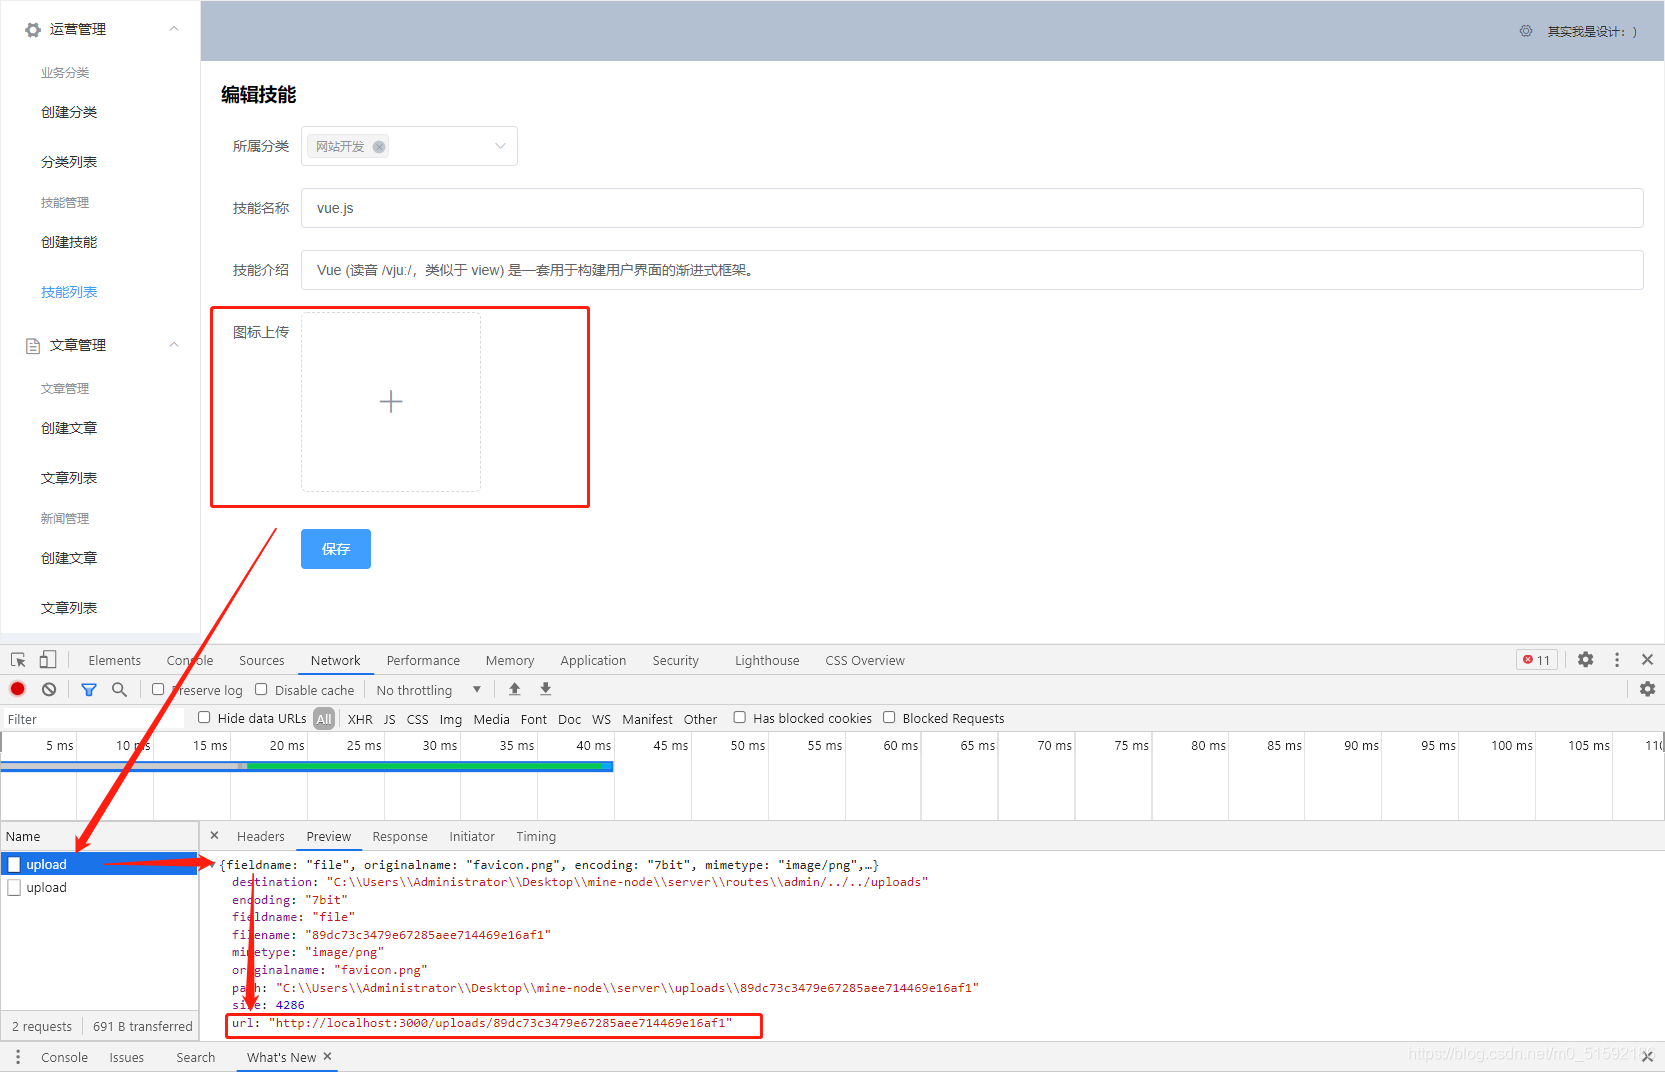
没问题。

打印出的res也没问题.
(3)把url在前端页面显示

再次进行测试:

没问题。检查一下数据的绑定:
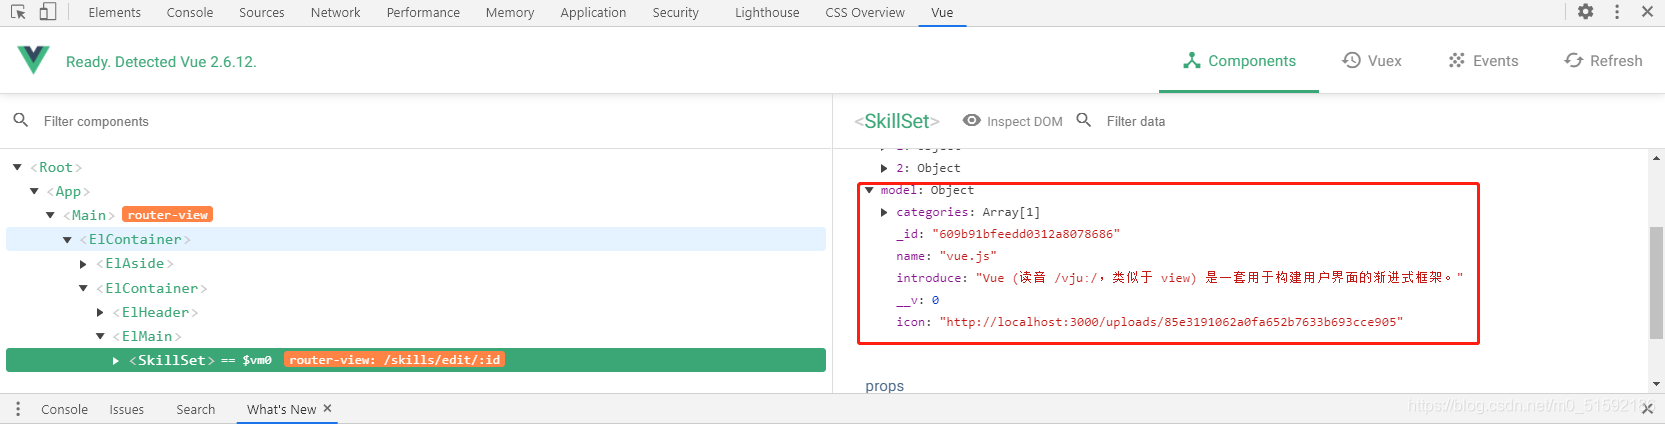
也没问题。
(4)完善保存按钮接口
由于我们使用了通用CRUD接口,所以只完善skill模型即可,将绑定的数据在server/models/Skill.js都定义好字段和类型。
```
const mongoose = require('mongoose')
const schema = new mongoose.Schema({
name: { type: String },
categories: [{ type: mongoose.SchemaTypes.ObjectId, ref: 'Category' }],
introduce: { type: String },
icon: { type: String },
})
module.exports = mongoose.model('Skill', schema)
```
测试:
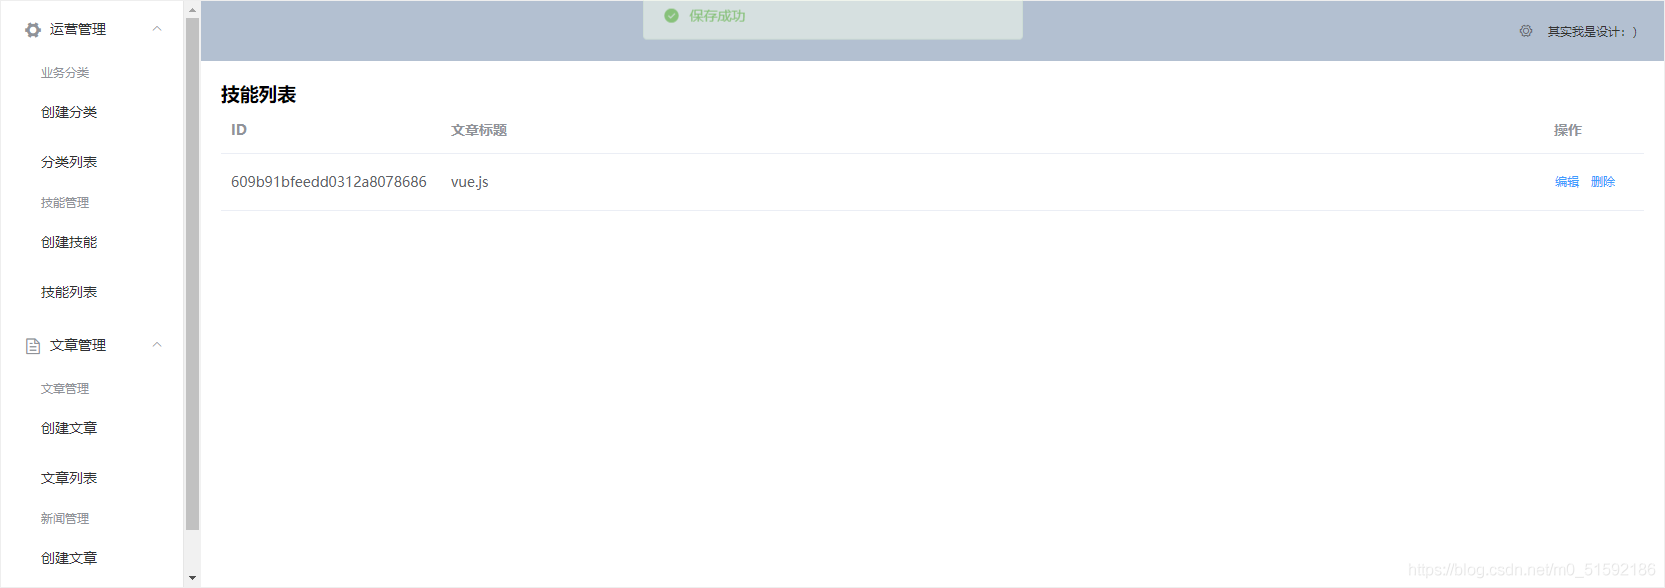

没问题。
(5)技能列表页面显示图标。
同样使用elsmentUI中的效果,发现一个有意思的:
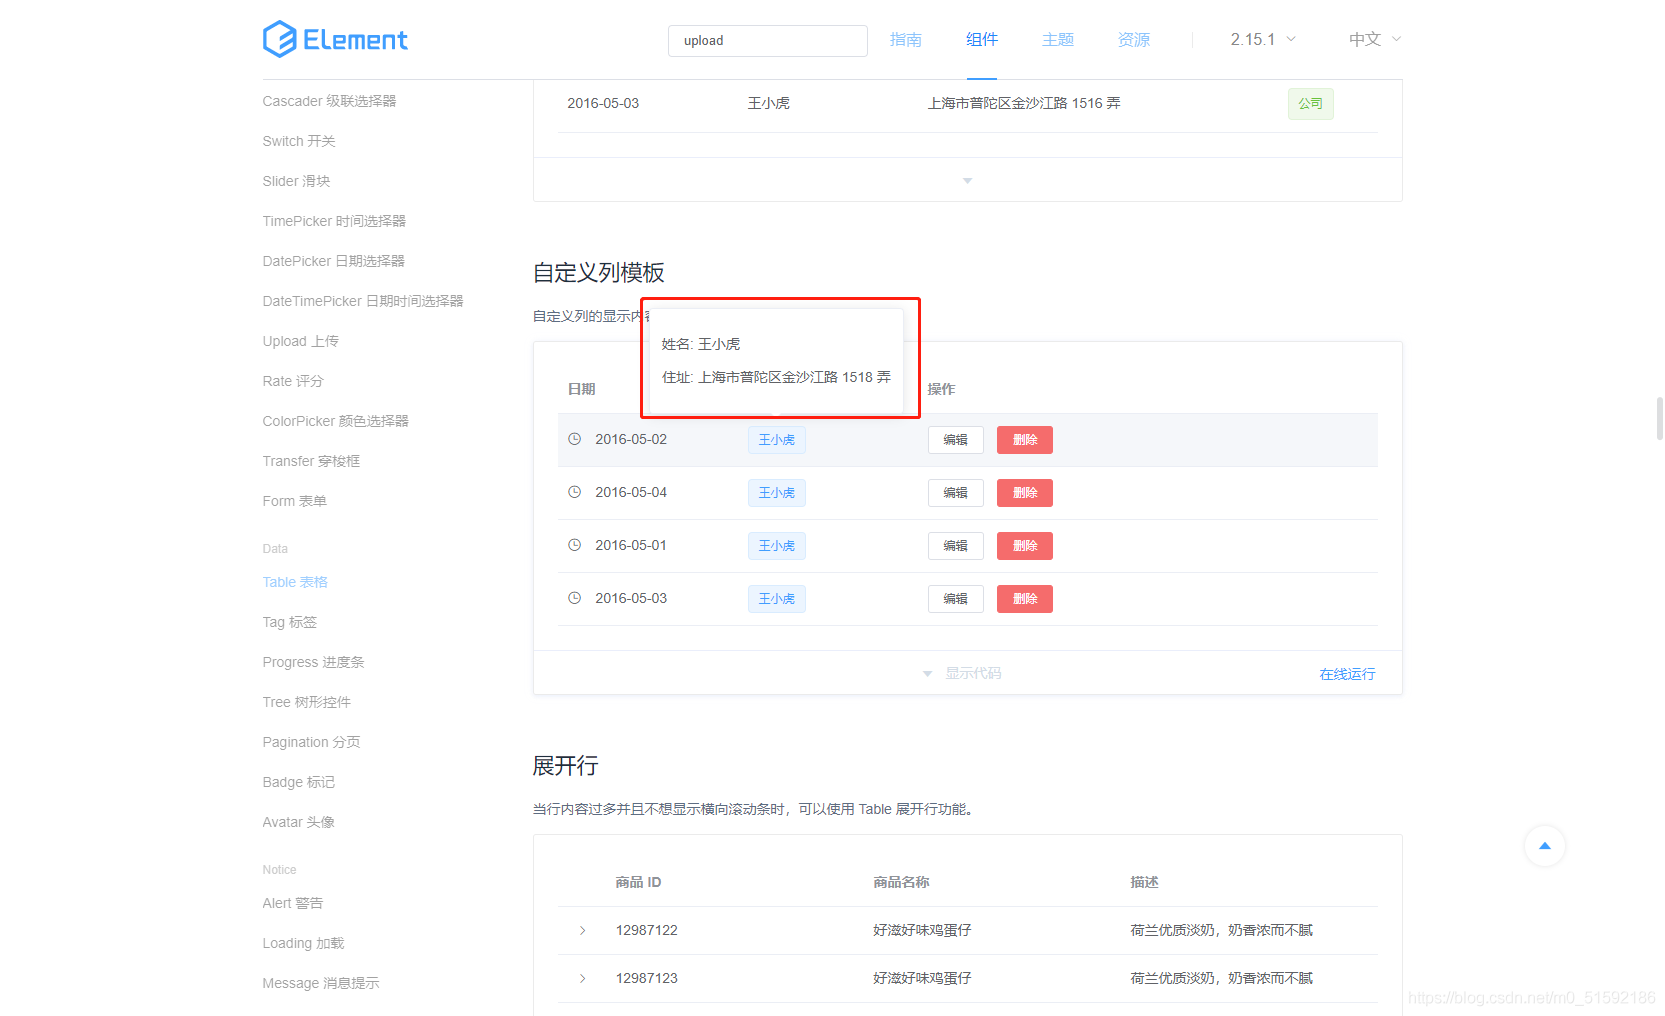
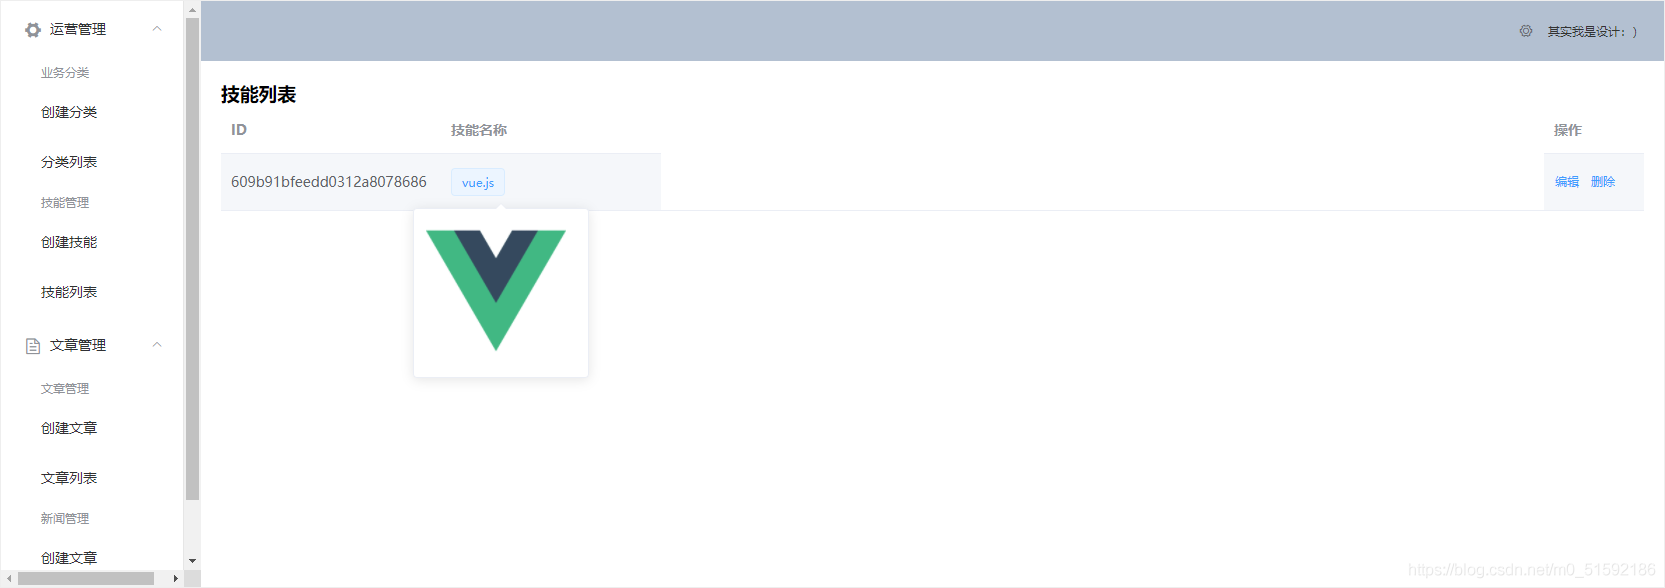
改动技能列表SkillList.vue:
```
<el-table-column prop="name" label="技能名称" width="120">
<template slot-scope="scope">
<el-popover trigger="hover" placement="top">
<img :src="scope.row.icon" width="140">
<div slot="reference" class="name-wrapper">
<el-tag size="medium">{{ scope.row.name }}</el-tag>
</div>
</el-popover>
</template>
</el-table-column>
```
- tp6+vue
- 1.工具和本地环境
- 2.启动项目
- 3.路由、模型与数据库操作
- 4.优化后端接口,前端使用axios实现接口功能
- 5.用户登录,bcrypt(hash)加密与验证
- 6.用户登录(二),token验证
- 7.分类的模型关联和通用CRUD接口
- 8.使用vue的markdown编辑器并批量上传图片
- Node.js + Vue.js
- 工具,本地环境
- 2.1启动项目
- 3.element-ui和vue-router路由的安装和使用
- 4.使用axios,并创建接口上传数据到mongodb数据库
- 5.mongoodb数据库的“删、改、查”操作
- 6.mongodb数据库无限层级的数据关联(子分类)
- 7.使用mongodb数据库关联多个分类(关联多个数据)
- 8.server端使用通用CRUD接口
- 9.图片上传
- 10.vue的富文本编辑器(vue2-editor)
- 11.动态添加分栏上传多组数据
- 12-1.管理员模块
- 13-1.搭建前台web端页面
- 1.使用sass工具搭建前台web端页面
- 2.sass工具的变量
- 3.使用flex布局并开始搭建web端
- 4.vue广告轮播图,并使用接口引入数据
- 5.使用字体图标(iconfont)
- 6.卡片组件的封装
- 14-1.生产环境编译
- 1.环境编译
- 2.购买域名服务器并解析域名到服务器
- 3.nginx配置web服务器并安装网站环境
- 4.git拉取代码到服务器
- 5.配置Nginx反向代理
- 6.迁移本地数据到服务器(mongodump)
- uni
- 1.工具&本地环境
- 2.页面制作
- 3.页面制作、组件与轮播
- 4.页面跳转与横向滑动
- 5.用户授权登录和用户信息获取
- 6.用户注册和数据存储
- 7.用户填写表单信息