### ⼿把⼿教你快速安装elasticsearch
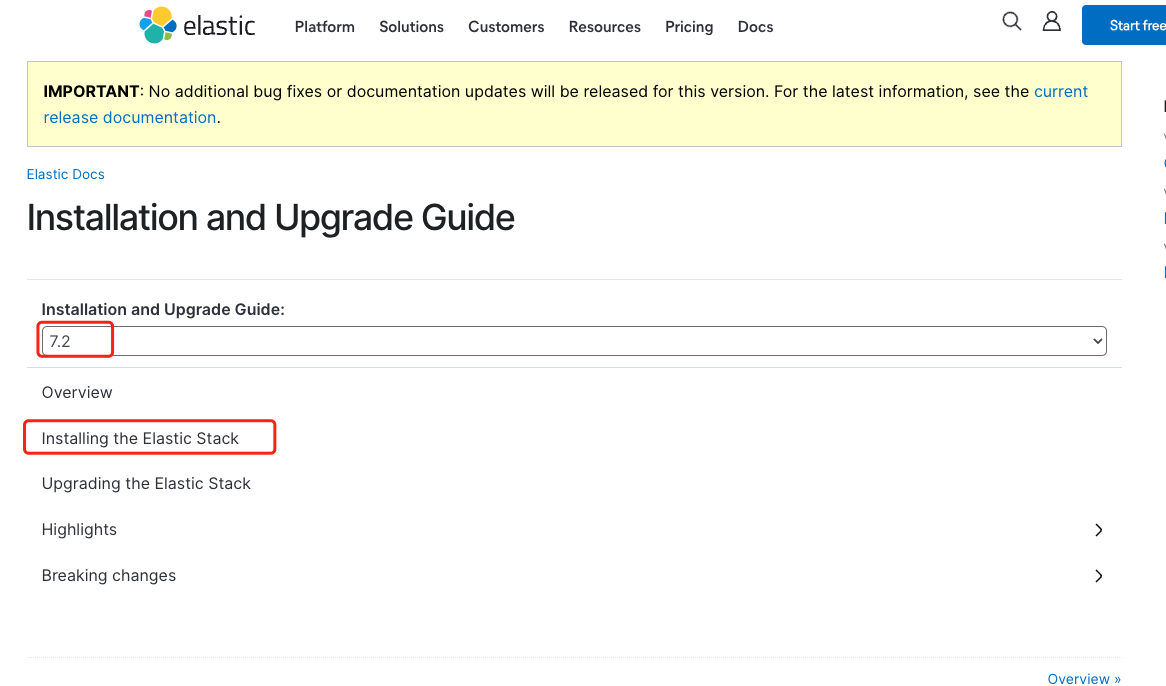
我们只考虑在linux当中安装,打开官网地址:https://www.elastic.co/guide/en/elastic-stack/7.2/index.html 然后选择你要的es的版本号,我选择的是7.2版本,最新的都已经到8了。
###
###
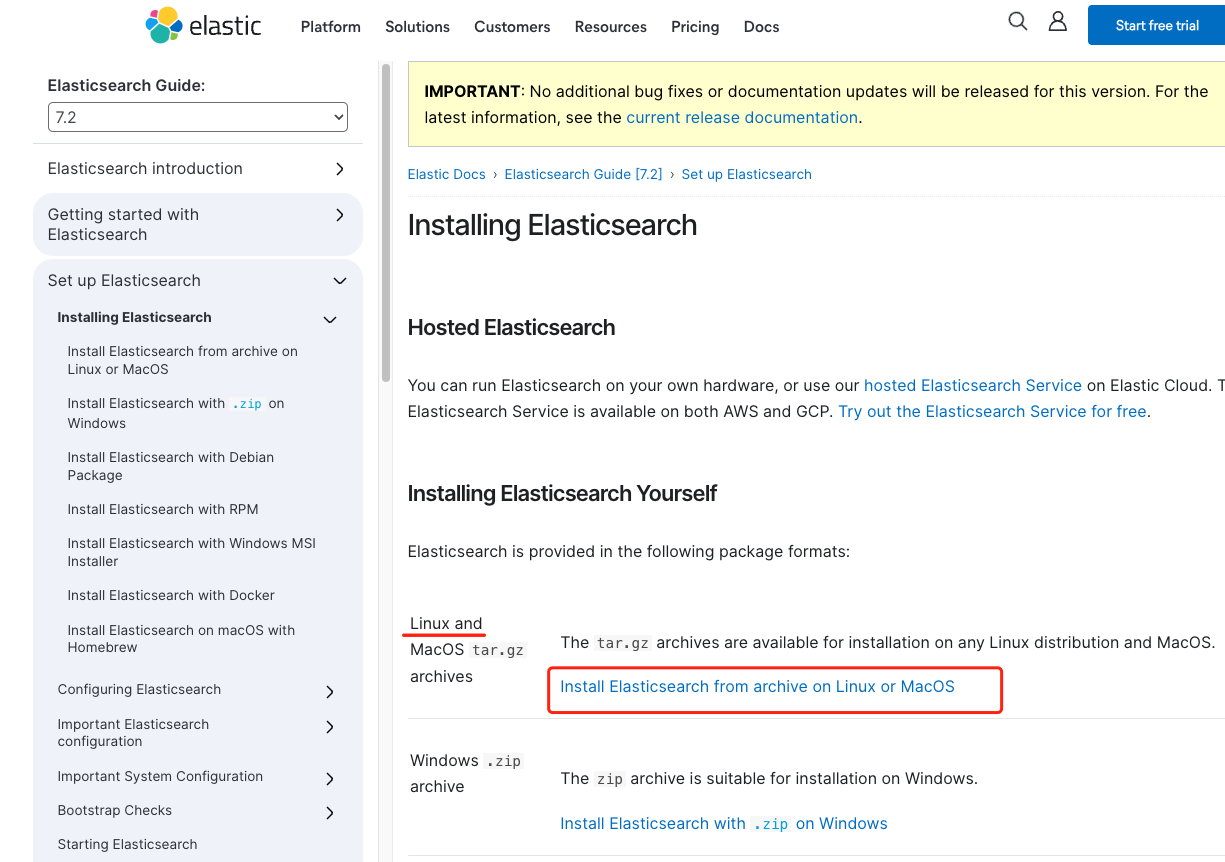
点击install红色区域继续往下走:
###

###
###
###
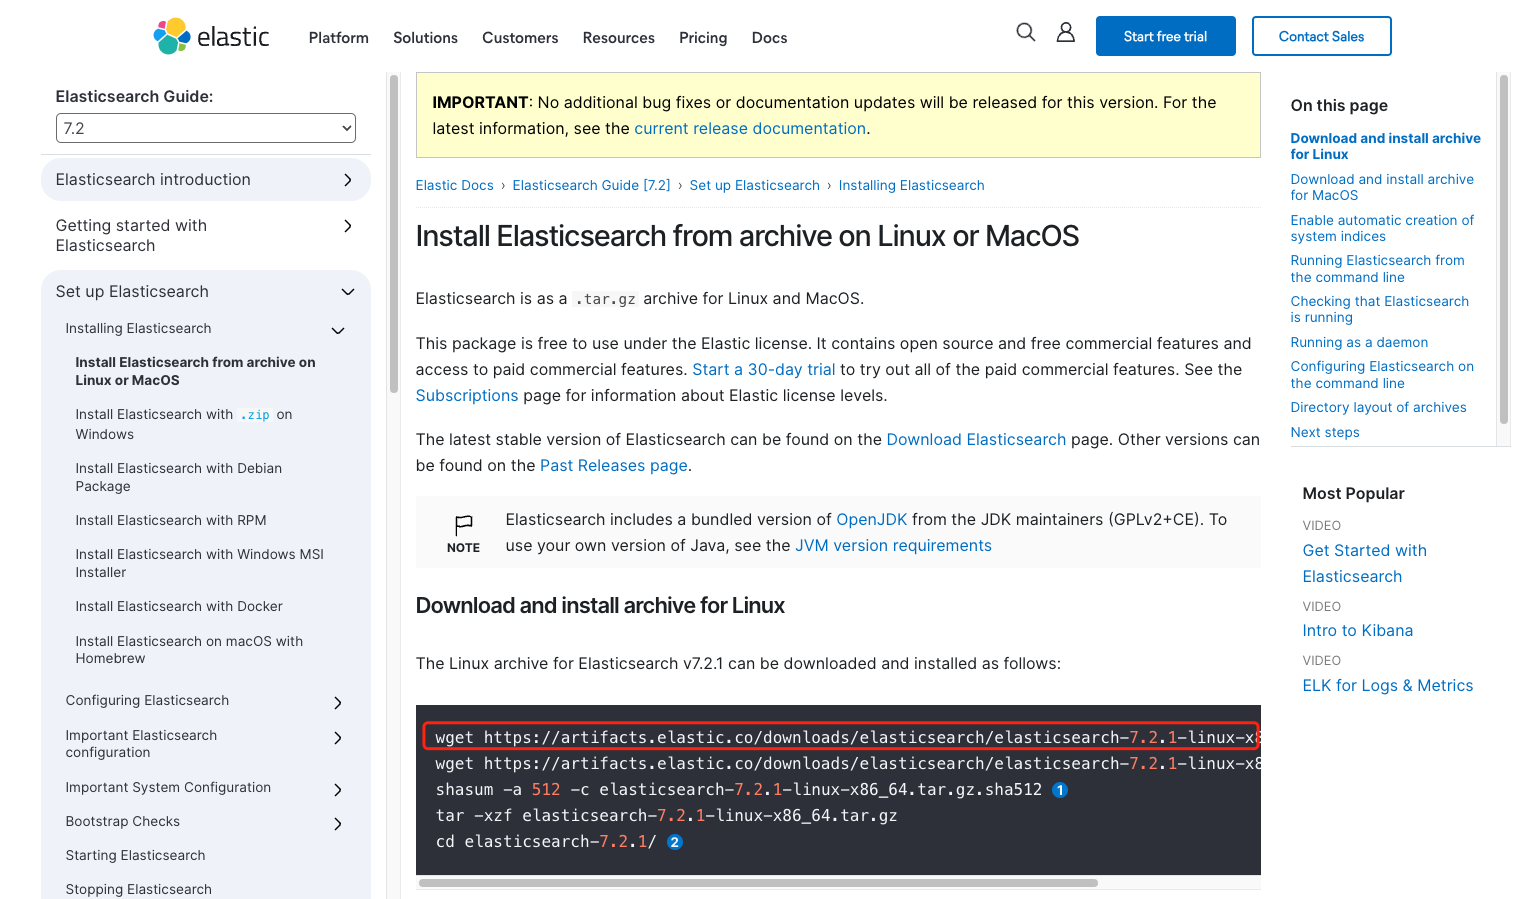
直接复制到你的linux当中执行如下命令即可:
`wget https://artifacts.elastic.co/downloads/elasticsearch/elasticsearch-7.2.0-linux-x86_64.tar.gz`
###
然后解压即可 `tar -zxvf elasticsearch-7.2.0-linux-x86_64.tar.gz`
###
es默认是不允许使用root账户来运行的,所以我们需要创建一个es的分组和账户
###
```
1. groupadd es
2. useradd es -g es
3. passwd es
```
###
然后将es的整个文件夹设置为es:es分组
`chown -R es:es /mnt/soft/es7.2/`
###
切换到es的账户下 `su es`
###
然后就是启动es了 进入到es的安装目录下 `cd /mnt/soft/es7.2` 然后执行 `./bin/elasticsearch -d`
###
后台启动了es。
###
```
[es@localhost es72]$ pwd
/mnt/soft/es72
[es@localhost es72]$ ./bin/elasticsearch
```
###
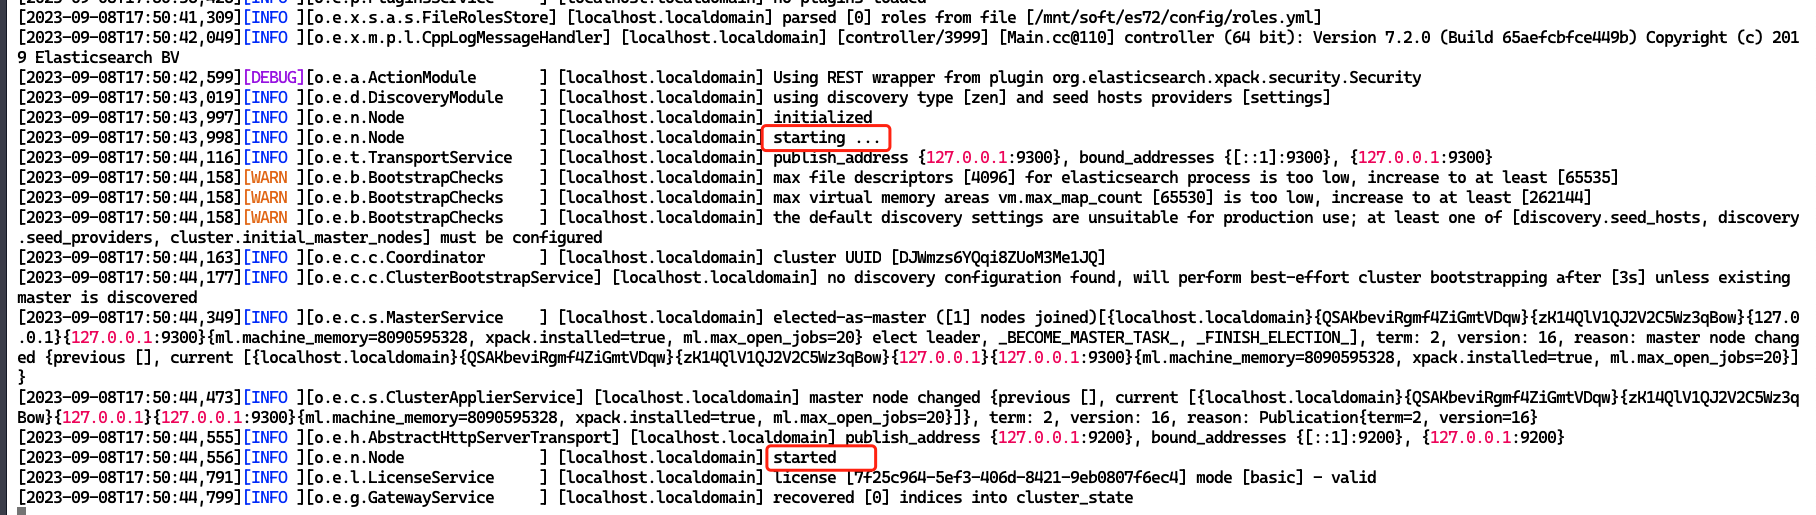
看到start和started就表示成功启动了es7.2
###
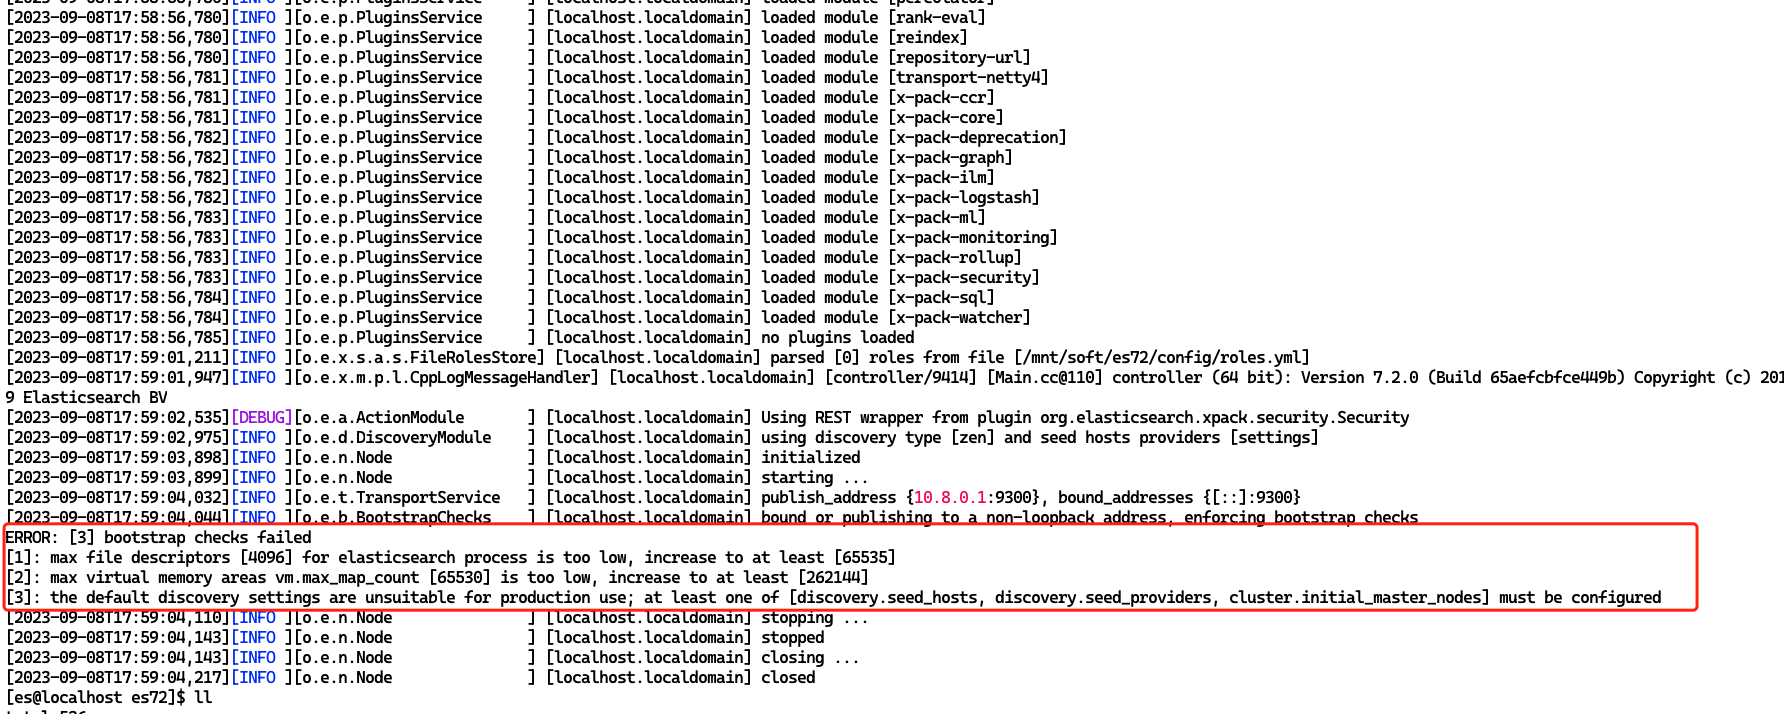
但是在启动es的时候就会报错:
###
###
如何处理这三个错误呢?
###
[1] 错误需要做以下修改:切换到root账户 然后 `vim /etc/security/limits.conf` 在最后增加如下内容
```
* soft nofile 65535
* hard nofile 65535
# 底下这两个可以不写 写不写的吧
* soft nproc 4096
* hard nproc 4096
```
###
然后需要重启reboot一下即可 以使更改生效
###
[2]错误 做如下修改:切换到root账户 然后 `vim /etc/sysctl.conf` 最后增加如下内容
```
vm.max_map_count=262144
```
运行 `sysctl -p` 使配置生效
###
[3]错误做如下修改:vim /mnt/soft/es72/config/elasticsearch.yml
增加如下配置:
```
node.name: node-1
network.host: 0.0.0.0
http.port: 9200
discovery.seed_hosts: [“127.0.0.1”,"[::1]"]
cluster.initial_master_nodes: [“node-1”]
```
###
然后就是启动es就行了
###
还有的说法是如下图所示(如果上边不行那就造着这个来):
###

###
如果想要从后台启动不影响其他的服务的运行那就后台启动即可
```
[es@localhost es72]$ pwd
/mnt/soft/es72
[es@localhost es72]$ ./bin/elasticsearch -d
```
即可!
###
通过命令`ps aux|grep elasticsearch`可以方便的查看es是否启动成功。
###
到此结束!!!
###
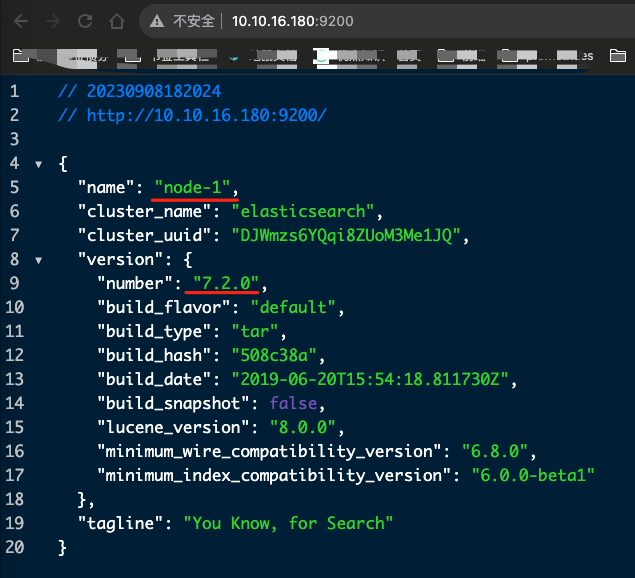
然后通过访问ip:9200成功显示如下图所示:
###
- 基础概念
- 为什么不使用mysql做全文搜索
- 常见的搜索引擎
- 快速安装部署es
- 补充ES和kibana认证
- 补充kibana中文显示
- ES的目录以及核心概念介绍
- RESTful风格介绍
- 索引的各类操作
- 映射的各类操作
- 文档的各类操作
- 搜索的使用
- 中文分词器
- 常见字段类型
- kibana的安装
- es批量导入数据
- es的term的多种查询
- es的范围查询
- es的布尔查询
- es的排序查询
- es的指标聚合查询
- es的桶聚合查询
- es的别名操作
- es重建索引
- es的refresh操作
- es的高亮查询
- es的查询建议
- java实操es之集成
- 补充java操作es集成认证
- 补充java连接es集群
- java实操es之准备工作
- java实操es之各种骚操作(一期)
- java实战之数据库文件
- java实操es之各种骚操作(二期)
- java实操es之各种骚操作(三期)
- es分布式集群概念介绍
- es分布式集群的搭建
- es分布式集群kibana的配置
- es分布式集群分片管理
- es分布式集群节点健康管理
- es故障排查总结