## 安装mysql(安装方式:用dnf)
```
dnf --installroot=/alidata/server/mysql --releasever=/ install mysql -y
```
## 安装mysql(安装方式:下载编译)
#### 1. 下载mysql
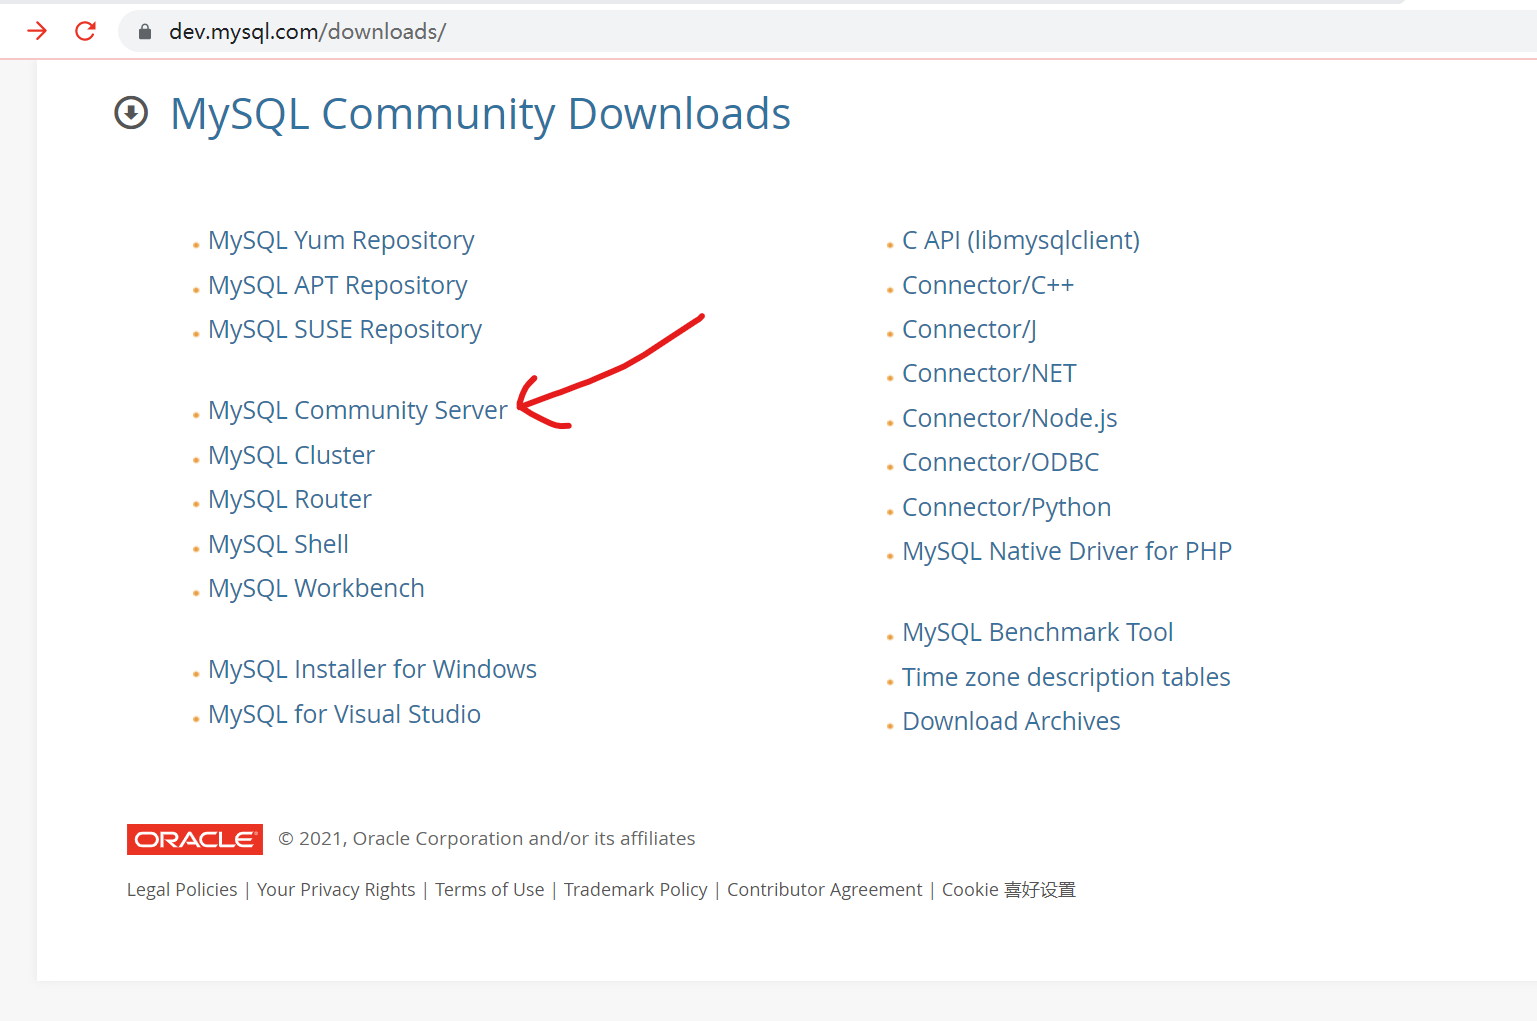
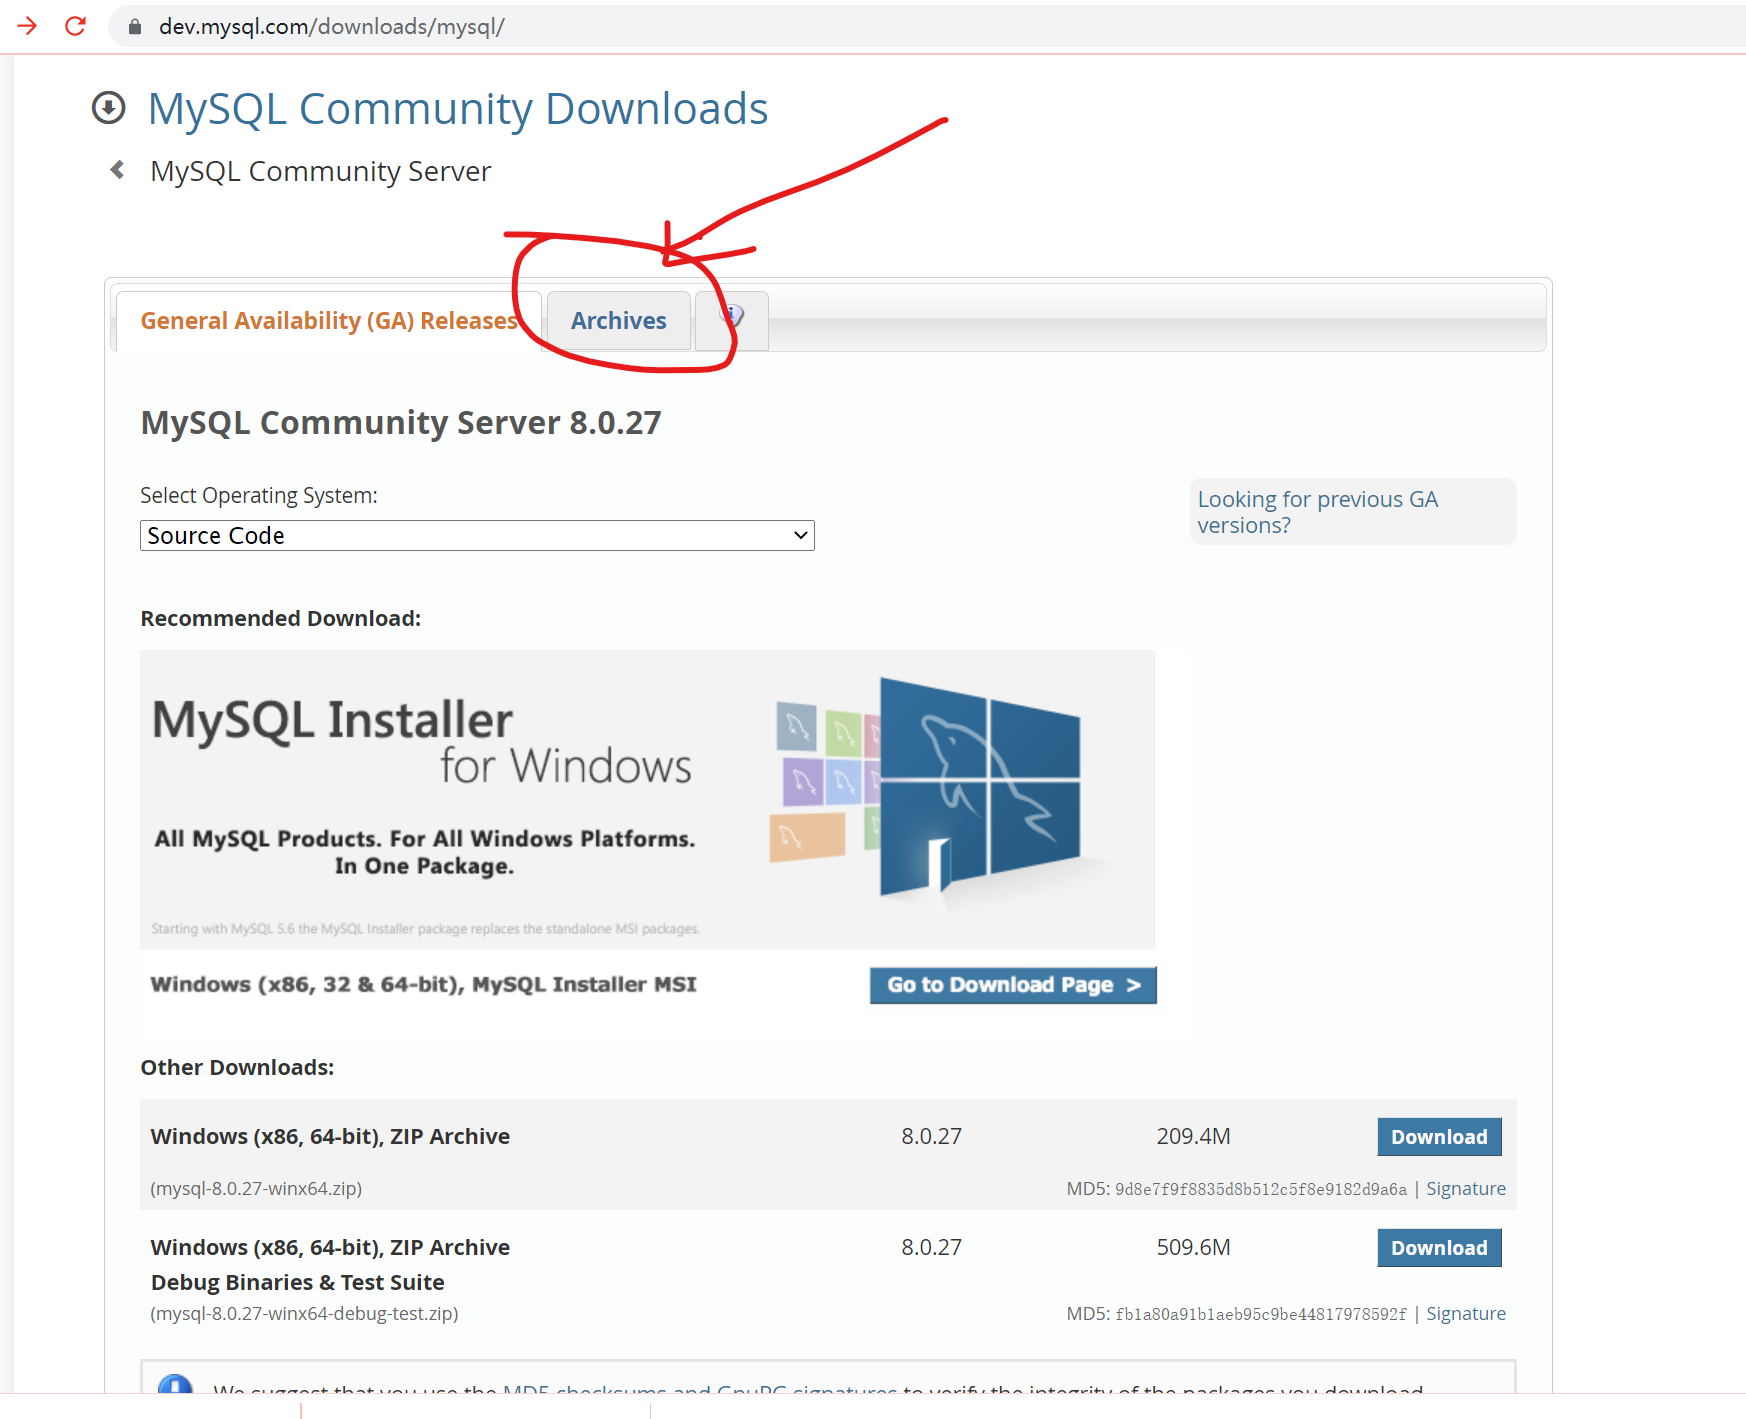
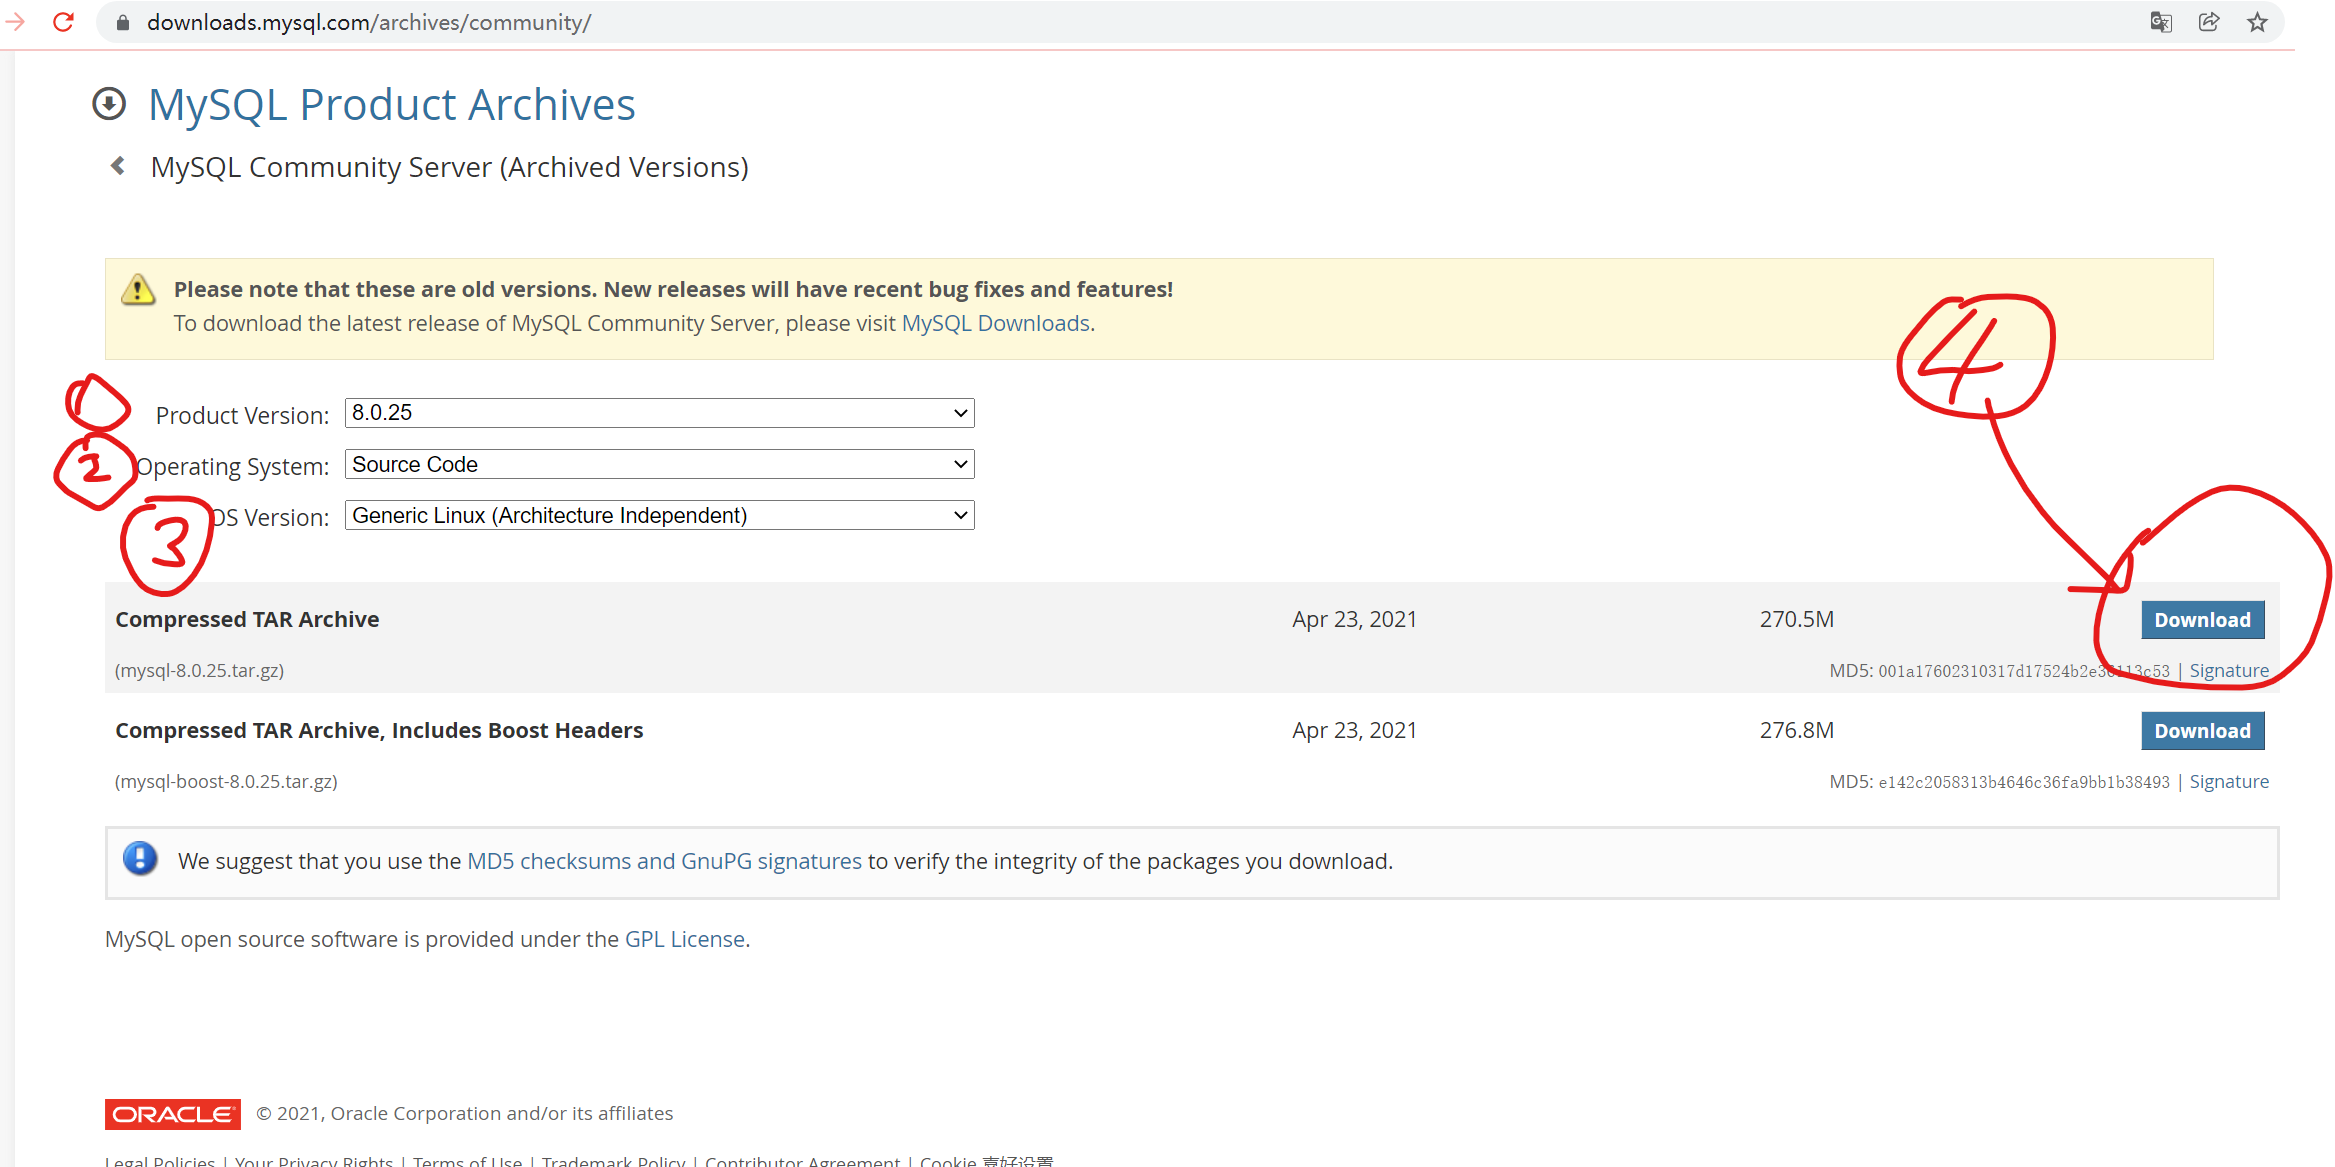
下载mysql,官网地址:https://www.mysql.com/
`axel -n 10 https://cdn.mysql.com/archives/mysql-8.0/mysql-8.0.25.tar.gz`
#### 2. 解压压缩包
`tar -zxvf mysql-8.0.25.tar.gz`
#### 3. 安装编译需要的软件包
安装PowerTools仓库
~~~
yum install dnf-plugins-core
dnf config-manager --set-enabled powertools
~~~
安装rpcgen
```
yum --enablerepo=powertools install rpcgen
```
安装其他依赖包
`yum -y install make bison-devel ncurses-devel libaio libaio-devel perl-Data-Dumper net-tools libtirpc-devel openssl-devel`
#### 4. 编译配置
重新cmake需要删除CMakeCache.txt文件 (如果遇到 No mysys timer support detected! 这个错误,选择稳定版本的二进制文件或者降版本,再编译安装)
没有cmake用yum安装
```
yum install cmake -y
yum install gcc-toolset-10-gcc gcc-toolset-10-gcc-c++ gcc-toolset-10-binutils
dnf install gcc-toolset-10-annobin
```
mysql的配置
~~~
cd mysql-8.0.25
mkdir build
cd build
cmake ..\
-DCMAKE_INSTALL_PREFIX=/alidata/server/mysql \
-DMYSQL_DATADIR=/alidata/server/mysql/data \
-DSYSCONFDIR=/etc \
-DWITH_MYISAM_STORAGE_ENGINE=1 \
-DWITH_INNOBASE_STORAGE_ENGINE=1 \
-DWITH_MEMORY_STORAGE_ENGINE=1 \
-DWITH_READLINE=1 \
-DMYSQL_UNIX_ADDR=/var/lib/mysql/mysql.sock \
-DMYSQL_TCP_PORT=3306 \
-DENABLED_LOCAL_INFILE=1 \
-DWITH_PARTITION_STORAGE_ENGINE=1 \
-DEXTRA_CHARSETS=all \
-DDEFAULT_CHARSET=utf8 \
-DDEFAULT_COLLATION=utf8_general_ci \
-DDOWNLOAD_BOOST=1 \
-DWITH_BOOST=/alidata/server/boost \
~~~
(注:如果boost已经安装过在配置里面去掉-DDOWNLOAD_BOOST=1,这个配置是用来下载boost。另外配置boost的安装目录 -DWITH_BOOST。其他的按需要配置即可。)
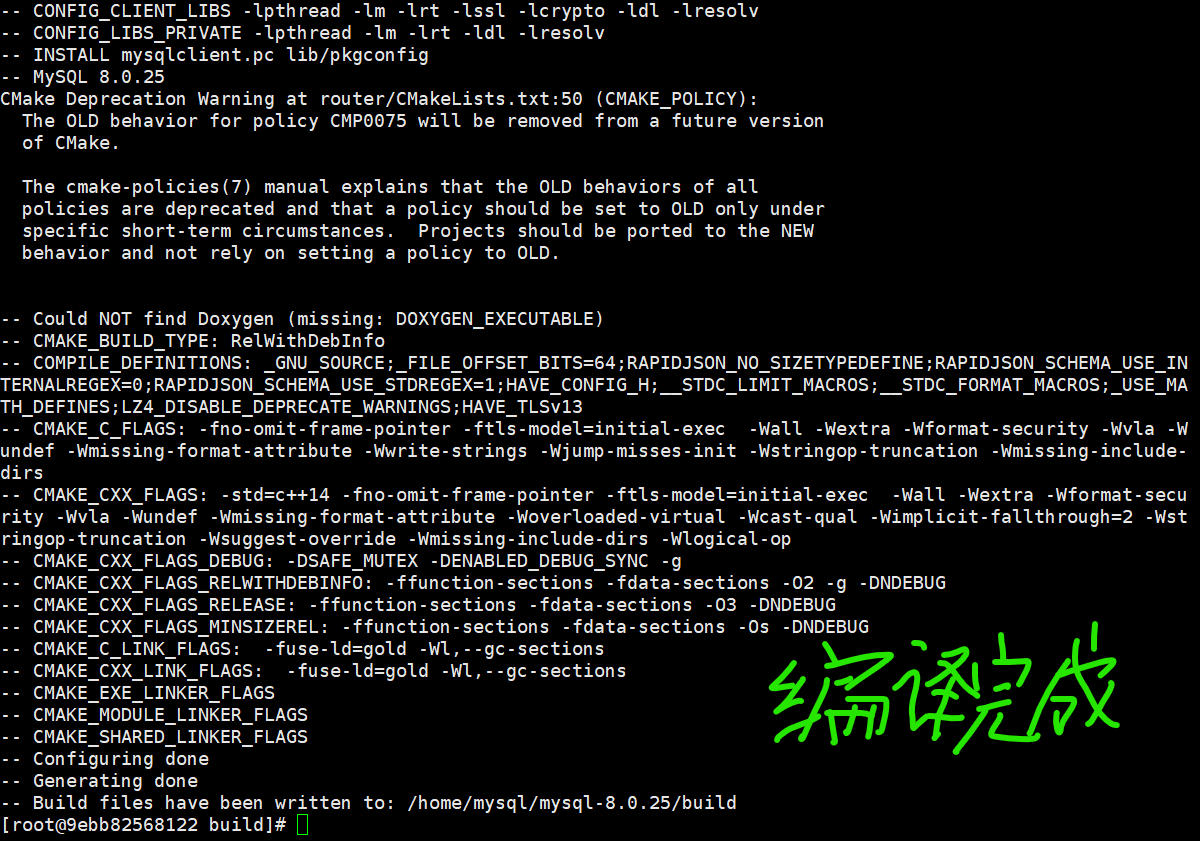
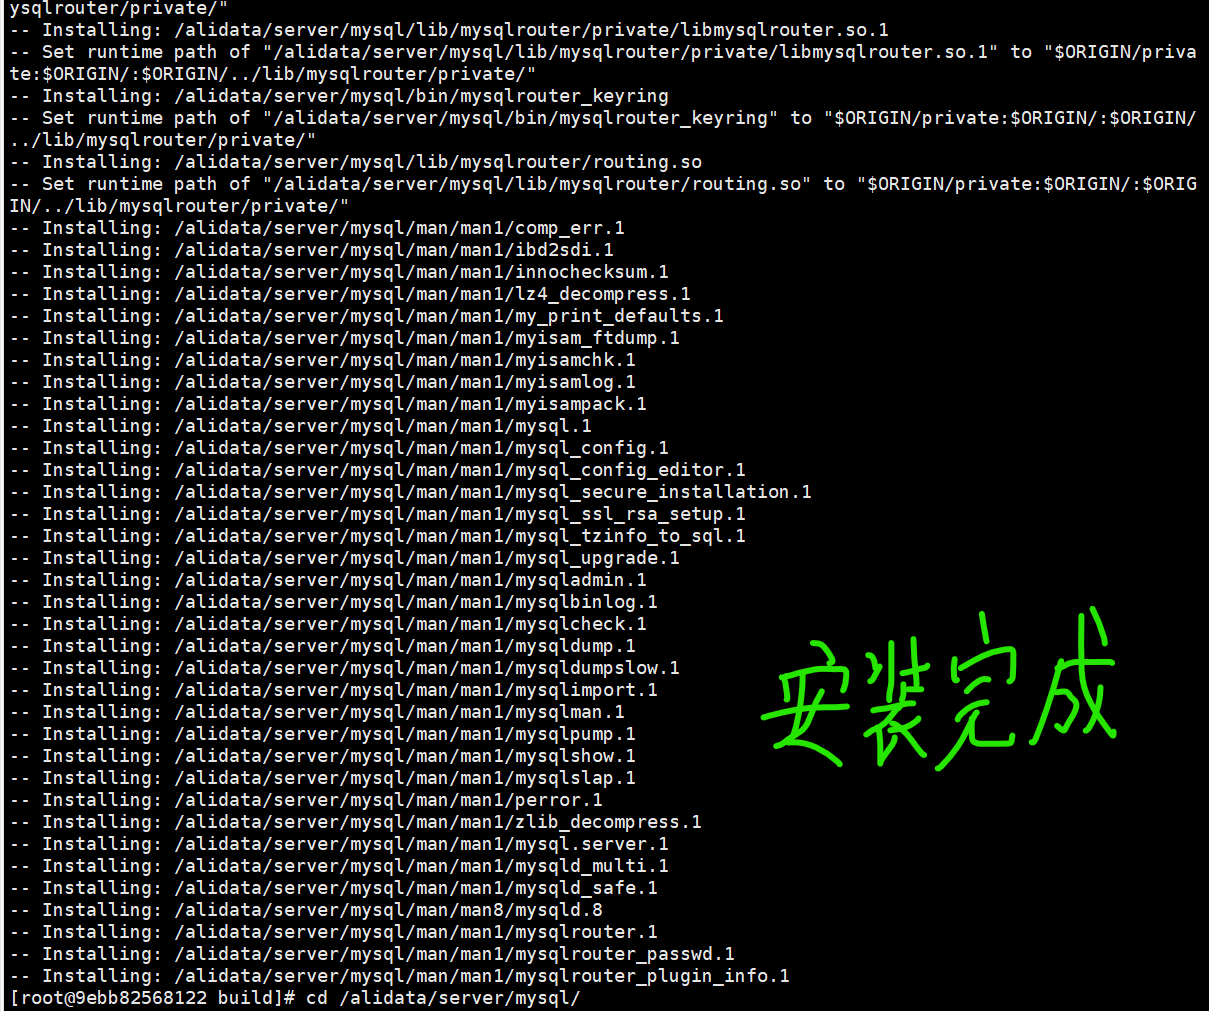
#### 5. 编译安装
`make && make install`
## mysql的配置
#### 6. 创建mysql用户和组
`groupadd -r mysql && adduser -r -g mysql -s /bin/false -M mysql`
#### 7. 修改mysql的权限
`chown -R mysql:mysql /alidata/server/mysql`
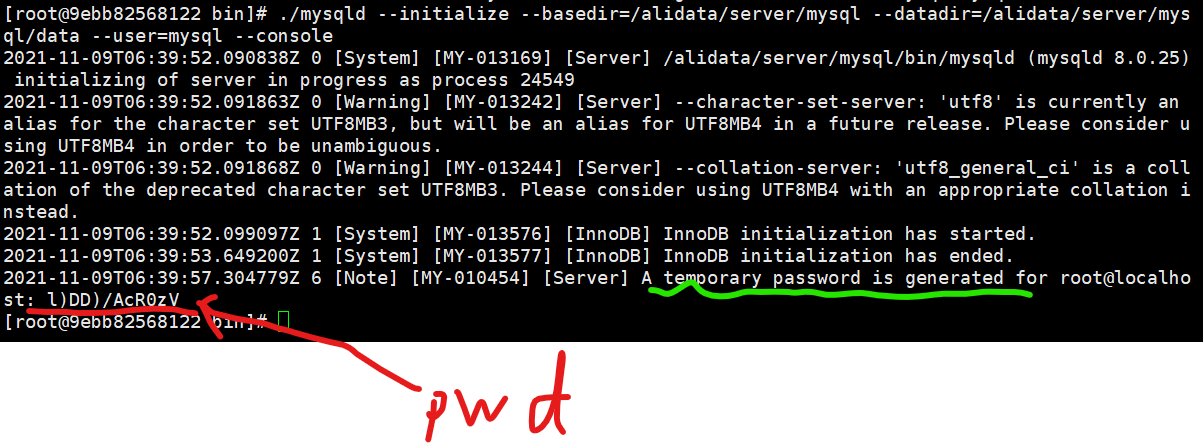
#### 8. 数据库初始化
~~~
cd /alidata/server/mysql/bin
./mysqld --initialize --basedir=/alidata/server/mysql --datadir=/alidata/server/mysql/data --user=mysql --console
~~~
#### 9. 加入到系统服务
~~~
cp /alidata/server/mysql/support-files/mysql.server /etc/init.d/mysql
chmod 755 /etc/init.d/mysql
chkconfig --add mysql
~~~
#### 10. 配置my.cnf
`vim /etc/my.cnf`
修改对应的配置
~~~
[mysqld]
datadir=/alidata/server/mysql/data
socket=/var/lib/mysql/mysql.sock
max_connections=10000
max_connect_errors=10
# Disabling symbolic-links is recommended to prevent assorted security risks
symbolic-links=0
# Settings user and group are ignored when systemd is used.
# If you need to run mysqld under a different user or group,
# customize your systemd unit file for mariadb according to the
# instructions in http://fedoraproject.org/wiki/Systemd
[mysqld_safe]
log-error=/alidata/server/mysql/log/mariadb.log
pid-file=/alidata/server/mysql/log/run/mariadb.pid
~~~
保存文件后建立mysql.sock的存放目录,并分配给mysql用户和组
~~~
mkdir /var/lib/mysql
chown -R mysql:mysql /var/lib/mysql
~~~
创建日志文件mariadb.log
~~~
touch /alidata/server/mysql/log/mariadb.log
cd /alidata/server/mysql/log
chown -R mysql:mysql mariadb.log
~~~
#### 11. 启动mysql
`service mysql start`
如果启动有问题可以查看mariadb.log日志里面的[ERROR]部分。
#### 12. 配置环境变量
`vim /etc/profile`
把mysql的bin目录加入PATH中
`export PATH=$PATH:/alidata/server/mysql/bin`
保存后执行source命令使配置立即生效
`source /etc/profile`
#### 13. 修改初始密码,mysql登录(密码就是mysqld --initialize初始化时候console里面的临时密码)
~~~
mysql -uroot -p
~~~
登录后修改密码
alter user user() identified by "你的新密码";
修改用户的MySQL的密码认证插件是“mysql_native_password” (这步可以省略)
```
#alter user 'root'@'localhost' identified with mysql_native_password by '密码';
alter user 'root'@'localhost' identified by '密码';
flush privileges;
```
查询用户的密码插件信息
```
use mysql
select plugin,authentication_string,host,user from user;
```
允许远程访问
~~~
my.cnf添加下面参数重启数据库
default_authentication_plugin=mysql_native_password
创建用户
create user 'root'@'%' identified by 'mysql的密码';
grant all on *.* to 'root'@'%';
flush privileges;
~~~
到这为止,lnmp的环境就配置完成了。