
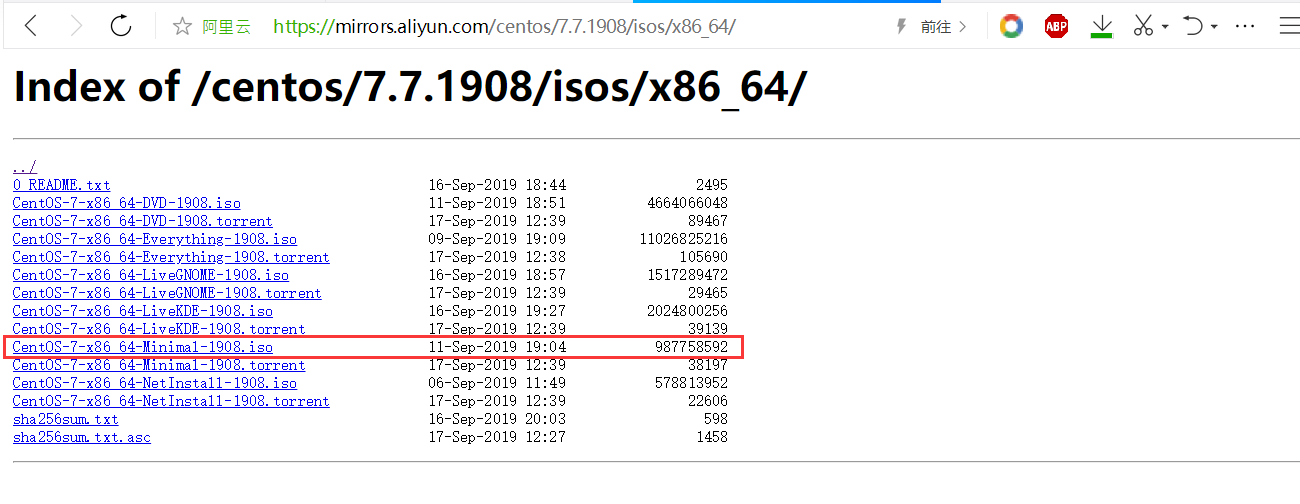
>[danger] 下载 `centos7.7.1908` 最小化镜像文件
https://mirrors.aliyun.com/centos/7.7.1908/isos/x86_64
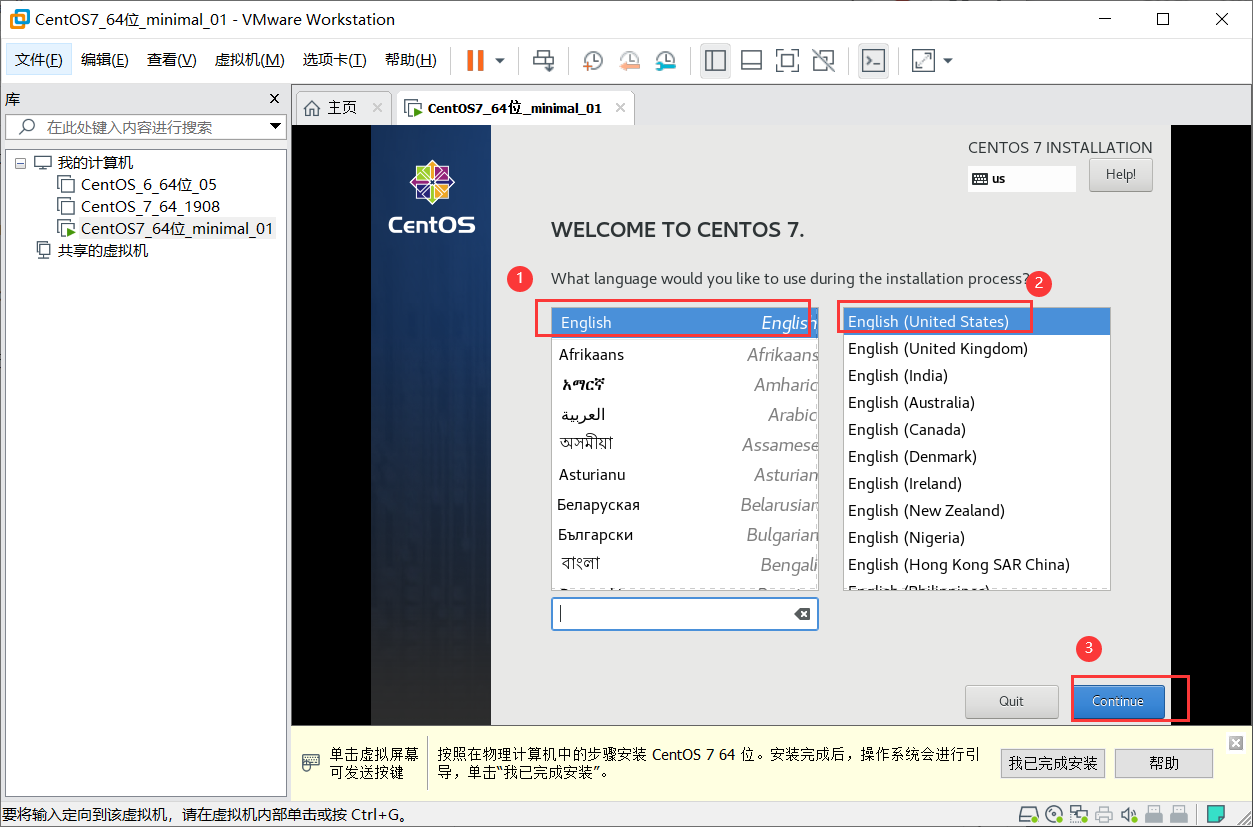
>[danger] 安装引导页
+ 选择界面语言
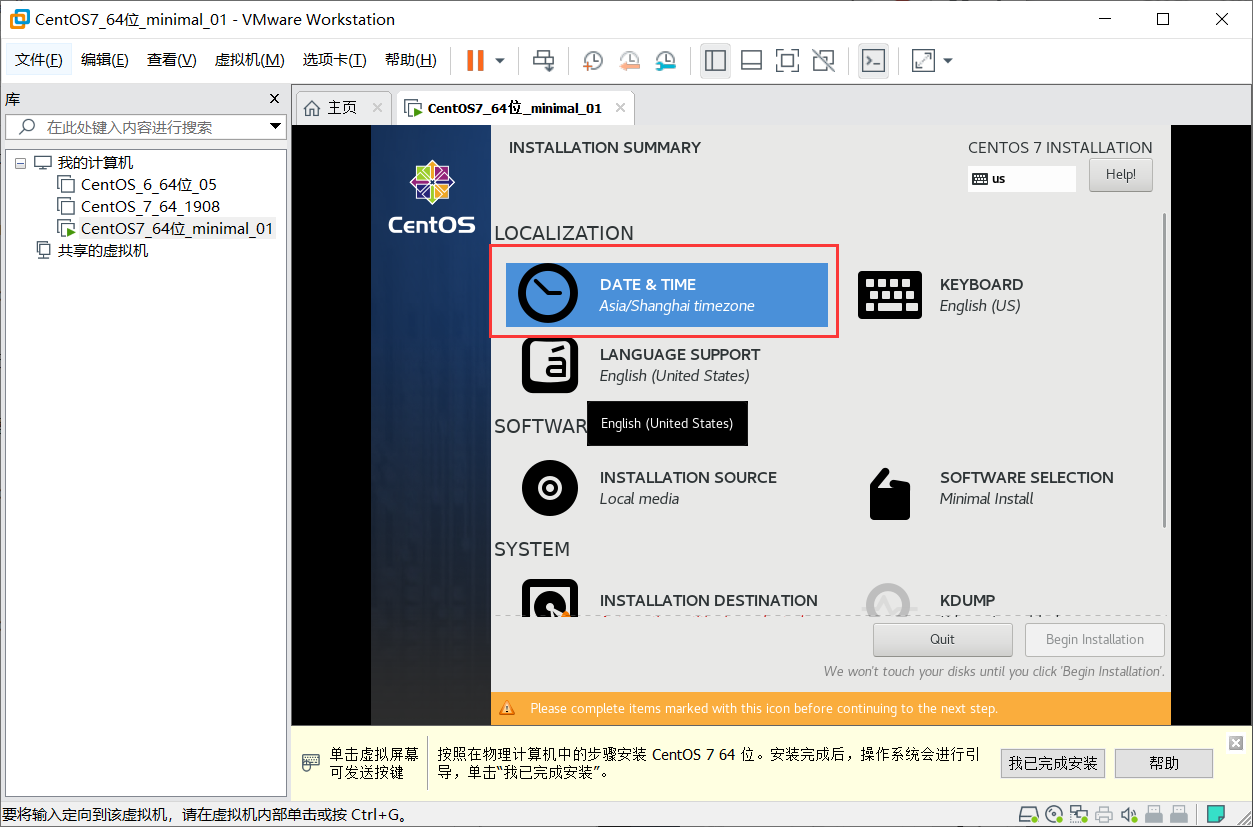
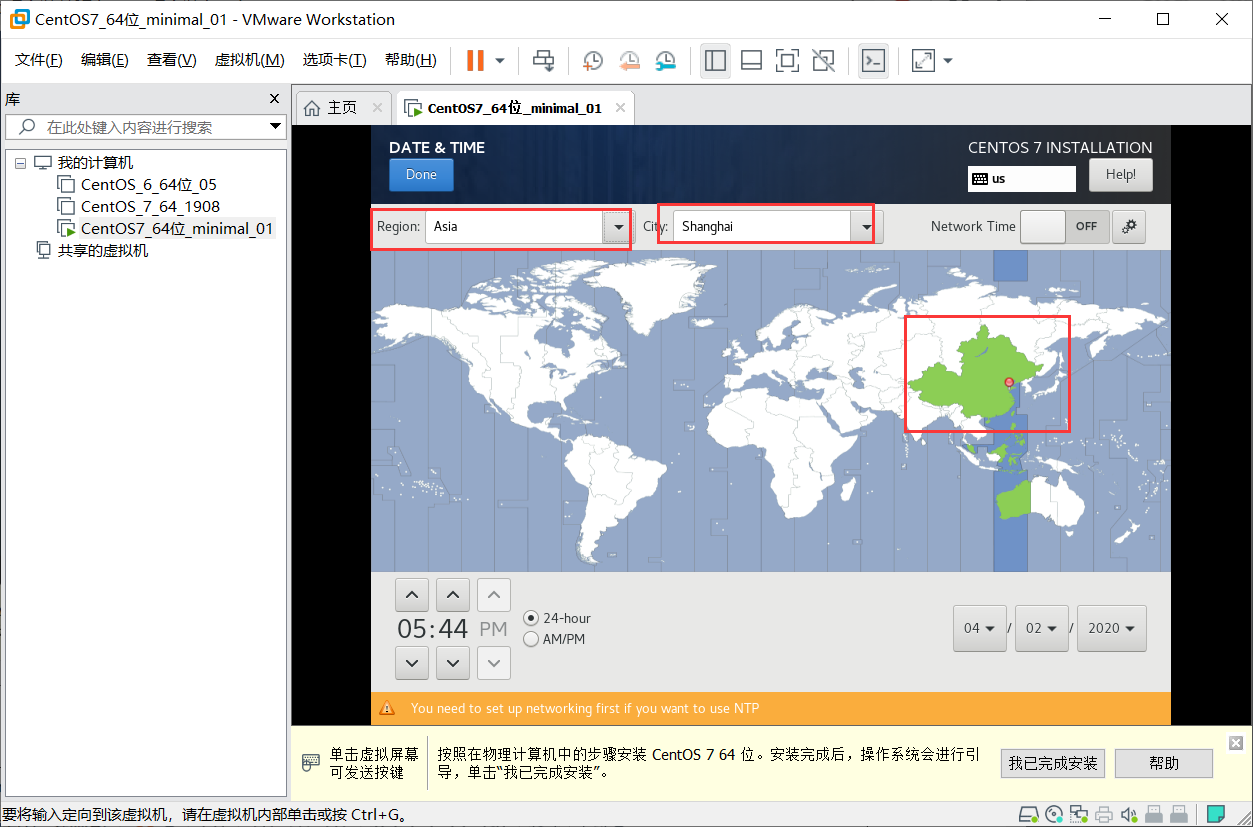
+ 选择时区
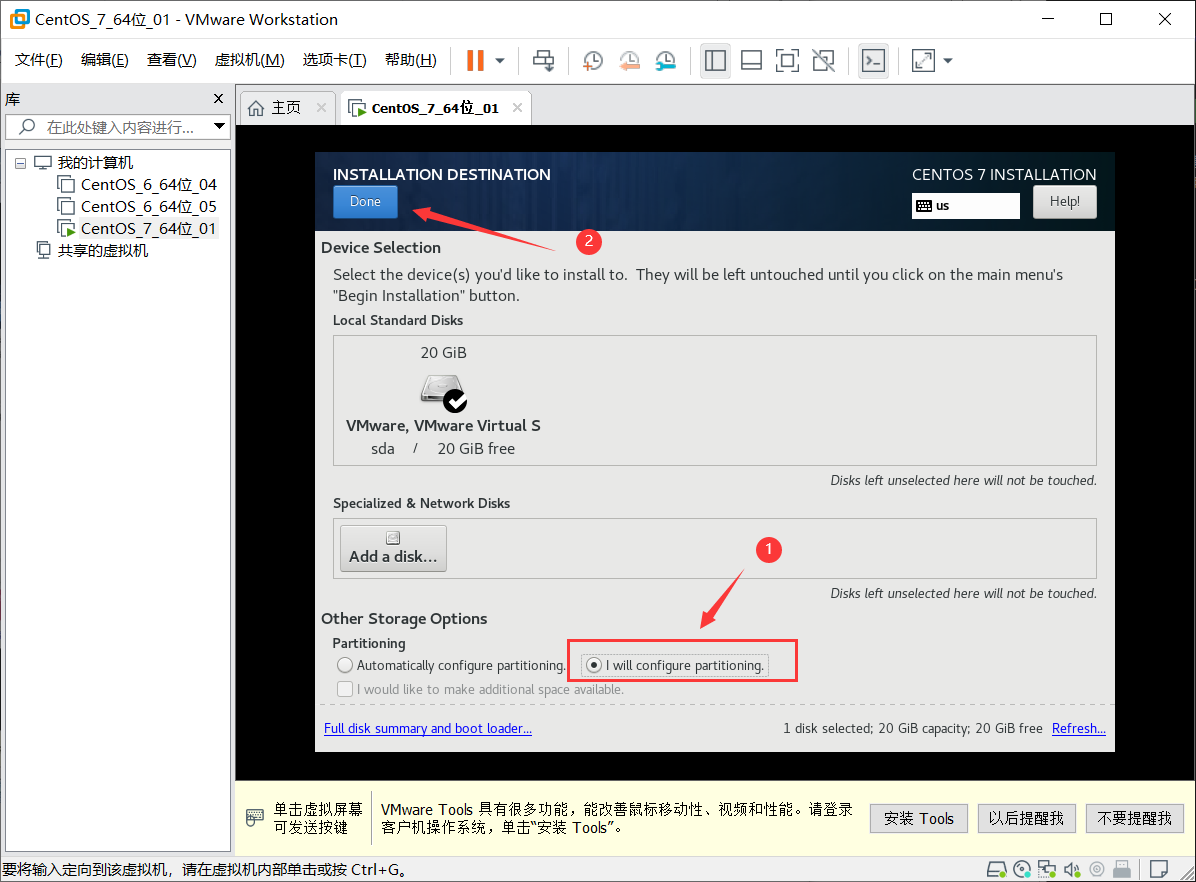
+ 选择分区
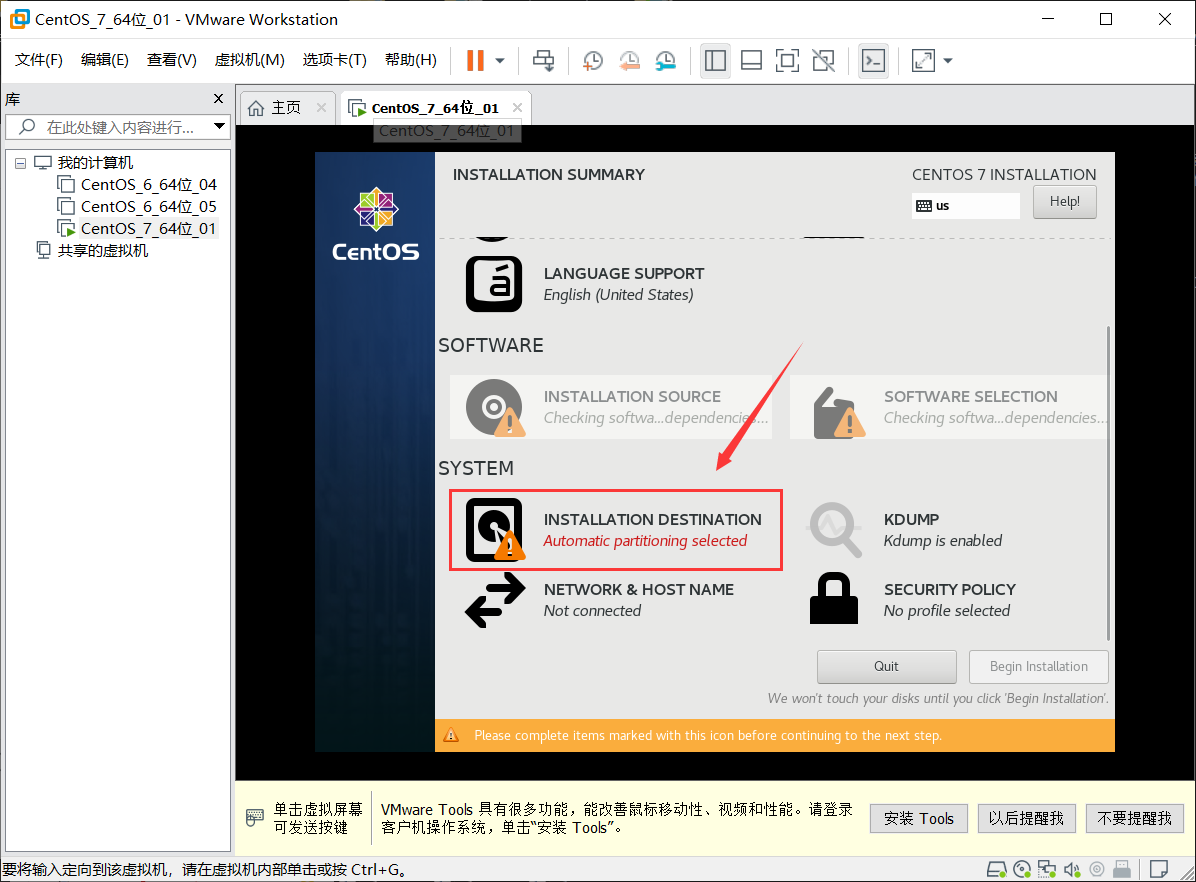
+ 先选中下面的`我要配置分区`, 再点击左上角的`Done`
+ LVM 改为 `Standard Partition`(标准分区), 添加`/boot`分区 , 操作如下图所示(200MIB改为200MIB)

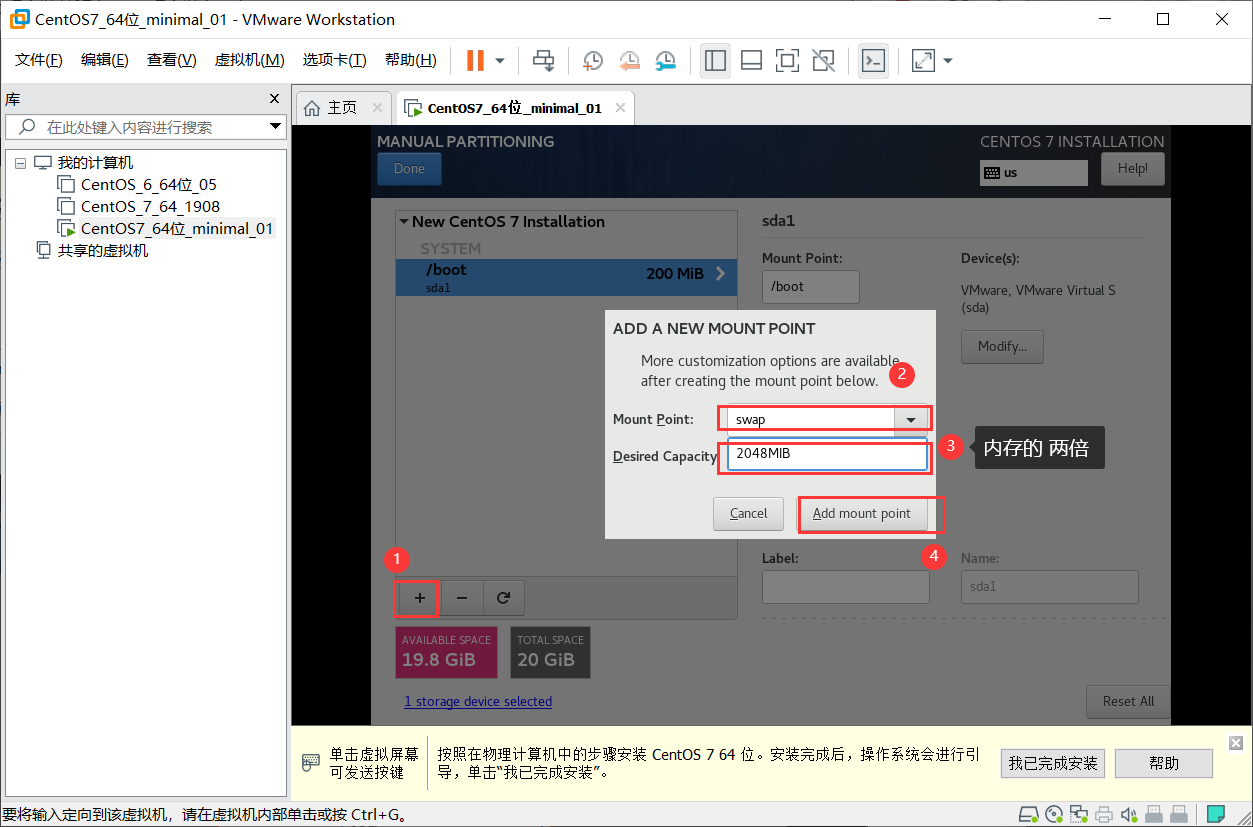
+ 添加交换分区 `/swap`
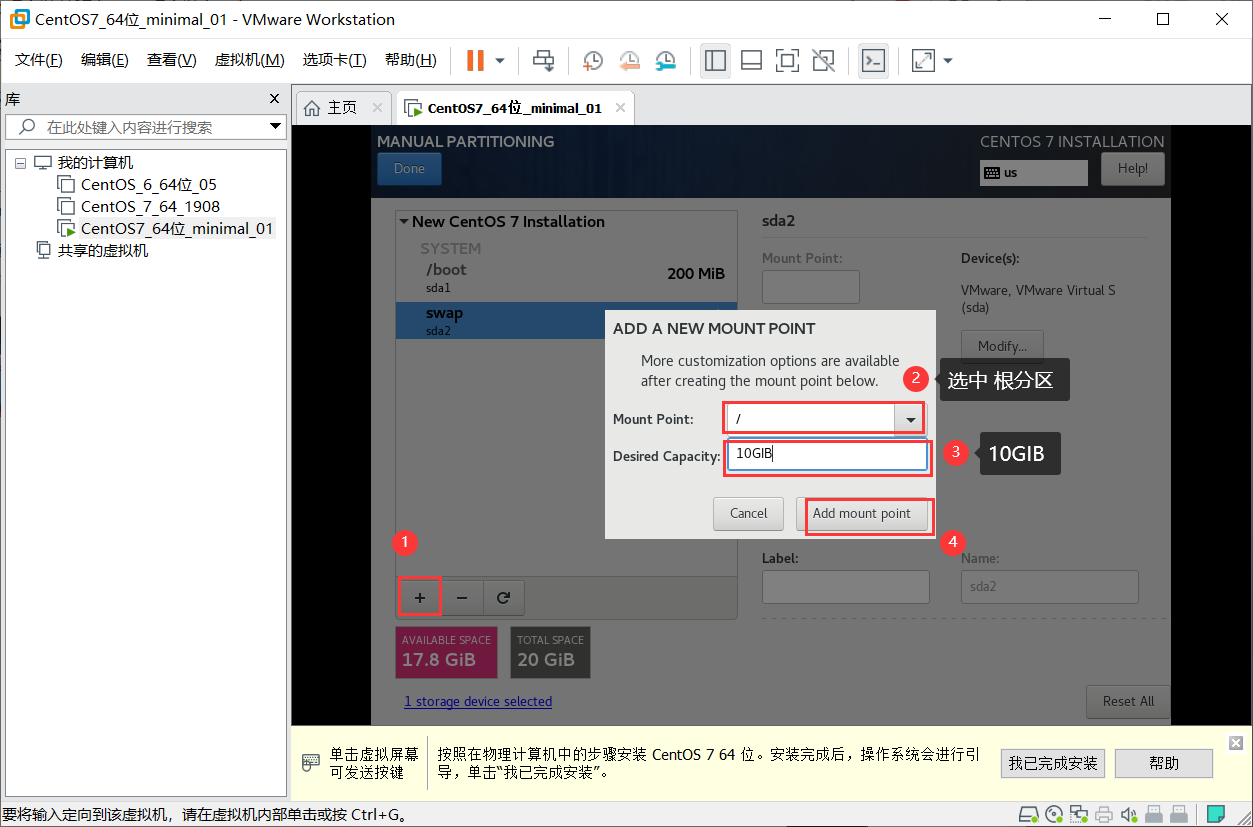
+ 添加根分区
+ 分区创建完成

+ 提示对分区进行格式化 点击接受

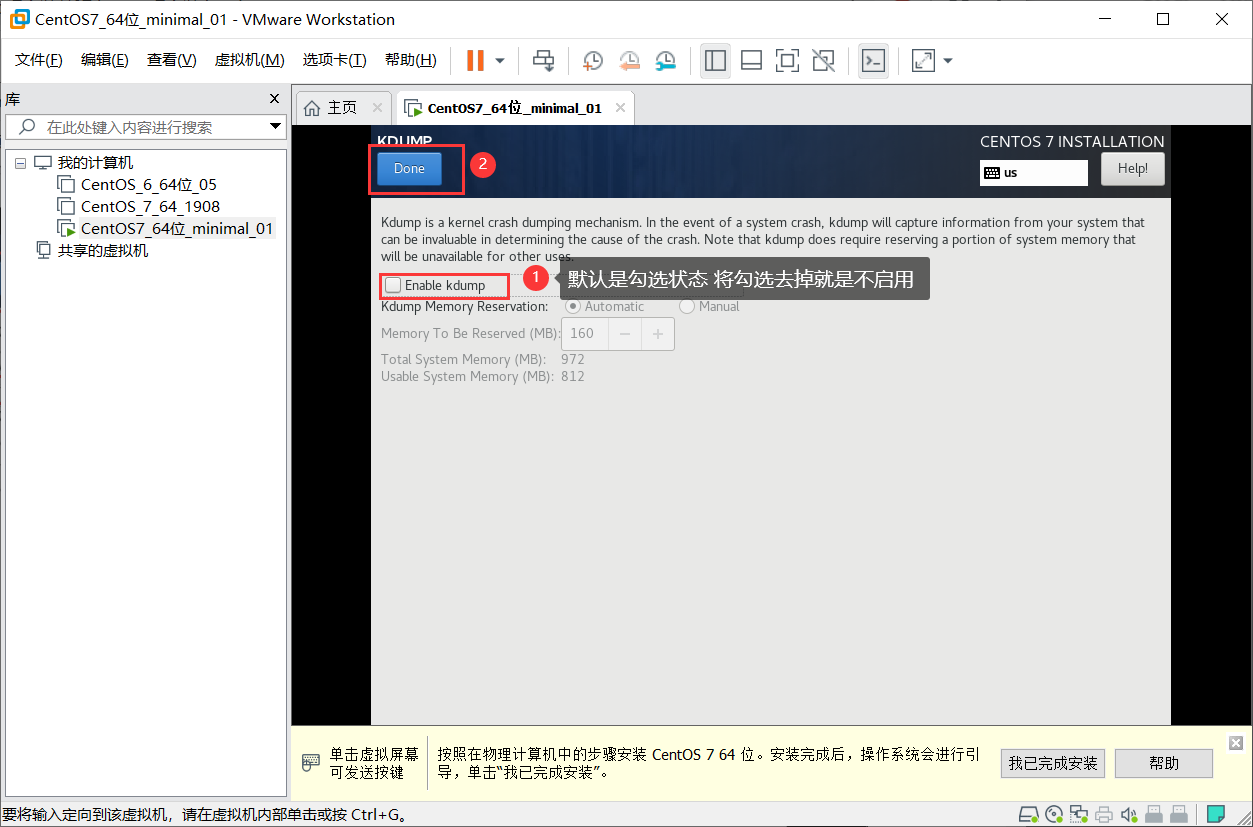
+ 关闭`kdump内核崩溃转储机制`,默认是启用的
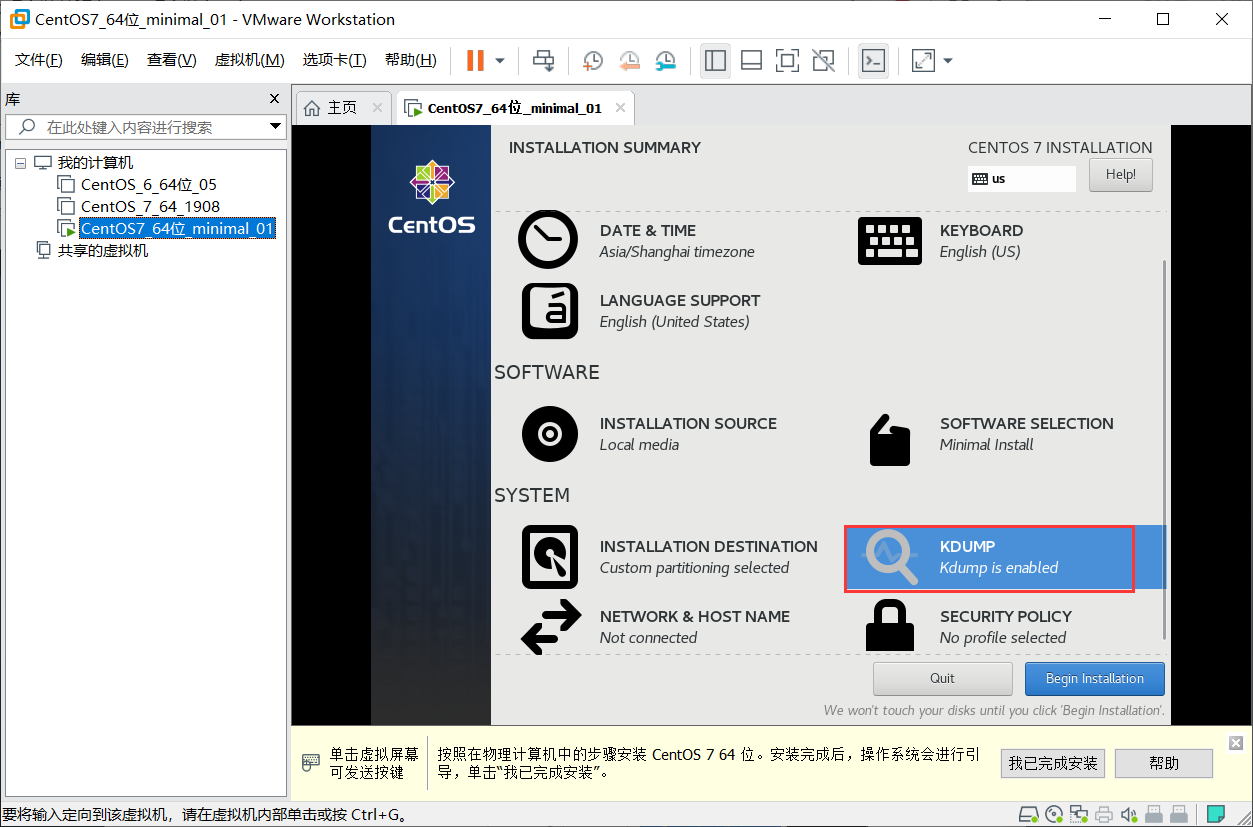
关闭转储机制
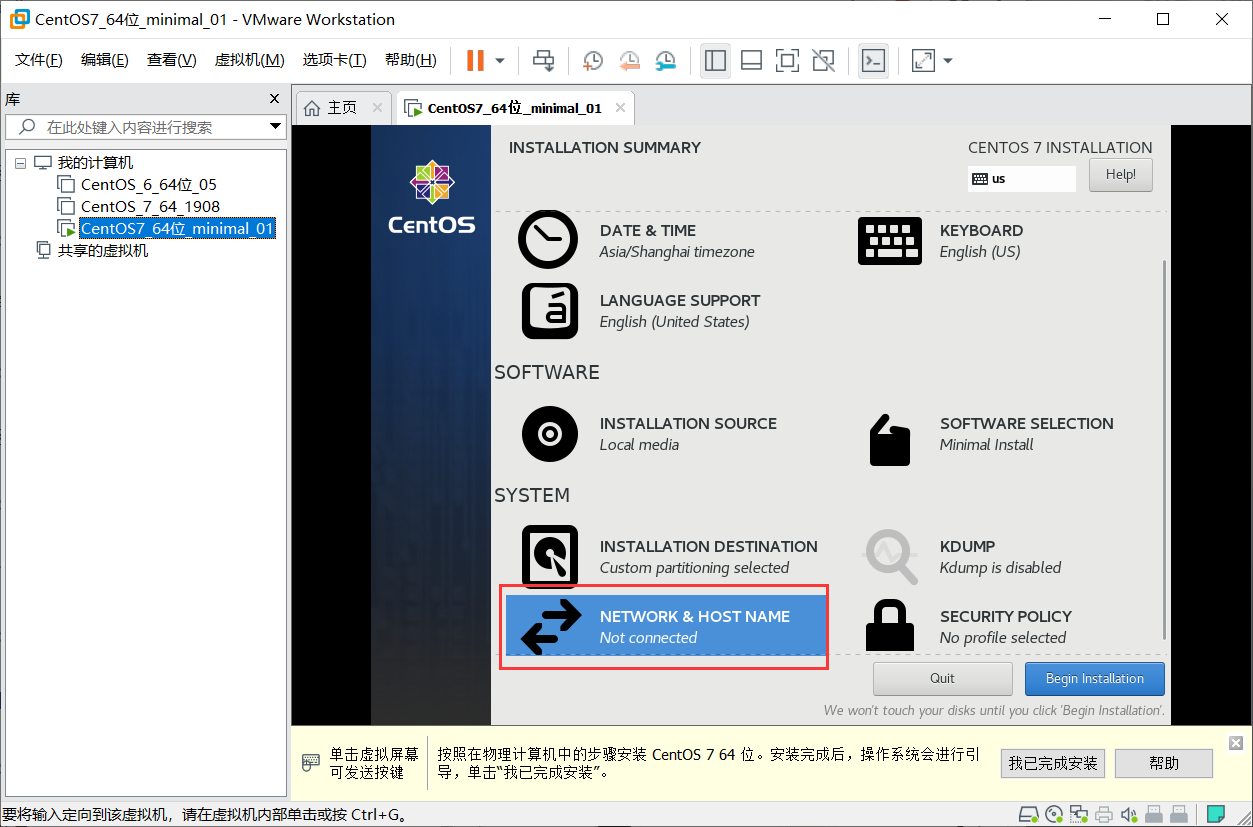
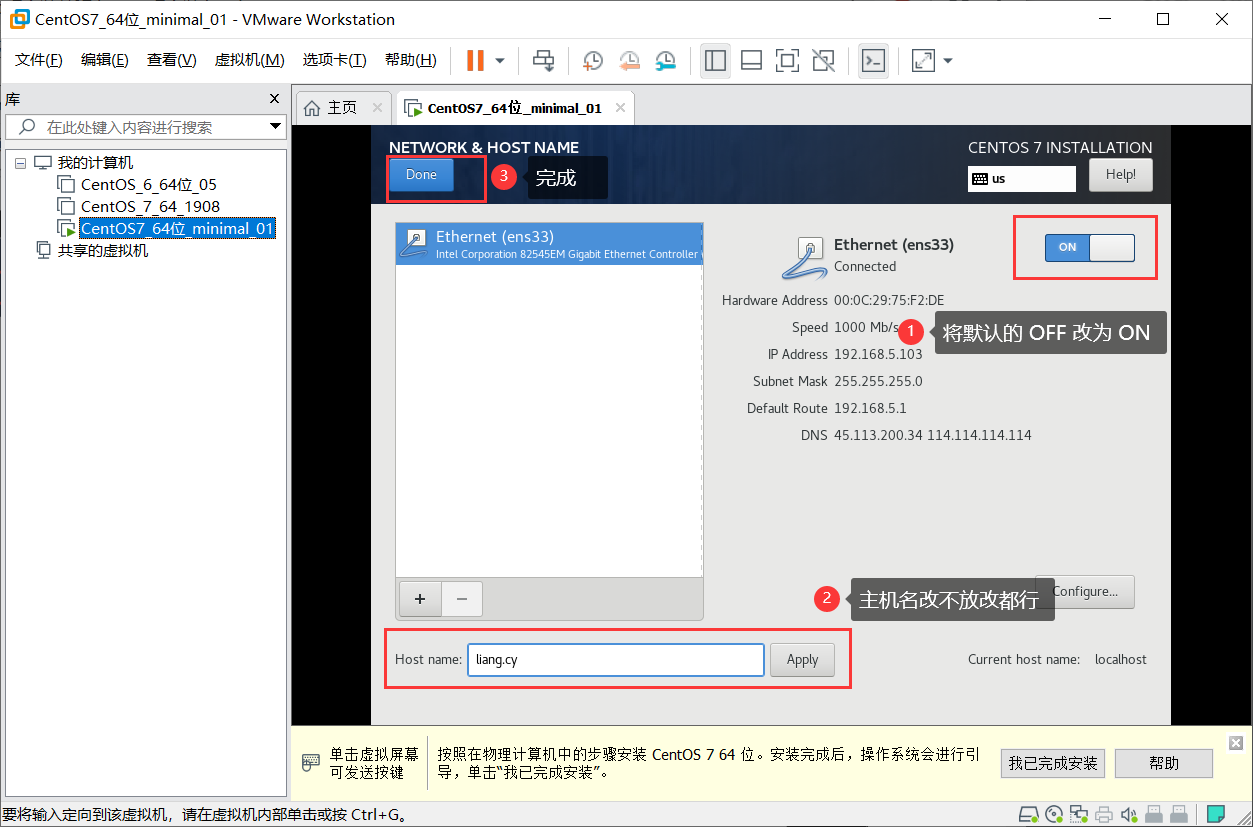
+ 网络和主机名
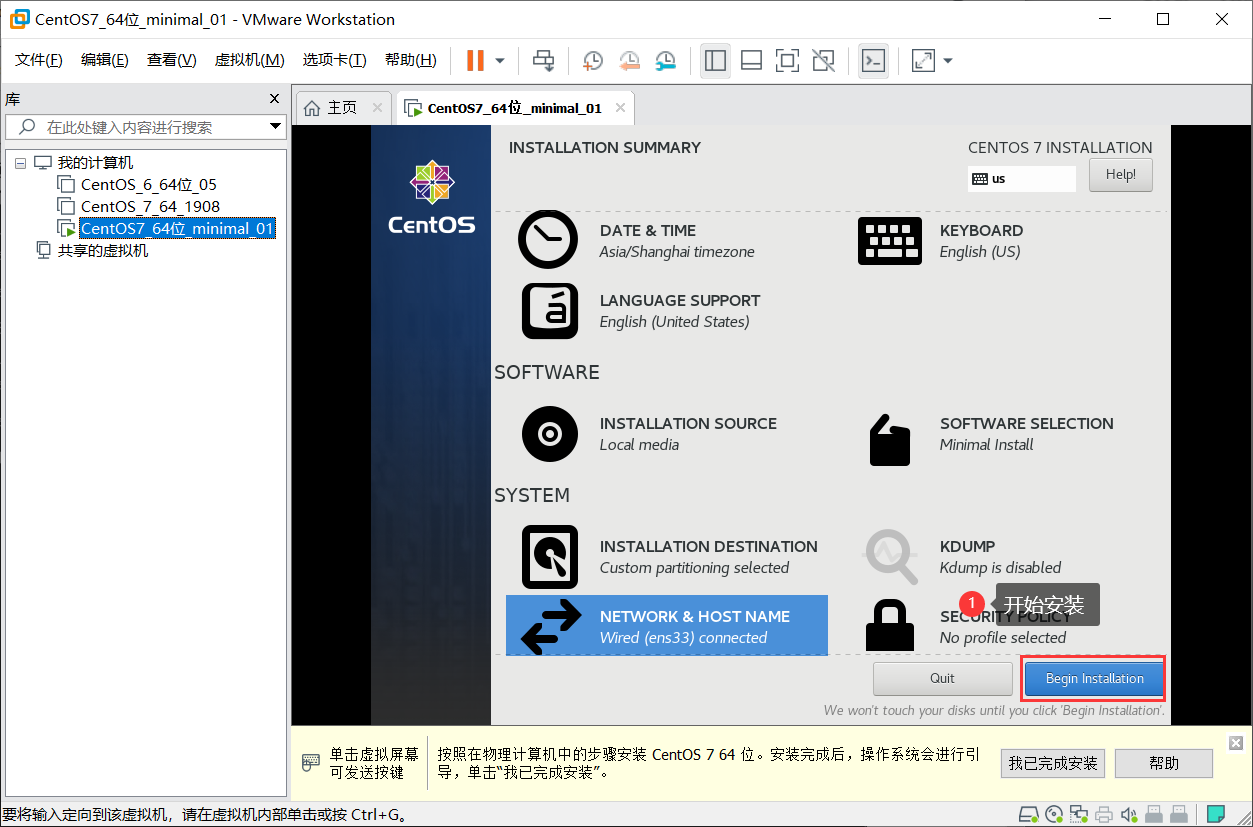
+ 配置完成,开始安装
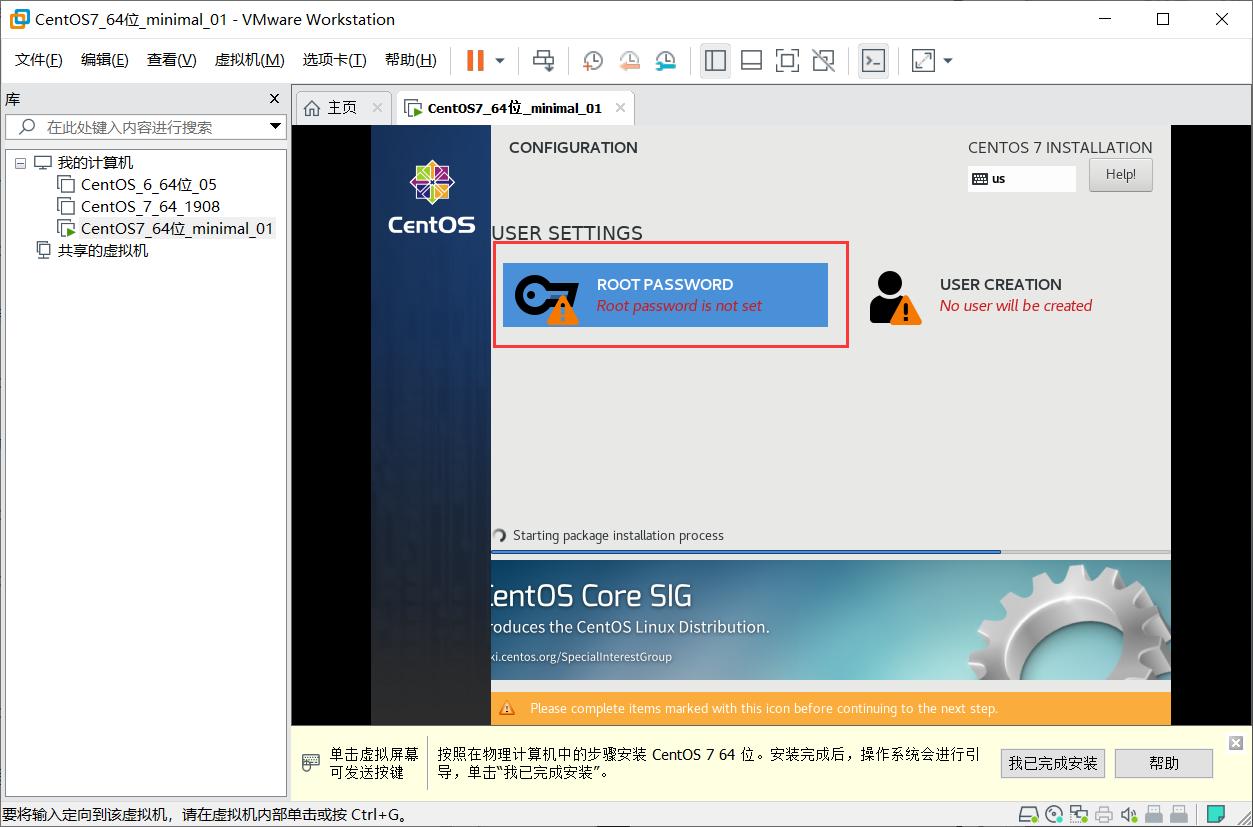
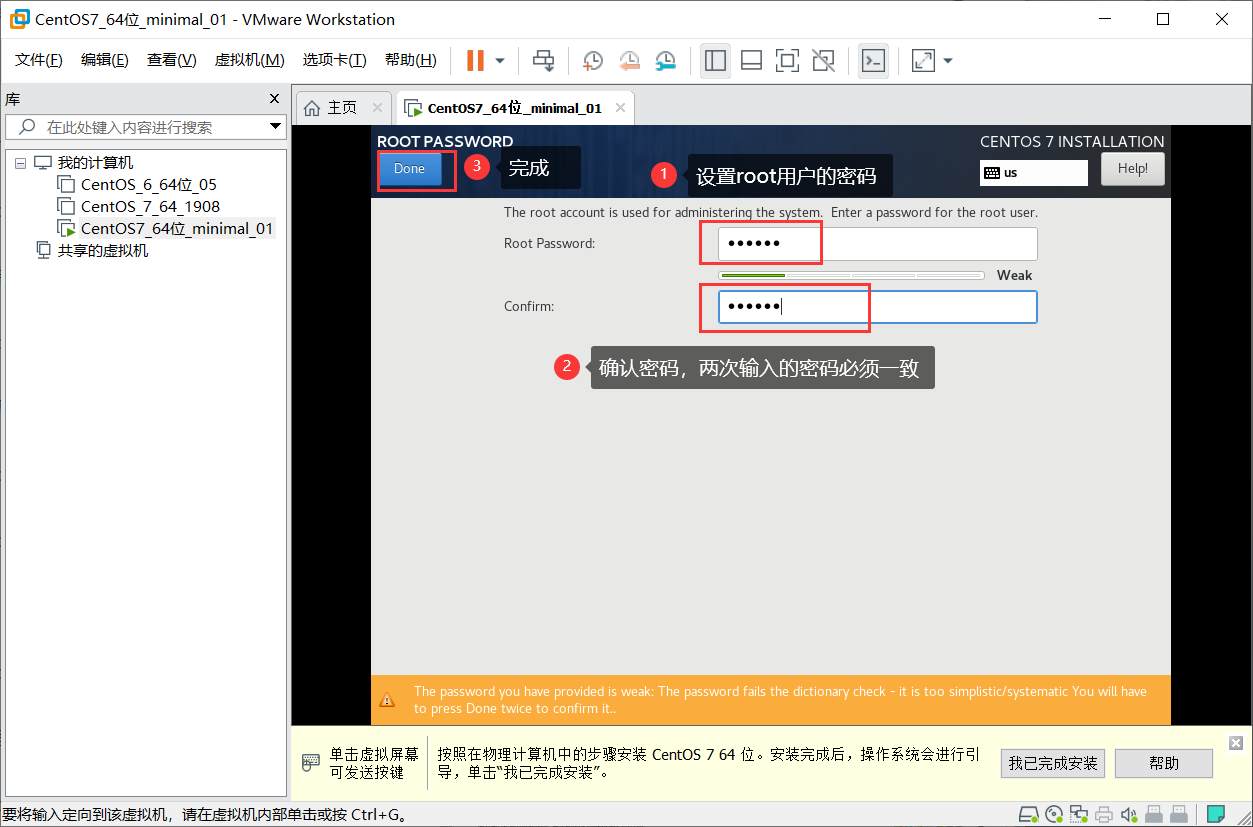
+ 在安装过程中设置 root 用户的密码
我习惯设置为 123456
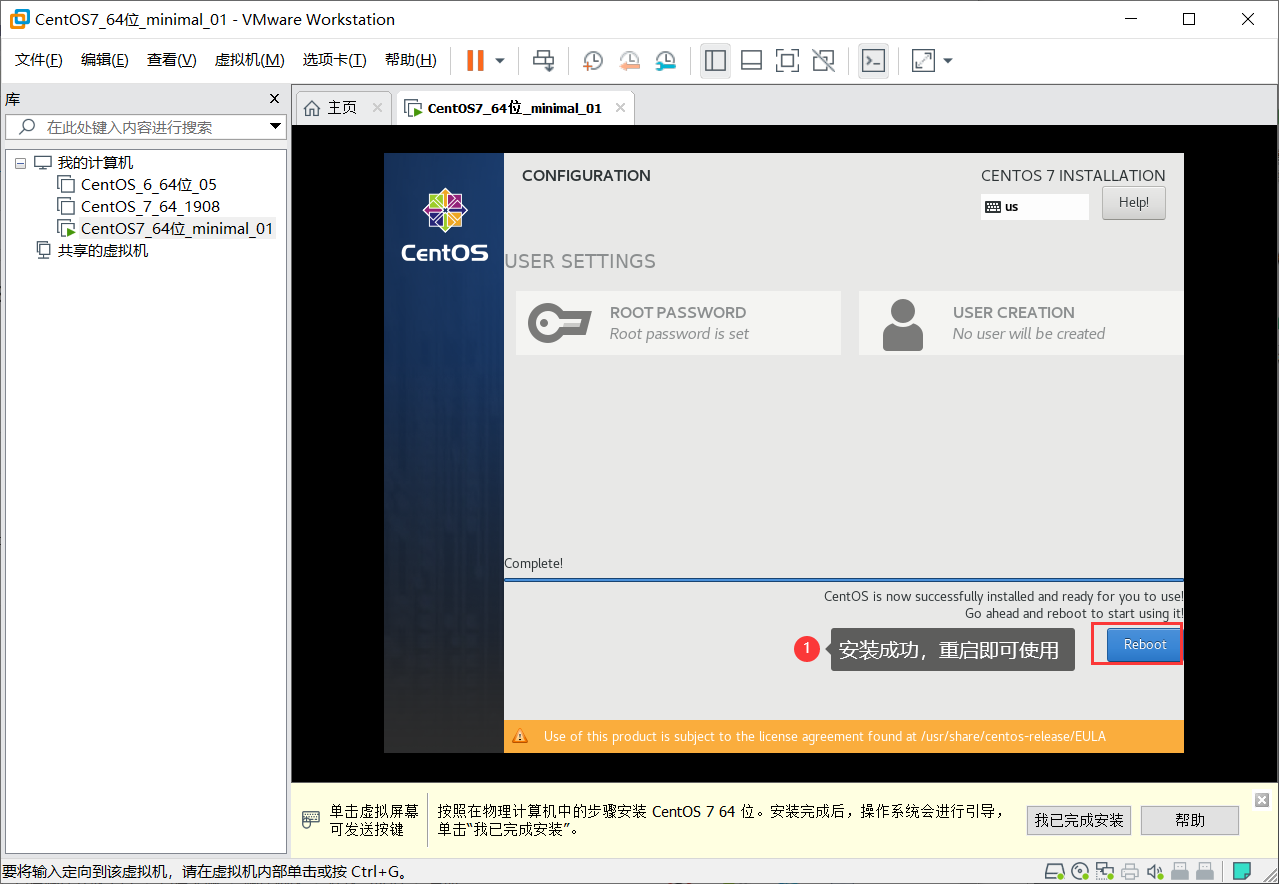
+ 安装成功后重启即可使用
- 序言
- PHP
- 经典算法
- 冒泡排序
- PHP命令
- 常用命令
- 内置函数
- getenv
- 数组函数
- array_keys
- 数组指针函数
- 功能函数
- 随机字符串
- 获取文件后缀名
- 面向对象
- 继承
- 重写
- 关键字
- 集成环境
- PhpStudy-v8.1
- TP6.0 伪静态
- 无法解析PHP代码
- No input file specified
- 语言构造器
- 简介
- list
- exit
- array
- isset
- empty
- unset
- echo
- include
- require
- 流程控制语句
- foreach
- static
- Apache
- 常见报错
- 拒绝访问
- 配置可靠域名
- layui
- 官方资源
- 扩展模块
- 公共属性
- 内置方法
- layui.config
- layui.msg
- 内置模块
- table
- 基础方法
- 快速使用
- 基础使用
- 渲染方式
- 基础方法
- 表格重载
- table.json
- 重载方法
- 基础使用
- 事件监听
- 行工具事件
- 函数封装
- upload
- 上传接口
- 关闭自动上传
- choose
- 扩展组件
- authtree
- 仓库地址
- 快速上手
- treeTable
- 下载地址
- xm-select
- 登陆页面
- layuiadmin单页版
- JS函数封装
- 侧边菜单
- config.js
- 路由参数
- iframe版引入组件
- token
- 删除数据
- PhpStorm
- 背景色
- 注释在当前位置开始
- 修改 TAB 键为制表符
- 等号对齐和数组键值对齐
- 取消自动保存和显示星号
- Vue
- 官方资源
- 指令
- v-if
- v-text
- v-html
- v-bind
- v-model
- vue对象
- vuecli
- MySQL
- 常用命令
- show
- 多表联查
- 创建数据表
- 内连接
- 自连接
- 左外连接
- 右外连接
- 命令行进入MySQL
- 创建数据库
- 备份和恢复
- MySQL关键字
- mysql密码策略
- 修改用户密码
- Linux
- 快捷键
- 镜像文件
- 常用命令
- cmake安装
- centos7
- 防火墙
- 最小化安装
- nginx编译安装
- 下载 nginx 软件包
- 解压缩解包
- 生成 Makefile 文件
- 可能出现的错误
- 执行安装命令
- nginx目录结构
- PHP编译安装
- lrzsz
- 打包压缩
- 打包
- 快捷压缩
- yum安装mysql
- SQL注入
- owasp
- SQL注入
- Composer
- endroid/qr-code
- status
- config
- archive
- validate
- licenses
- create-project
- 全局选项
- --help
- --quiet
- --working-dir
- --no-interaction
- composer.json
- name
- 支付宝
- JSAPI
- Pbootcms
- 分页
- 修改模板
- 数据表字典
- markdown
- Editor.md
- 下载地址
- 基本使用
- 参数选项
- 图片上传
- 代码注释
- 佛祖保佑
- 更新日志