[TOC]
# 创建springboot项目
## 1、点击新建选择project...

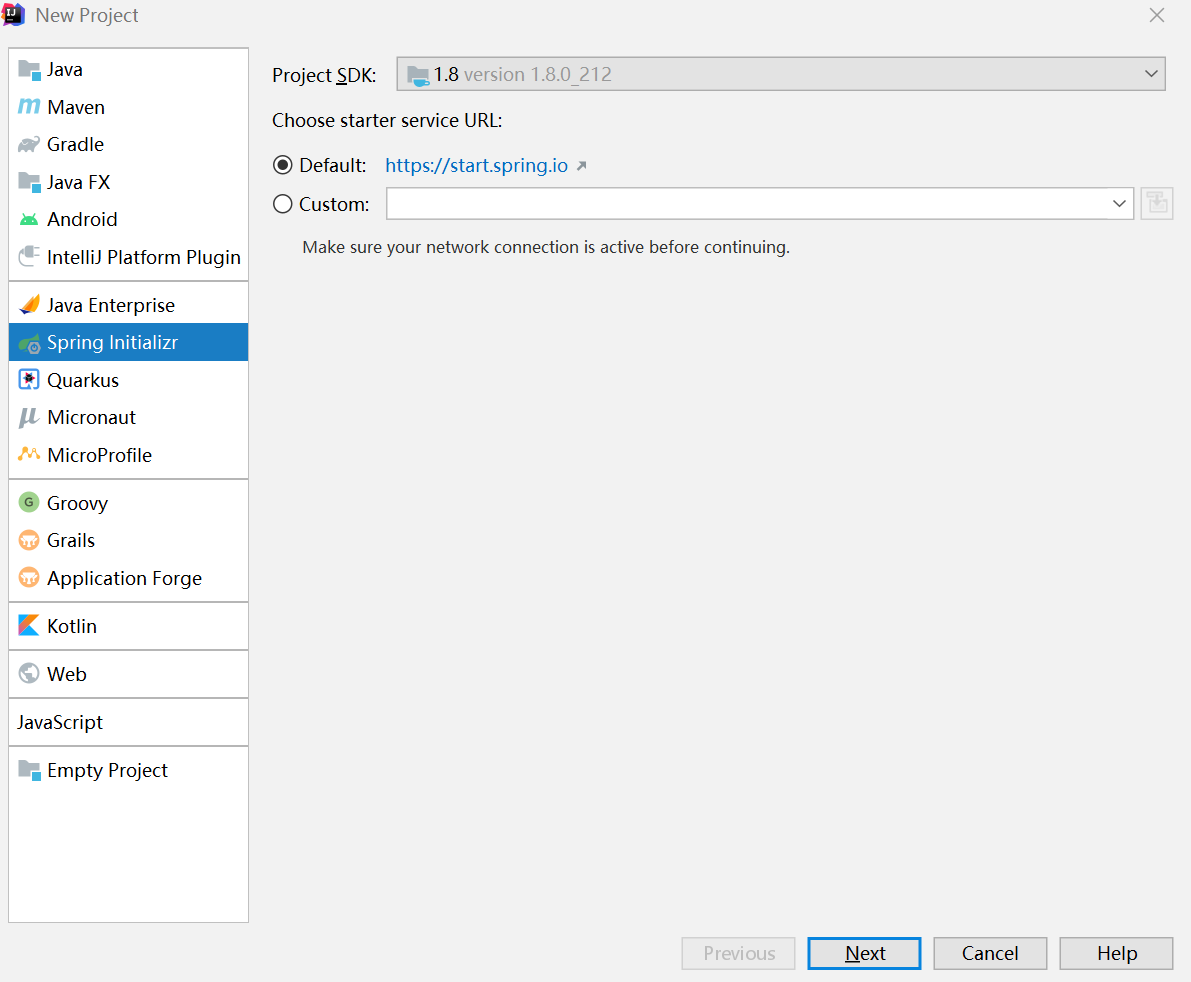
## 2、选择Spring Initializr
## 3、项目配置


## 4、完成项目创建

# 项目整理
## 1、删除掉mvn相关的maven控制

## 2、新增web和lombok的依赖
```
<dependency>
<groupId>org.springframework.boot</groupId>
<artifactId>spring-boot-starter</artifactId>
</dependency>
<dependency>
<groupId>org.springframework.boot</groupId>
<artifactId>spring-boot-starter-test</artifactId>
<scope>test</scope>
</dependency>
<dependency>
<groupId>org.springframework.boot</groupId>
<artifactId>spring-boot-starter-web</artifactId>
</dependency>
<!--简化javabean相关操作-->
<dependency>
<groupId>org.projectlombok</groupId>
<artifactId>lombok</artifactId>
<scope>provided</scope>
</dependency>
```
## 3、删除application.property 新建application.yml

# 项目运行
## 1、启动项目

## 2、访问hello
在浏览器中输入:
[http://localhost:8090/common/hello/](http://localhost:8090/common/hello/)

至此我们的springboot项目搭建已经完成。
- 青锋项目介绍
- 系统框架介绍
- 搭建开发环境
- 涵盖技术
- 构建后台框架
- springboot项目构建
- mvnw介绍
- 整合mybatis-plus
- mybatisplus知识点
- SQL日志打印工具p6spy
- mybatis-plus分页
- mybatis-plus多数据源使用
- mybatis-plus乐观锁
- springboot全局异常
- 整合拦截器/过滤器
- 实现业务功能模块
- 数据结构设计
- 框架完善-工具类-注释、验证
- 业务模块实现介绍
- 整合springsecurity权限控制
- Spring-Security-OAuth2简介
- springboot整合springsecurity
- springsecurity实现访问权限控制
- 整合登录图形验证码
- springboot整合Sentinel-实现验证码限流
- 架构权限功能说明
- 菜单、功能权限的讲解
- 数据权限的讲解
- Quartz动态定时器整合
- 整合quartz动态定时器
- quartz动态定时案例介绍
- 代码生成器
- freemarker模板引擎常用语法
- 代码生成器功能设计
- 代码生成器实现方式
- Vue前端教程
- 快速开始
- 项目组成介绍
- layouts布局组件介绍
- 动态锁屏介绍
- IndexedDB 浏览器数据库-参考
- Axios基础知识
- Axios请求的封装
- 静态路由和菜单
- 动态路由和权限控制
- 功能权限与指令
- 系统登录和token刷新
- Vuex状态管理使用说明
- Vue3之setup讲解及使用
- 架构功能拓展
- 整合swagger接口文档
- 接口授权签名认证
- 集成prometheus+Grafana监控
- 请求调用链路追踪