
# Windows部署Docker
> #### 手册阅读须知:
> 本手册仅针对windows10版本做详情介绍,win7,win8环境也可作为部署环境部署,本手册仅针对Docker部署版本(使用左右键(`<-- 和 -->`)翻页阅读)
* * *
# Docker——准备前工作
> Windows部署Docker前,需要做一些准备,以下为Windows部署Docker前所必须的,请详细阅读Windows部署Docker准备使用书,以保证部署执行效率,感谢阅读.
## Windows部署Docker准备工作步骤:
* [ ] > ### **`Win10 系统`**:
Docker Desktop 是 Docker 在 Windows 10 和 macOS 操作系统上的官方安装方式,这个方法依然属于先在虚拟机中安装 Linux 然后再安装 Docker 的方法。
Docker Desktop 官方下载地址:[https://docs.docker.com/desktop/install/windows-install/](https://docs.docker.com/desktop/install/windows-install/)
<span style="color:red">**注意:**此方法仅适用于 Windows 10 操作系统专业版、企业版、教育版和部分家庭版!
* [ ] > ### **`安装 Hyper-V`**:
Hyper-V 是微软开发的虚拟机,类似于 VMWare 或 VirtualBox,仅适用于 Windows 10。这是 Docker Desktop for Windows 所使用的虚拟机。但是,这个虚拟机一旦启用,QEMU、VirtualBox 或 VMWare Workstation 15 及以下版本将无法使用!如果你必须在电脑上使用其他虚拟机(例如开发 Android 应用必须使用的模拟器),请不要使用 Hyper-V!
* [ ] ### 开启 Hyper-V
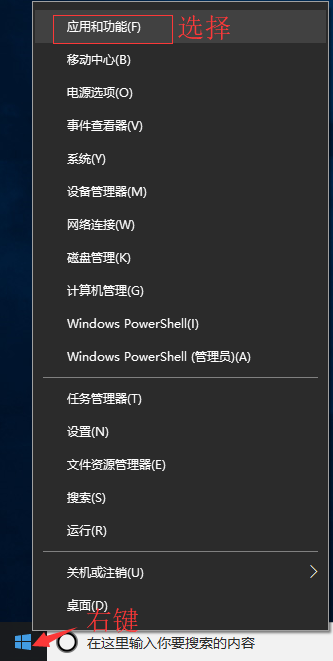
程序和功能

启用或关闭Windows功能

选中Hyper-V

也可以通过命令来启用 Hyper-V ,请右键开始菜单并以管理员身份运行 PowerShell,执行以下命令:
~~~
Enable-WindowsOptionalFeature -Online -FeatureName Microsoft-Hyper-V -All
~~~
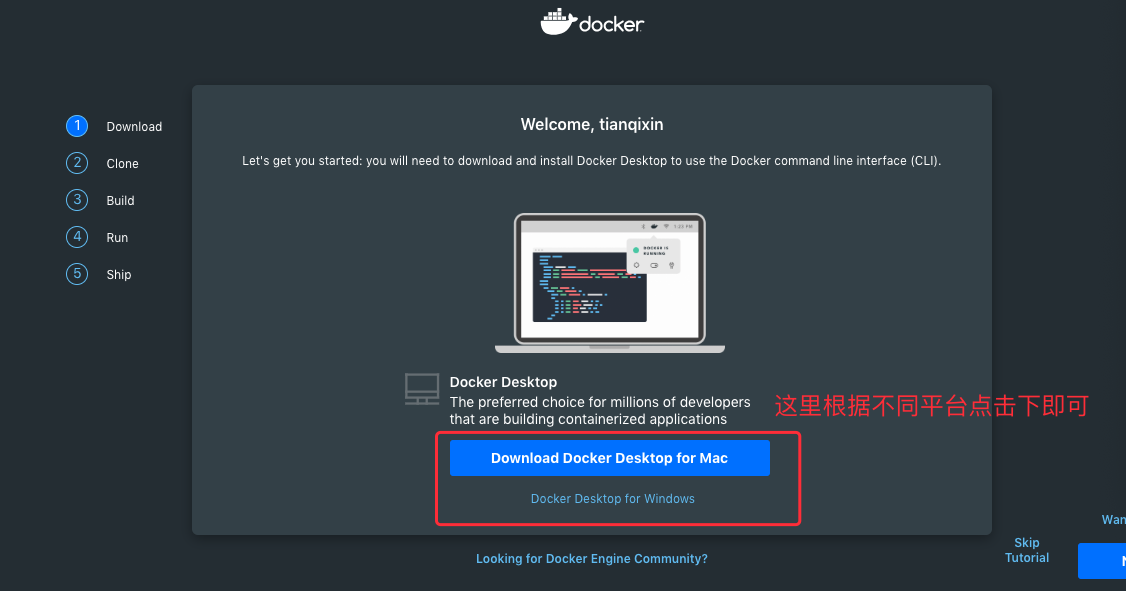
> ### **`安装 Docker Desktop for Windows`**:
点击[Get started with Docker Desktop](https://hub.docker.com/?overlay=onboarding),并下载 Windows 的版本,如果你还没有登录,会要求注册登录:
### 运行安装文件
双击下载的 Docker for Windows Installer 安装文件,一路 Next,点击 Finish 完成安装。
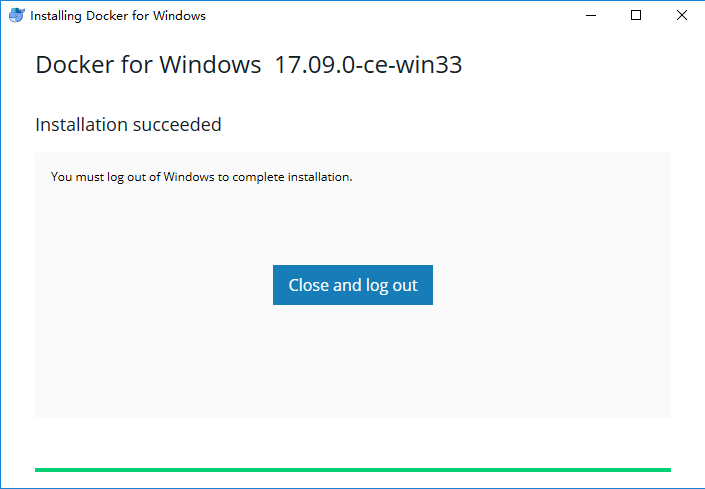
安装完成后,Docker 会自动启动。通知栏上会出现个小鲸鱼的图标,这表示 Docker 正在运行。
桌边也会出现三个图标,如下图所示:
我们可以在命令行执行 docker version 来查看版本号,docker run hello-world 来载入测试镜像测试。
如果没启动,你可以在 Windows 搜索 Docker 来启动:
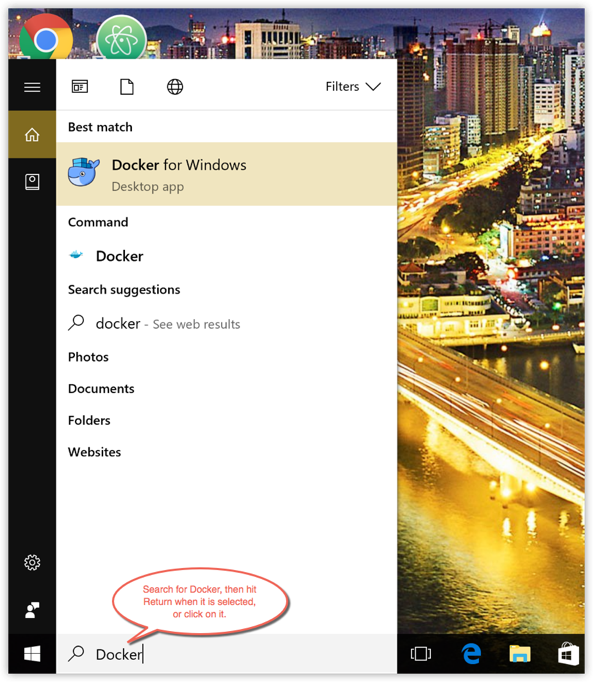
启动后,也可以在通知栏上看到小鲸鱼图标:

> 如果启动中遇到因 WSL 2 导致地错误,请安装[WSL 2](https://docs.microsoft.com/zh-cn/windows/wsl/install-win10)。
安装之后,可以打开 PowerShell 并运行以下命令检测是否运行成功:
~~~
docker run hello-world
~~~
在成功运行之后应该会出现以下信息:

> ### **`win7、win8 系统(作者未尝试此种部署方式,遇到问题,请自行百度)`**:
win7、win8 等需要利用 docker toolbox 来安装,国内可以使用阿里云的镜像来下载,下载地址:[http://mirrors.aliyun.com/docker-toolbox/windows/docker-toolbox/](http://mirrors.aliyun.com/docker-toolbox/windows/docker-toolbox/)
安装比较简单,双击运行,点下一步即可,可以勾选自己需要的组件:
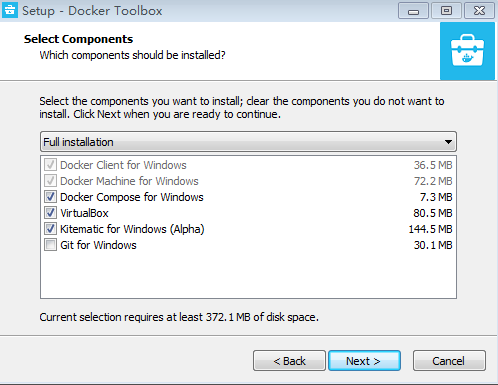
docker toolbox 是一个工具集,它主要包含以下一些内容:
* Docker CLI - 客户端,用来运行 docker 引擎创建镜像和容器。
* Docker Machine - 可以让你在 Windows 的命令行中运行 docker 引擎命令。
* Docker Compose - 用来运行 docker-compose 命令。
* Kitematic - 这是 Docker 的 GUI 版本。
* Docker QuickStart shell - 这是一个已经配置好Docker的命令行环境。
* Oracle VM Virtualbox - 虚拟机。
下载完成之后直接点击安装,安装成功后,桌边会出现三个图标,如下图所示:
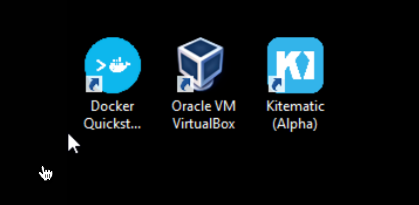
点击 Docker QuickStart 图标来启动 Docker Toolbox 终端。
如果系统显示 User Account Control 窗口来运行 VirtualBox 修改你的电脑,选择 Yes。
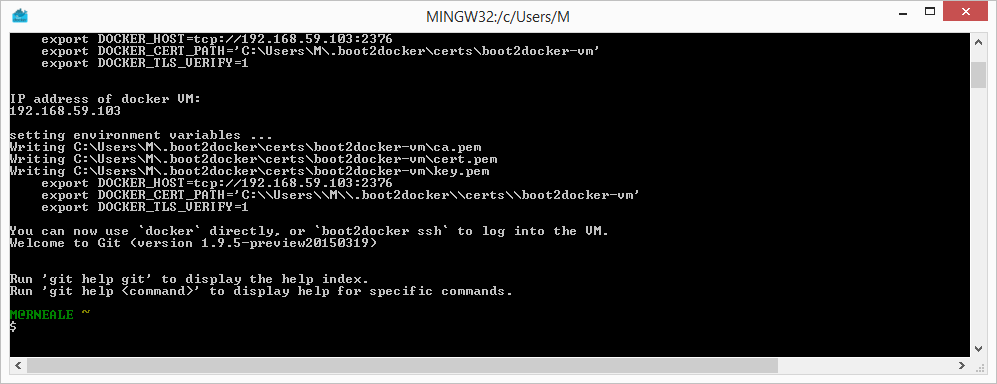
$符号那里可以输入以下命令来执行。
~~~
$ docker run hello-world
Unable to find image 'hello-world:latest' locally
Pulling repository hello-world
91c95931e552: Download complete
a8219747be10: Download complete
Status: Downloaded newer image for hello-world:latest
Hello from Docker.
This message shows that your installation appears to be working correctly.
To generate this message, Docker took the following steps:
1. The Docker Engine CLI client contacted the Docker Engine daemon.
2. The Docker Engine daemon pulled the "hello-world" image from the Docker Hub.
(Assuming it was not already locally available.)
3. The Docker Engine daemon created a new container from that image which runs the
executable that produces the output you are currently reading.
4. The Docker Engine daemon streamed that output to the Docker Engine CLI client, which sent it
to your terminal.
To try something more ambitious, you can run an Ubuntu container with:
$ docker run -it ubuntu bash
For more examples and ideas, visit:
https://docs.docker.com/userguide/
~~~
- Docker容器化部署使用说明书
- 环境部署
- Windows系统
- Windows部署Docker
- 安装过程可能碰到的问题总结
- Docker部署环境
- Docker hub操作
- Docker 部署 laravel5.5问题总结
- Docker处理中文乱码问题
- Linux系统
- Centos7.2部署Docker
- Linux部署Docker准备前工作
- 部署docker问题总结
- Linux部署Docker粗略笔记
- 安装git
- Docker命令大全
- 问题
- php7.4 安装xlswriter扩展
- php7.2 DockerFile文件
- dockerFile和docker-composer区别
- docker-compose的使用
- docker-compose的使用问题总结
- docker-compose
- Windows系统
- docker-compose.yml编写
- nginx目录如下
- conf.d
- default.conf
- nginx.conf
- php目录如下
- Dockerfile
- redis目录如下
- redis.conf
- docker-compose使用说明
- Linux系统
- /workspace/html/config_dev
- html
- index.html
- index.php
- nginx
- conf
- nginx.production.conf
- conf.d
- default.conf
- log
- access.log
- error.log
- Dockerfile
- php
- conf
- php.production.ini
- php-fpm.conf
- log(目录)
- php-fpm.d
- www.conf
- supervisor
- conf
- log
- Dockerfile
- .env
- docker-compose.yml