### ubuntu
点击[xampp7.2.34官方下载地址](https://sourceforge.net/projects/xampp/files/XAMPP%20Linux/7.2.34/)或[团队文件服务器 密码yunzhi.club](http://nas.yunzhi.club:5010/sharing/dTeYhY2xt)打开下载页面,点击

后将跳转到下载页面,下载成功后打开shell,并将目录定位到下载xampp的文件夹,先后执行如下命令:
```bash
# 进入下载文件夹(此处为示例,具体请参考自己下载xampp的位置)
# cd ~/Downloads
# 文件给777,避免执行权限问题
# chmod 777 xampp-linux-x64-7.2.34-0-installer.run
# sudo ./xampp-linux-x64-7.2.34-0-installer.run
# 输入用户密码
```
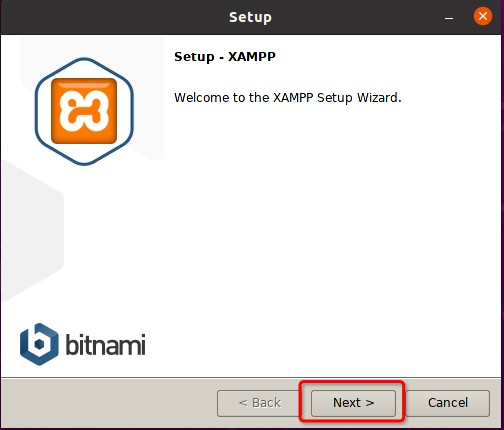
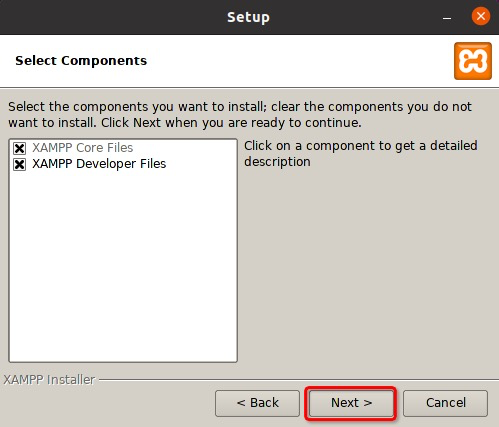
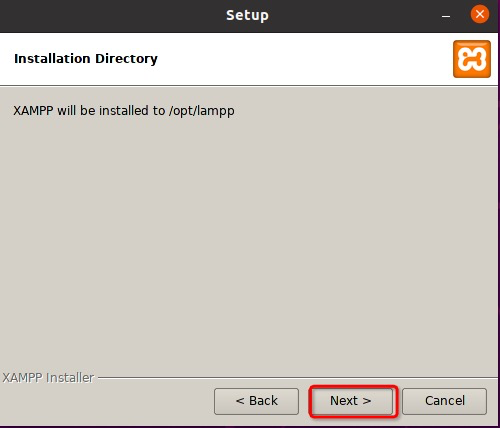
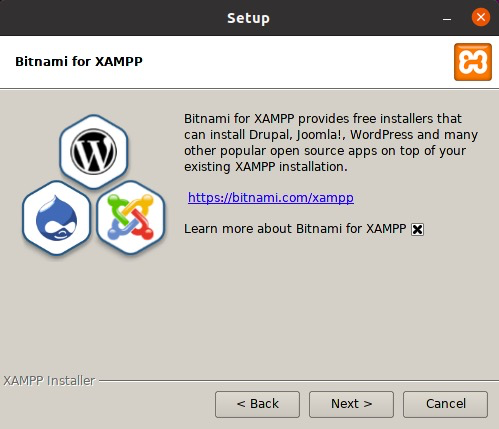
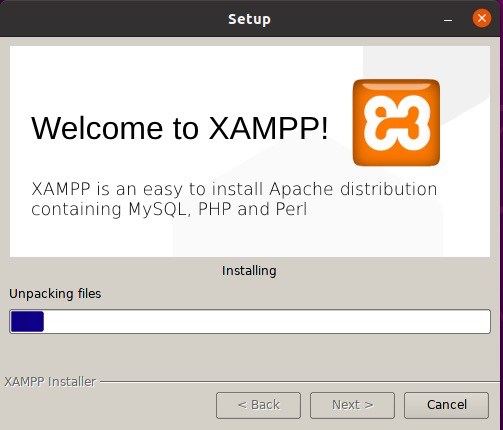
接下来一路next(下一步):

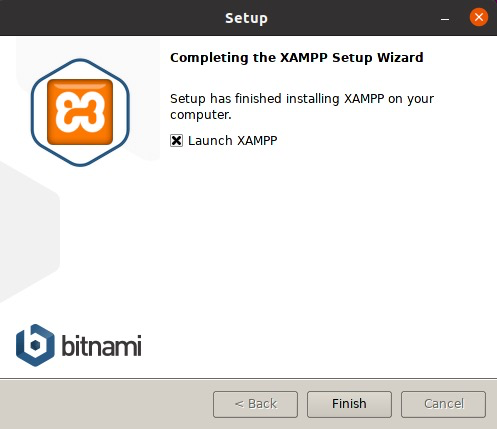
点击Finish后完成安装:
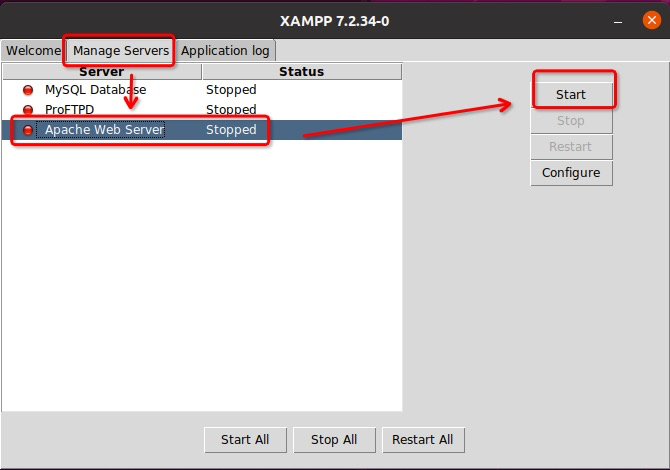
如果此时Apache服务处于Stopped状态,则需要选中其服务后,点击Start按钮:
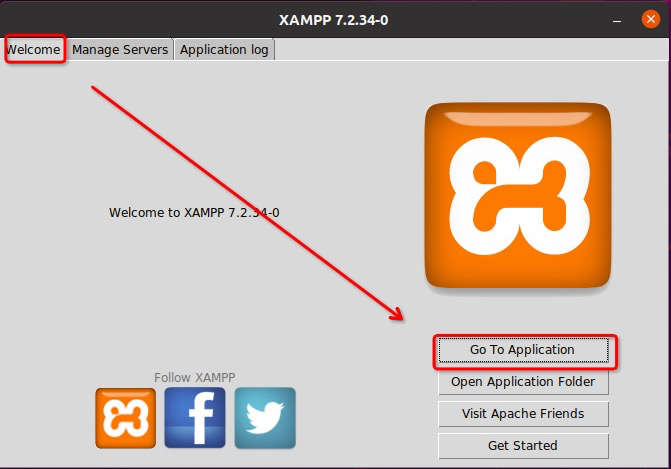
最后点击Go To Application验证xampp是否已成功启动
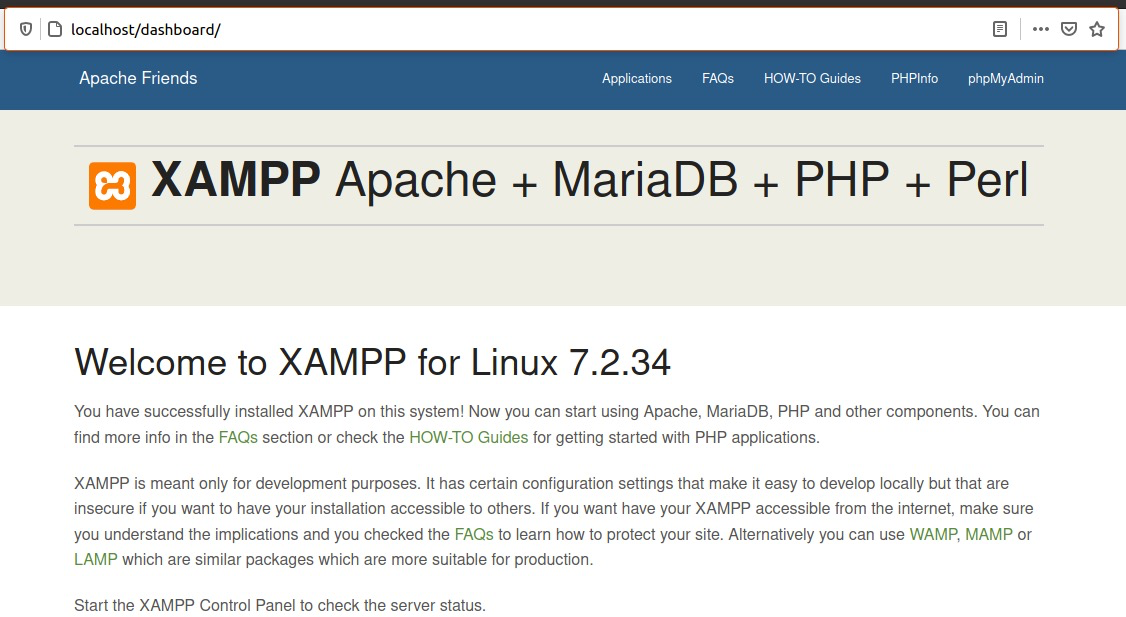
此时如果我们安装了chrome等xampp可以识别的浏览器,浏览器将被自动启动,如未自动启动则需要手动打开浏览器输入`http://localhost:80`:
#### 重新打开

停止服务后,点击软件右上角的X后即可关闭xampp。
重新打开则需要在shell中执行如下命令:
```bash
# cd /opt/lampp
# sudo ./manager-linux-x64.run
```
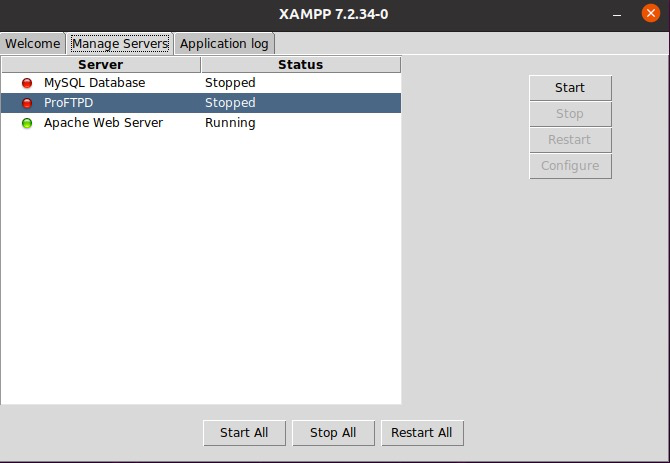
系统将自动打开如下界面。

如果此时Apache服务处于Stopped状态,则需要选中其服务后,点击Start按钮:

没错,和安装其它软件没什么两样,就这么简单。
# 端口冲突
如果上述操作未能成功的启动xampp的apache服务,那么请继续阅读。如果已成功启动,请忽略以下内容。
如果你的计算机以前安装过其它的http软件,这很可能导致xampp无法正常启动,此时只需要更改下xampp中apache默认端口即可。
我们假设计算机的8080端口未被占用,下面介绍如何变更xampp(apache)的默认端口为8080的方法。
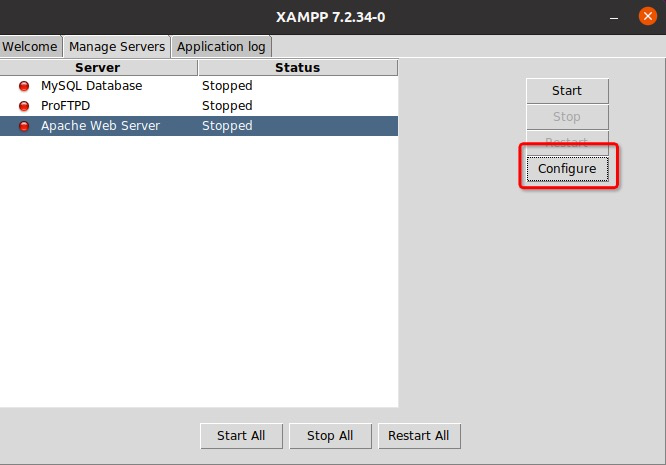
选中Apache后点击Configure按钮
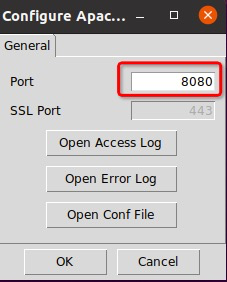
变更该80为8080端口后点击OK。

然后再次启动apache服务。

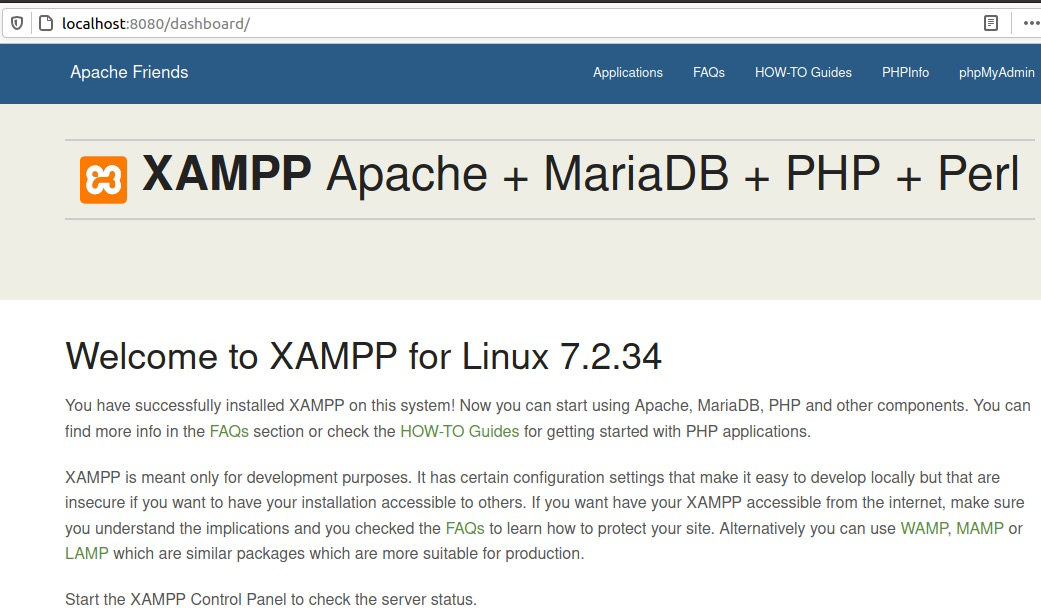
最后启动apache并打开地址[http://localhost:8080](http://localhost:8080),端口冲突解决。
- 序言
- 第一章 Hello World
- 1.1 运行环境
- 1.1.1 windows
- 1.1.2 macos
- 1.1.3 ubuntu
- 1.2 Hello ThinkPHP
- 1.2.1 windows
- 1.2.2 macos
- 1.2.3 ubuntu
- 2.3 Hello World
- 第二章 教师管理
- 2.1 数据库初始化
- 2.2 CRUD之 R 读取数据
- 1 数据流
- 2.2.2 连接数据库
- 2.2.3 直接读取数据之DB
- 2.2.4 间接读取数据之模型
- 2.2.5 显示数据之原始文案
- 2.2.6 单引号与双引号
- 2.2.7 显示数据之视图
- 2.2.8 模板语法
- 2.2.9 使用bootstrap美化界面
- 2.3 CRUD之 C 增加数据
- 2.3.1 MCA默认路由