### WeCenter自定义安装
在开始WeCenter的安装之前,建议完成如下事情:
* 浏览器访问:[http://公网ip/9panel](http://公网ip/9panel) ,快速了解镜像的使用
* 通过phpMyAdmin将数据库默认的root密码修改成您自己的密码,并牢记密码
* 通过域名控制台解析域名(增加一个A记录指向服务器IP),并测试是否成功
#### WeCenter安装准备(非必须)
> 如果您使用的是WeCenter镜像,如下忽略,直接阅读WeCenter安装向导
1. 通过phpMyAdmin增加一个数据库wecenter
2. 下载WeCenter官方源码,本地解压
3. 通过WinSCP上传WeCenter源码到/data/wwwwroot/default目录
4. 运行权限拥有者命令
```
chown -R nginx.nginx /data/wwwroot
```
5. 进入WeCenter安装向导
#### WeCenter安装向导
1. 本地浏览器访问:[http://域名](http://域名) 或_ _[http://公网IP](http://公网IP) 进入安装向导 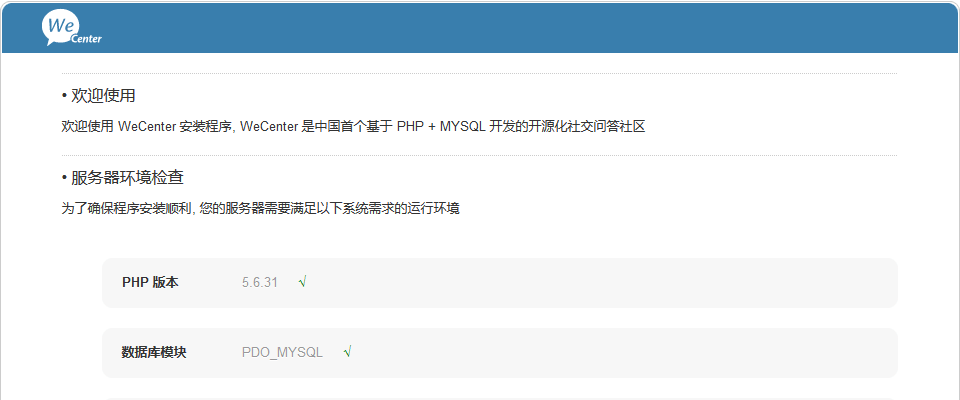
2. 根据系统提示,进入数据库连接信息安装项,请填写数据库名称、数据库用户和数据库密码\(默认数据库名称为wecenter,数据库账号密码参考“常见账号和密码说明”章节\) 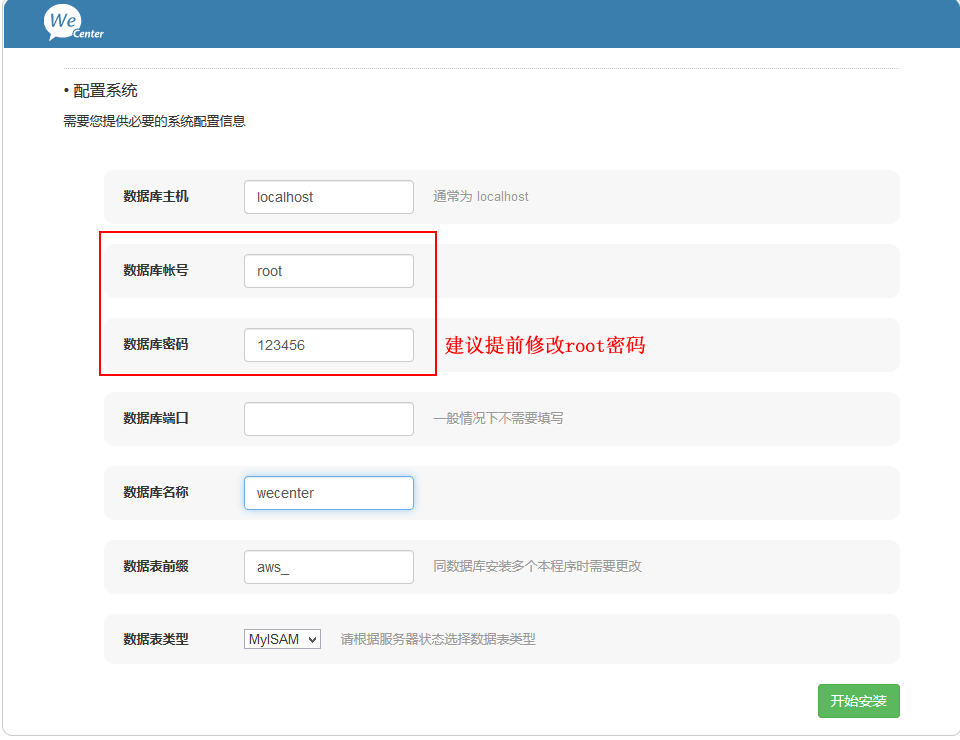
3. 设置您的管理员账号、密码和邮箱,牢记之, 点击“完成”; 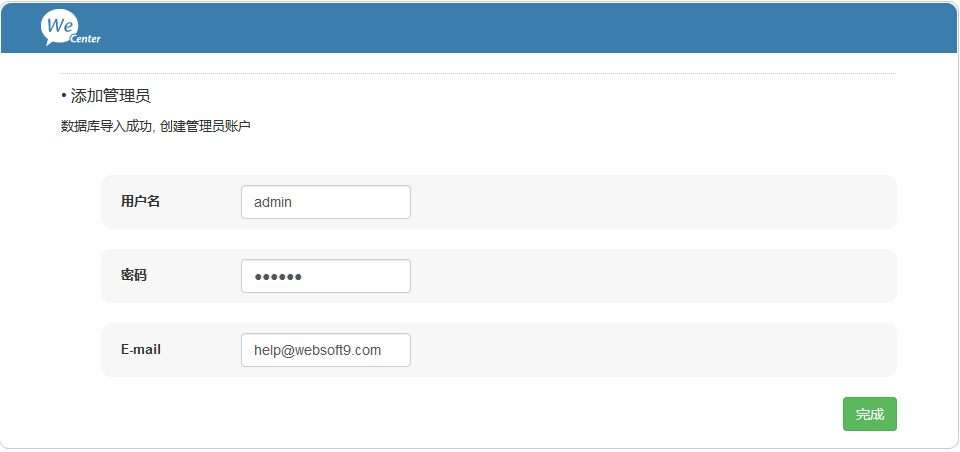
4. 成功安装提示 
5. 在前台之后,登录后点击“管理” 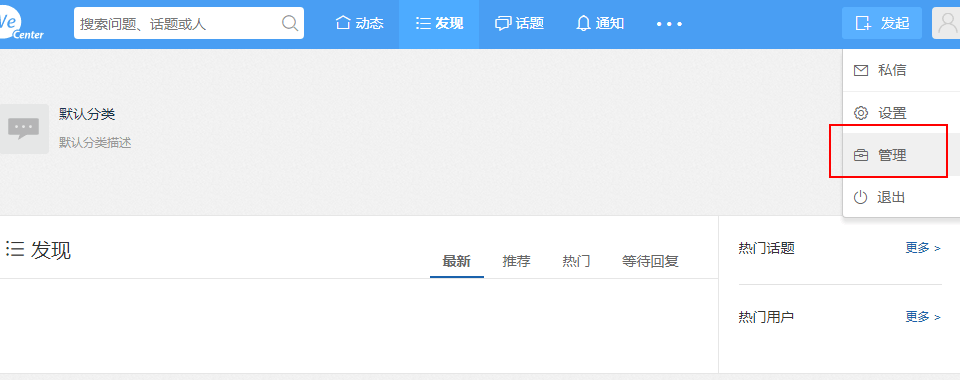
6. 系统提示进入后台 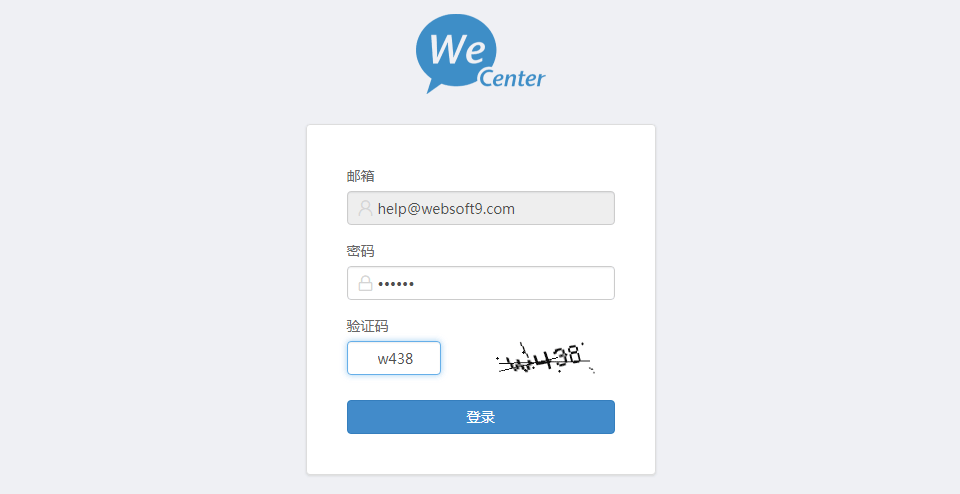
7. 开始体验后台 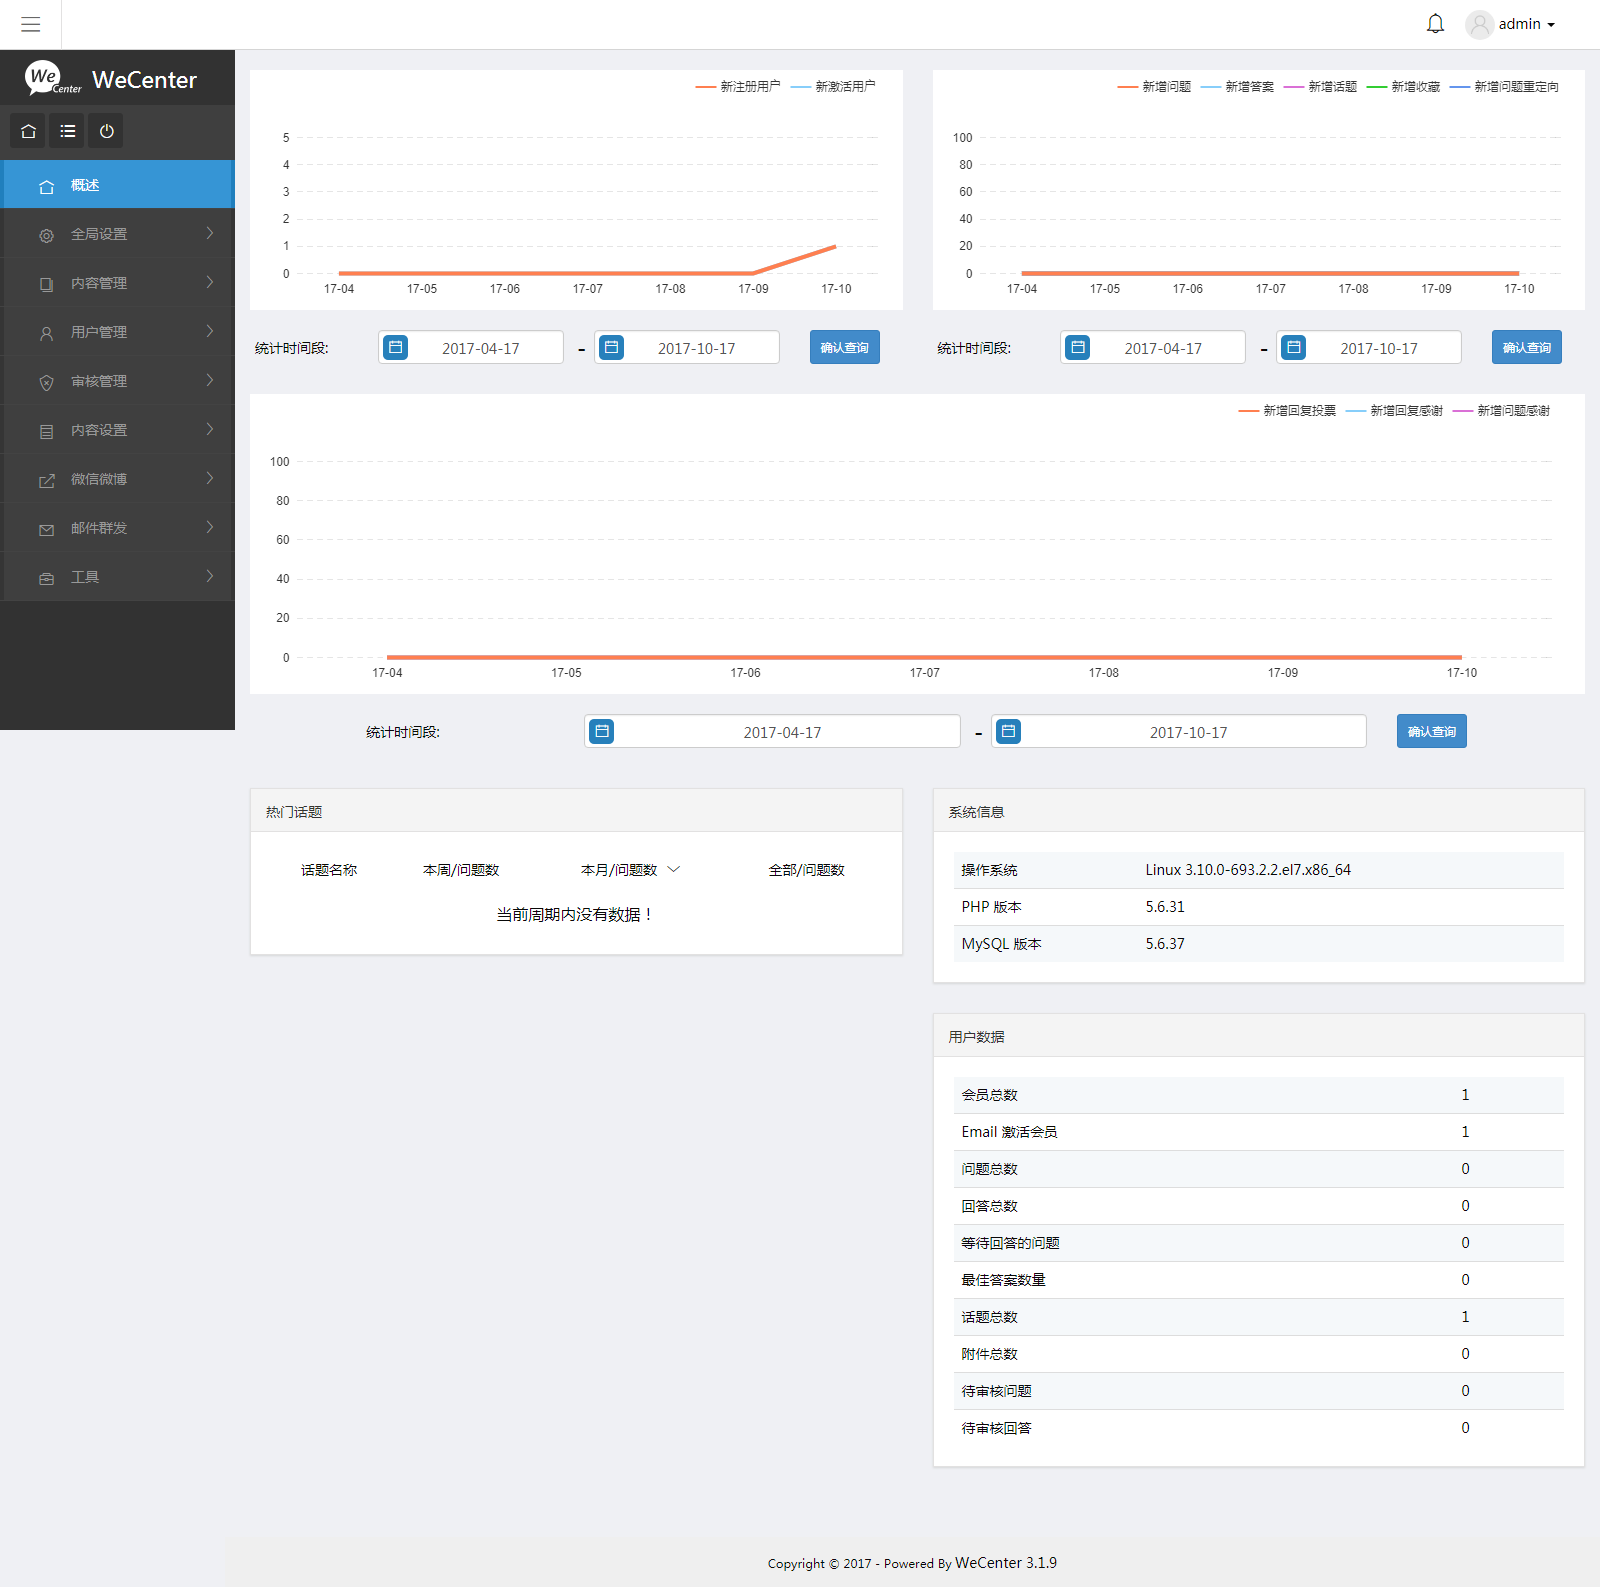
---
**WeCenter账号和密码**:安装的时候自行设置的,管理地址通过前台登录
- 关于本书
- 关于LNMP
- 获取一键安装包
- 表:镜像组成一览
- 附:常用账号与密码说明
- 基本技能单元
- Linux云服务器操作
- 登录与文件管理(SFTP)
- 挂载数据盘
- 安全组设置
- 快照备份
- Linux操作系统基础
- Nginx基础
- PHP基础
- MySQL操作
- 9Panel介绍
- 必备实操
- 如何修改Linux文件权限?
- 如何实现服务启停?
- 如何安装PHP扩展?
- 附:常见命令(Linux)
- 如何使用LNMP发布网站或应用?
- 如何设置SSL/HTTPS?
- 如何设置伪静态?
- 如何实现网站迁移?
- 如何将数据转移到数据盘?
- 如何设置SMTP?
- 如何分配多个SFTP账号?
- 如何重置数据库root密码?
- 域名配置
- 域名解析
- 域名绑定
- 安全防护
- 补丁更新
- 木马查杀
- 安全组件
- 日常维护
- 备份与恢复
- 升级
- 网站加速
- 故障处理
- 502错误
- 网站打不开
- 网站访问慢或不稳定
- 服务无法启动
- phpMyadmin报错
- 资源占用高
- 常见应用安装示例(集)
- Concrete5
- Concrete5自定义安装
- Concrete5常见问题
- CmsEasy
- CmsEasy自定义安装
- CmsEasy常见问题
- DokuWiki
- DokuWiki自定义安装
- dedeCMS(织梦)
- dedeCMS自定义安装
- HDwiki
- HDwiki自定义安装
- HDwiki常见问题
- EmpireCMS(帝国)
- EmpireCMS自定义安装
- EmpireCMS常见问题
- Lcm(里程密)
- Lcm(里程密)自定义安装
- MyBB
- MyBB自定义安装
- Osclass
- Osclass自定义安装
- ProcessWire
- ProcessWire自定义安装
- PmWiki
- PmWiki自定义安装
- PHPWind
- PHPWind自定义安装
- Typecho
- Typecho自定义安装
- Typecho常见问题
- WeCenter
- WeCenter自定义安装
- Weengine(微擎)
- Weengine自定义安装
- Wordpress
- Wordpress自定义安装
- ZBlog
- ZBlog自定义安装
- 高级:PHP&JAVA双能环境
- 镜像组成
- 如何部署PHP网站?
- 如何部署Java网站?
- 如何设置SSL/HTTPS?
- 高级:Nginx&Apache动静分离
- 镜像组成
- 链接
- 配套视频教程
- 后记
