## 1\. 创建一个简单的官网
1.首先选中网站列表,点击按钮管理已经创建好的站点
2.选中企业官网下的选项,进入到站点文件管理界面
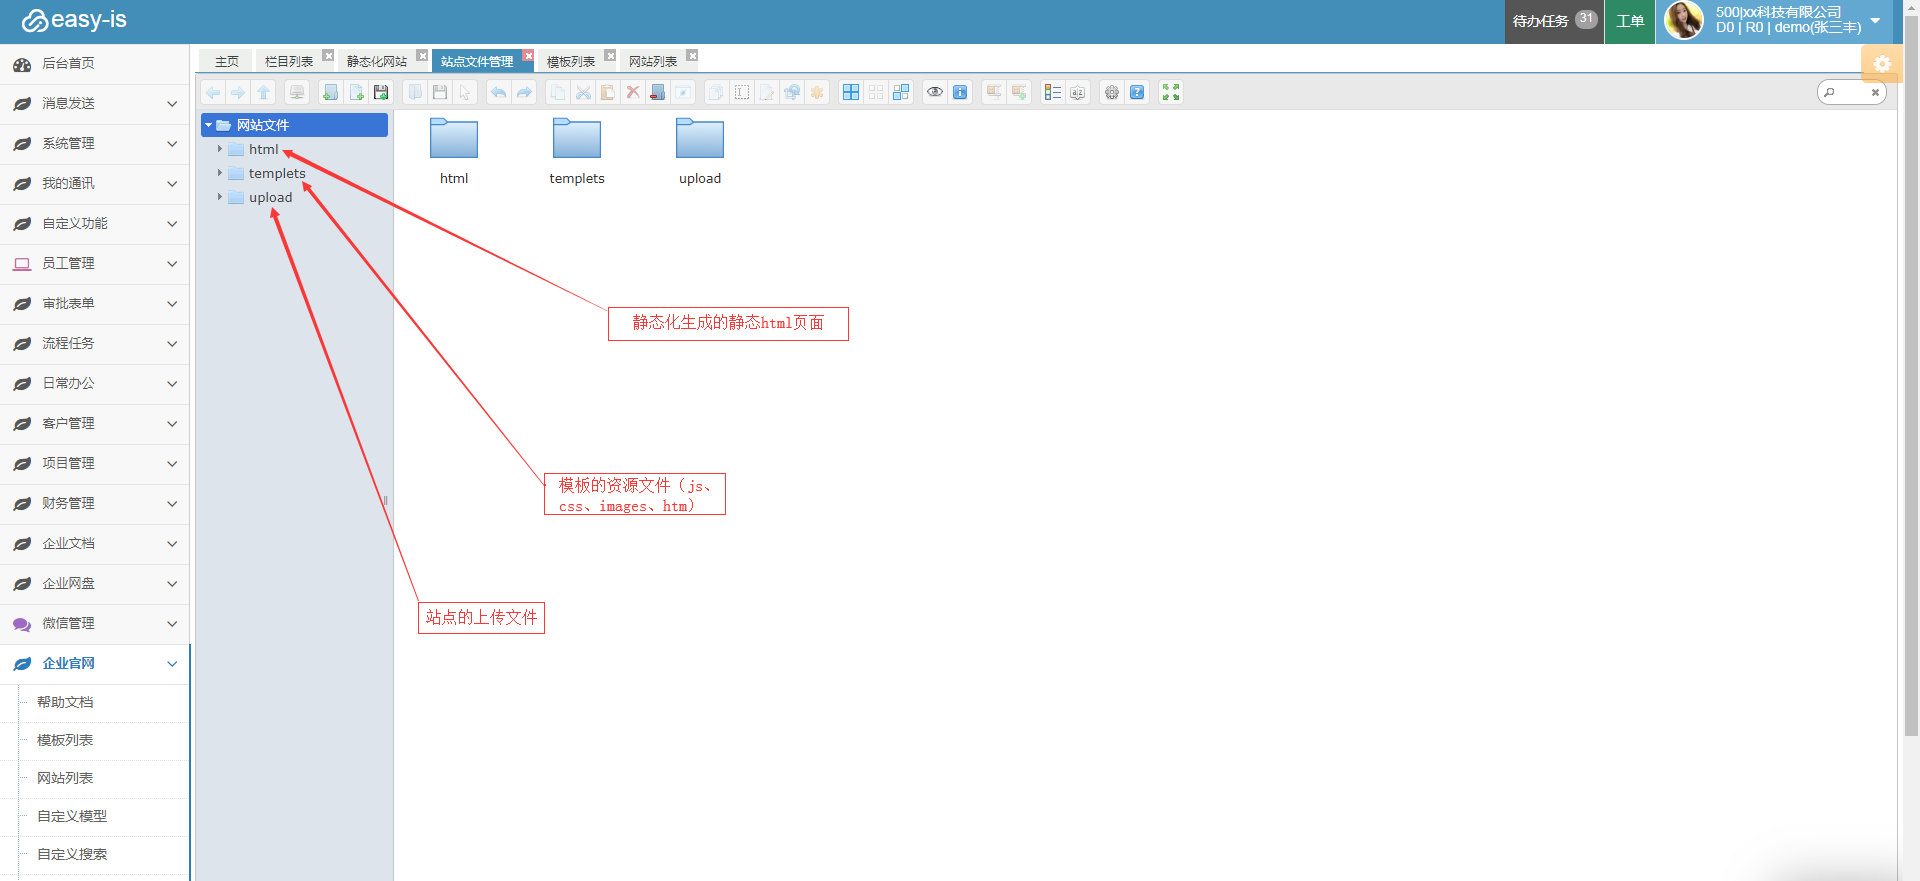
html、templets、templets:点击html文件夹进入后会有已数字命名的文件夹,该数字对应的是你在网站列表中创建好了的各个站点的站点编号,点击进入后才是这个站点的静态化html文件
点击templets进入资源文件夹首先创建一个htm格式的headFile文件进行编辑

headFile文件主要用于放入一些js、css样式,然后在新建一个head.htm文件用于写入头部导航
第二步新建一个index页面作为站点的首页,代码代码使用方法如下
```
{ms:include filename=headFile.htm/}
<a href="{ms:global.url/}/1/index.html">产品</a>
<a href="{ms:global.url/}/2/index.html">关于我们</a>
<!--https://is.xiaoyung.com:443/cms/web/search/1154588979538952192/search.do-->
<form id="searchDataForm" action="https://is.xiaoyung.com:443/cms/web/search/1154588979538952192/search.do" method="post">
<input type="text" name="basic_title" />
<input type="hidden" name="categoryNo" value="1" label="栏目编号"/>
<input type="submit" value="搜索">
</form>
<h1>这是首页</h1>
{ms:include filename=footer.htm/}
```
建好head和index文件后进行新建product-list.htm和product-detail.htm文件,用于显示产品列表和产品详情
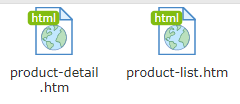
product-list.htm代码用法如下
```
{ms:include filename=headFile.htm/}
<h1>这是
{ms:channel}
[field.typetitle/]
{/ms:channel}
<br/>
{ms:arclist ispaging=true size=2 order=asc}
<a href="[field.link/]">[field.title/] </a>
{/ms:arclist}
<ul>
<li><a href="{ms:page.index/}">首页</a></li>
<li><a href="{ms:page.pre/}">上一页</a></li>
<li><a href="{ms:page.next/}">下一页</a></li>
<li><a href="{ms:page.last/}">末页</a></li>
<li>当前页/总页数<span>{ms:page.cur/}/{ms:page.total/}</span></li>
<li>本页有:<span>{ms:page.rcount/}</span>篇文章</li>
</ul>
</h1>
{ms:include filename=footer.htm/}
```
product-detail.htm代码用法如下
```
{ms:include filename=headFile.htm/}
<h1>
<h1>{ms:field.title/}</h1>
<br/>
{ms:field.content/}
</h1>
{ms:include filename=footer.htm/}
```
创建好了文件后,还需要对栏目和文章进行设置
点击企业官网下的
进入栏目页面后点击新增按钮开始配置栏目
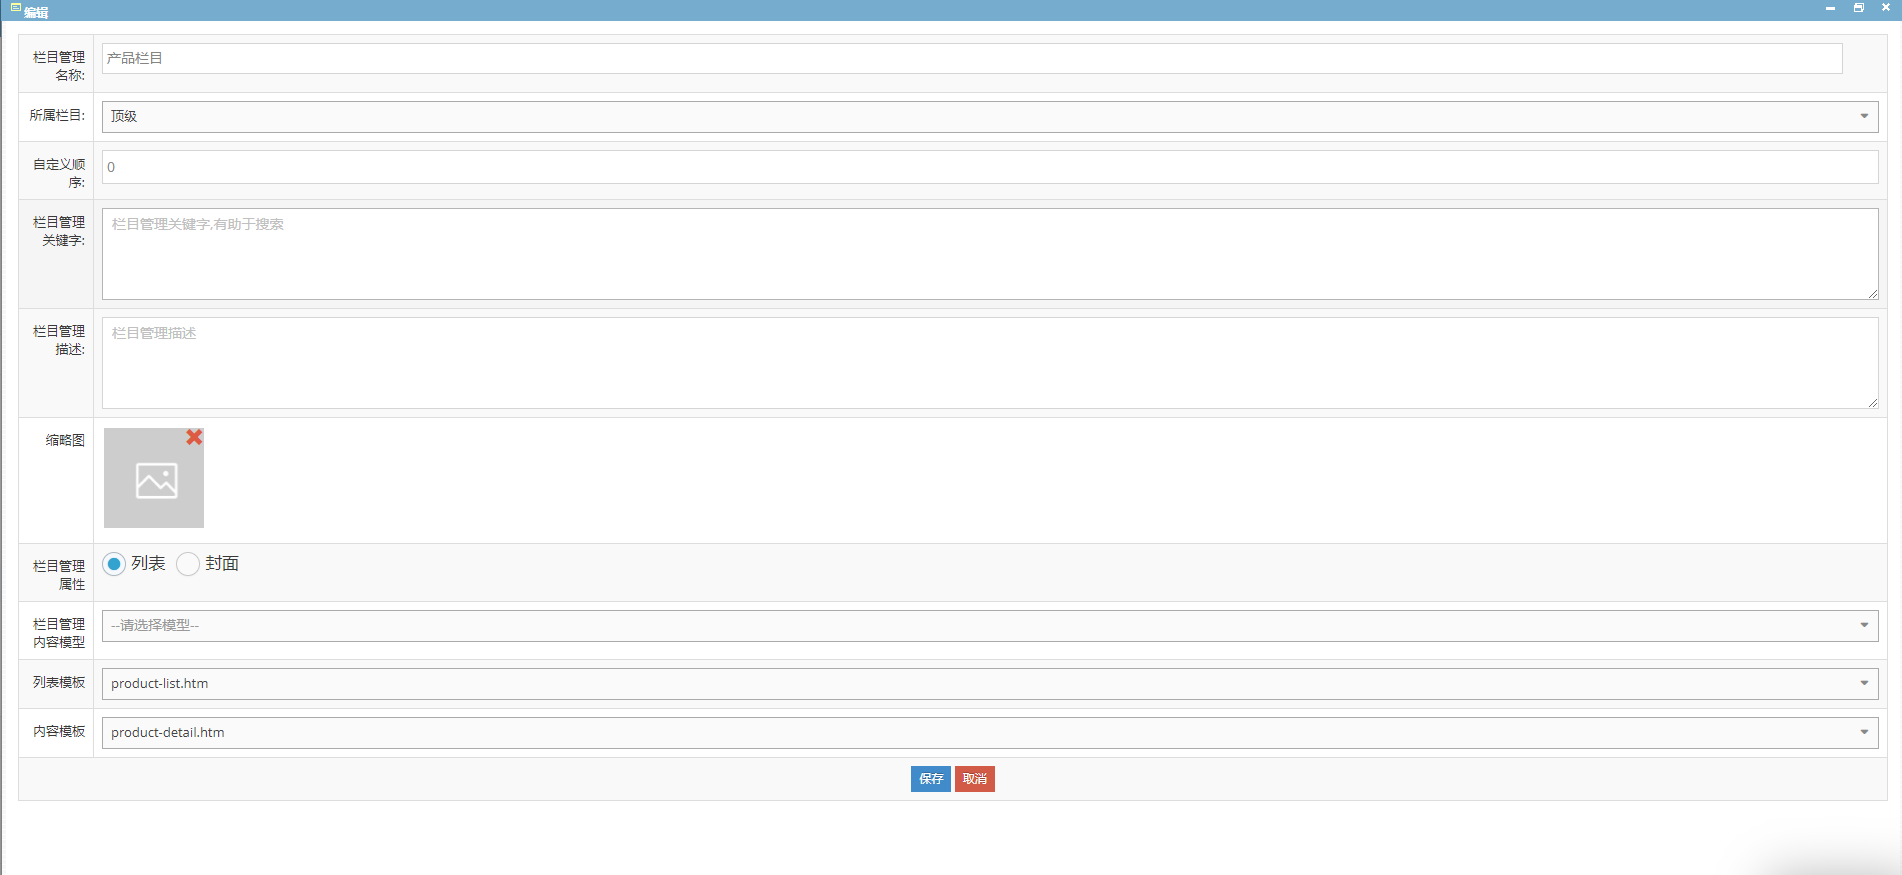
栏目列表需要设置以下三个栏目
产品栏目
关于我们
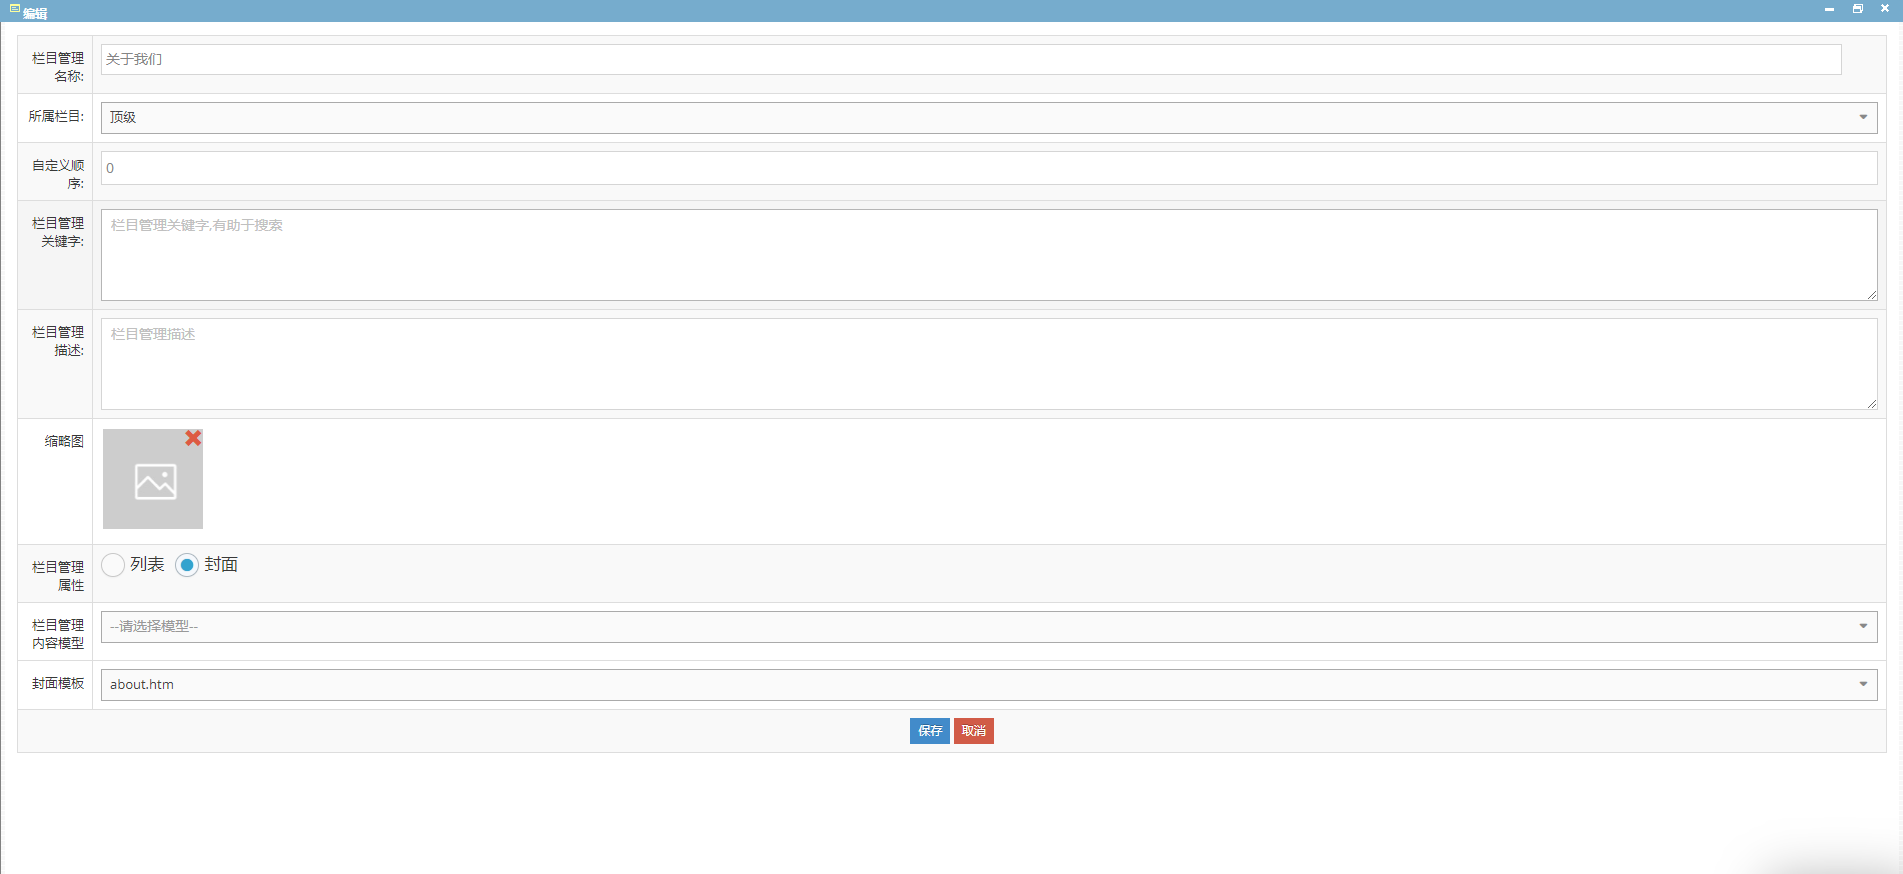
产品自定义模型
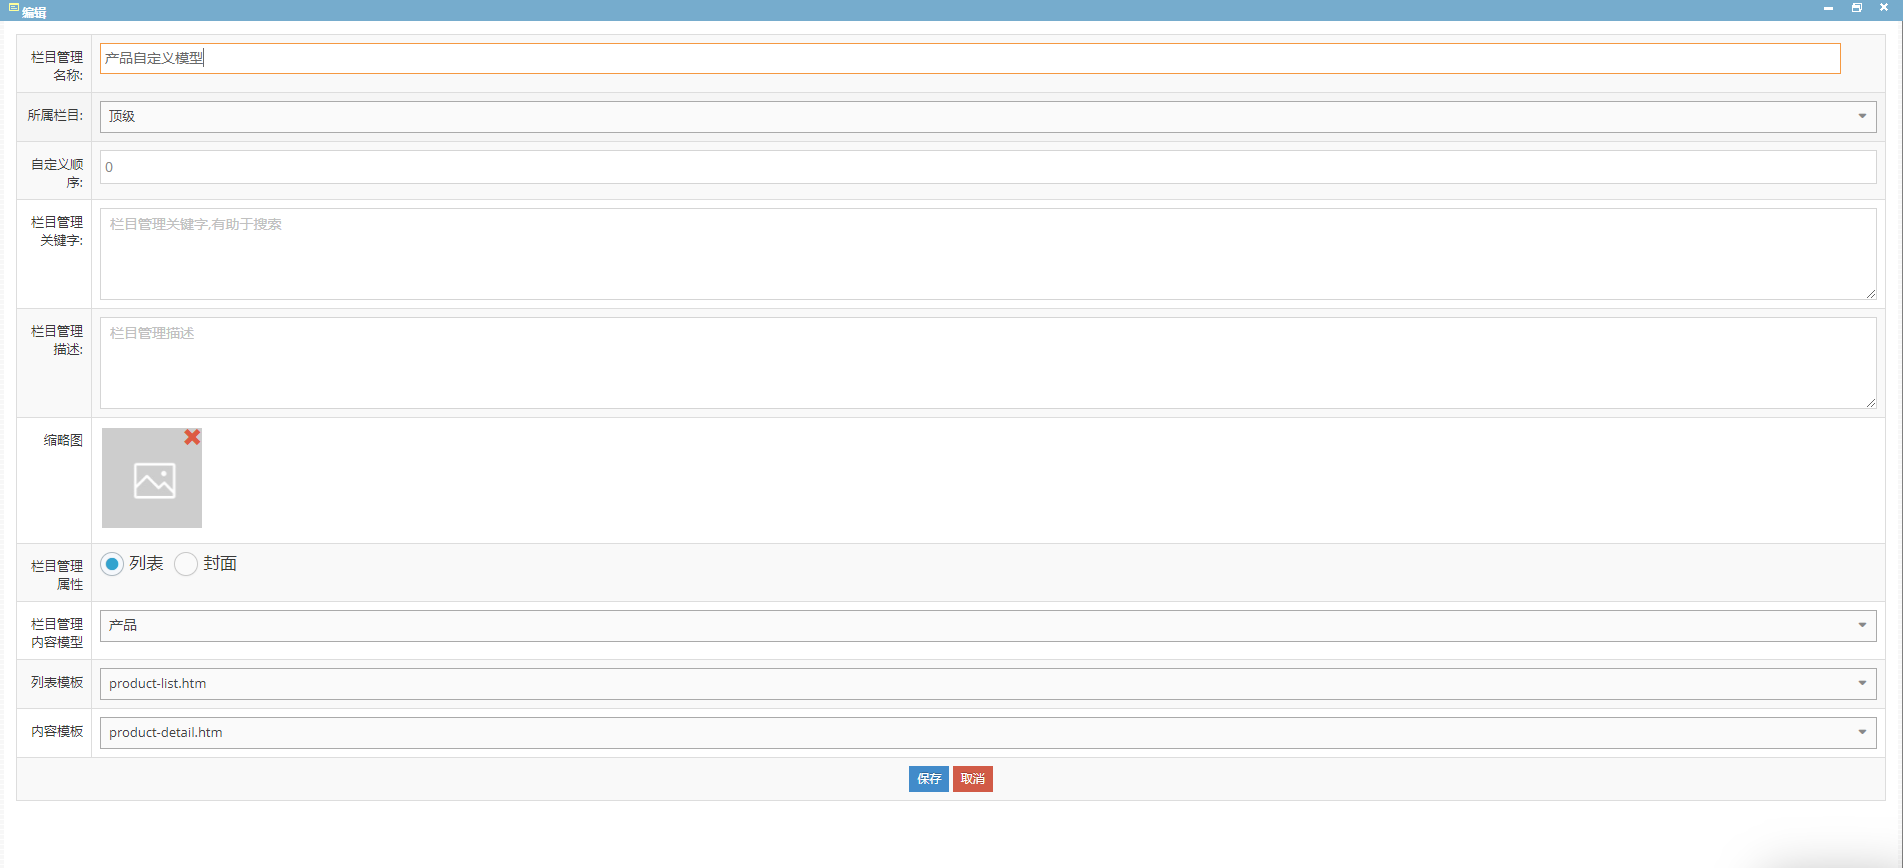
按照图上的设置配置好了栏目后进行文章的配置
选中
进入文章列表后
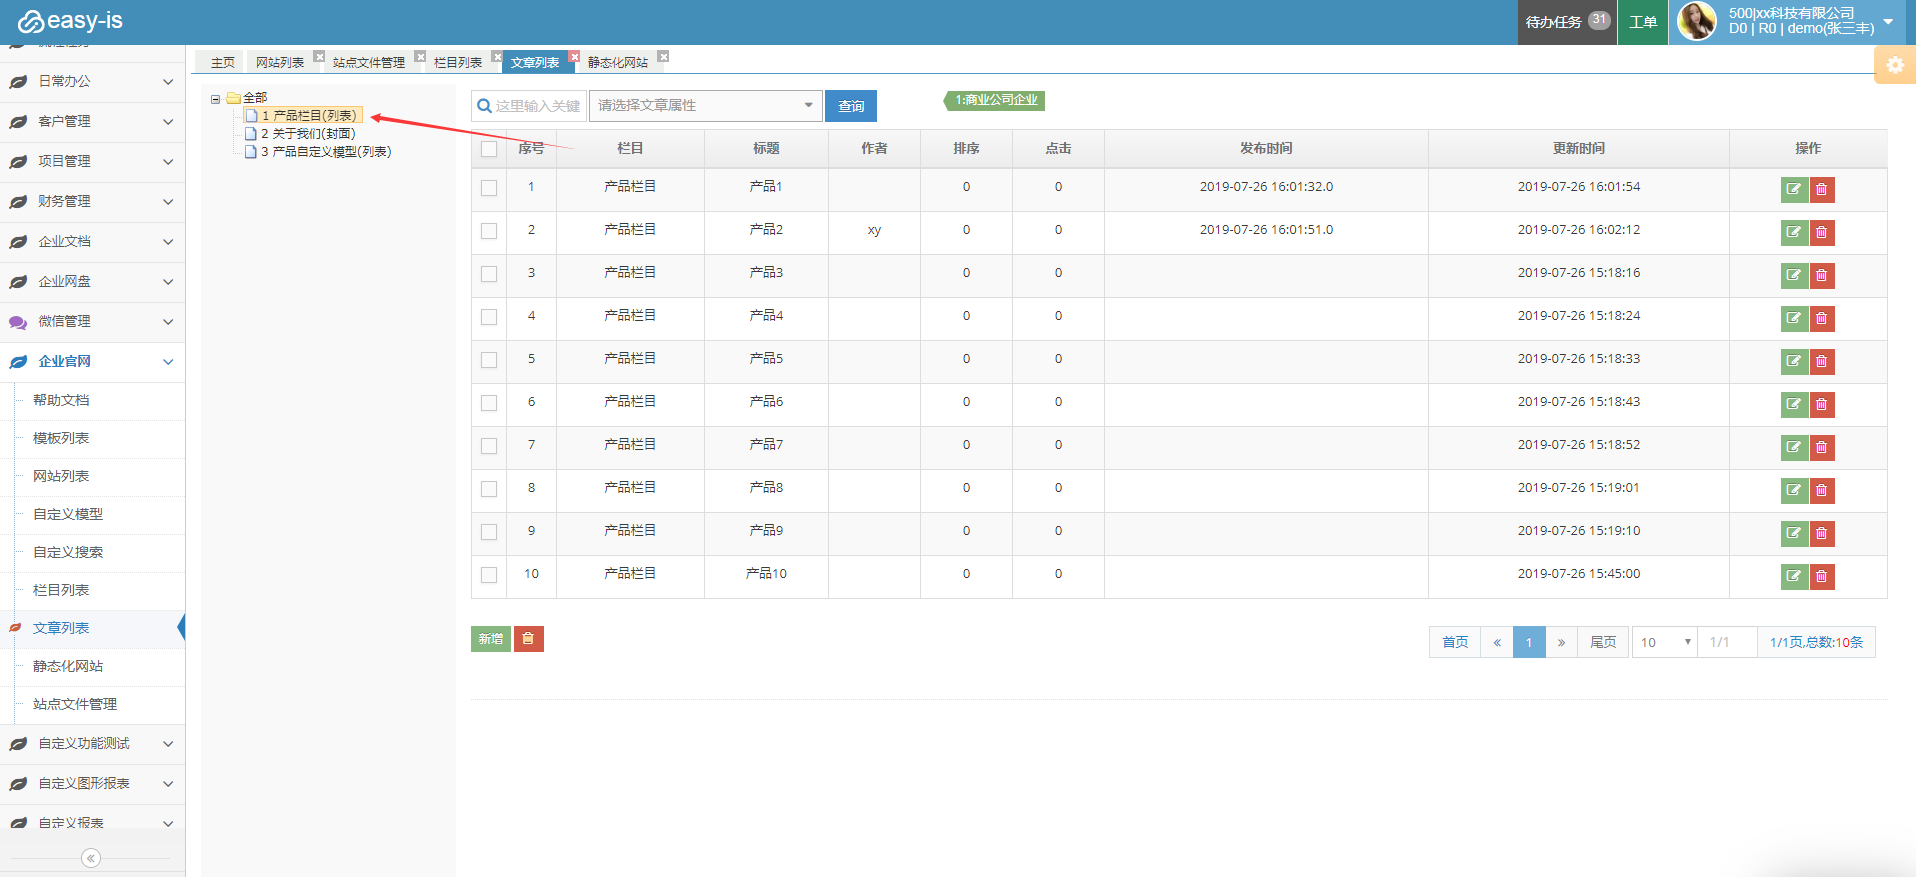
选择图片红色箭头所指的栏目然后点击新增按钮
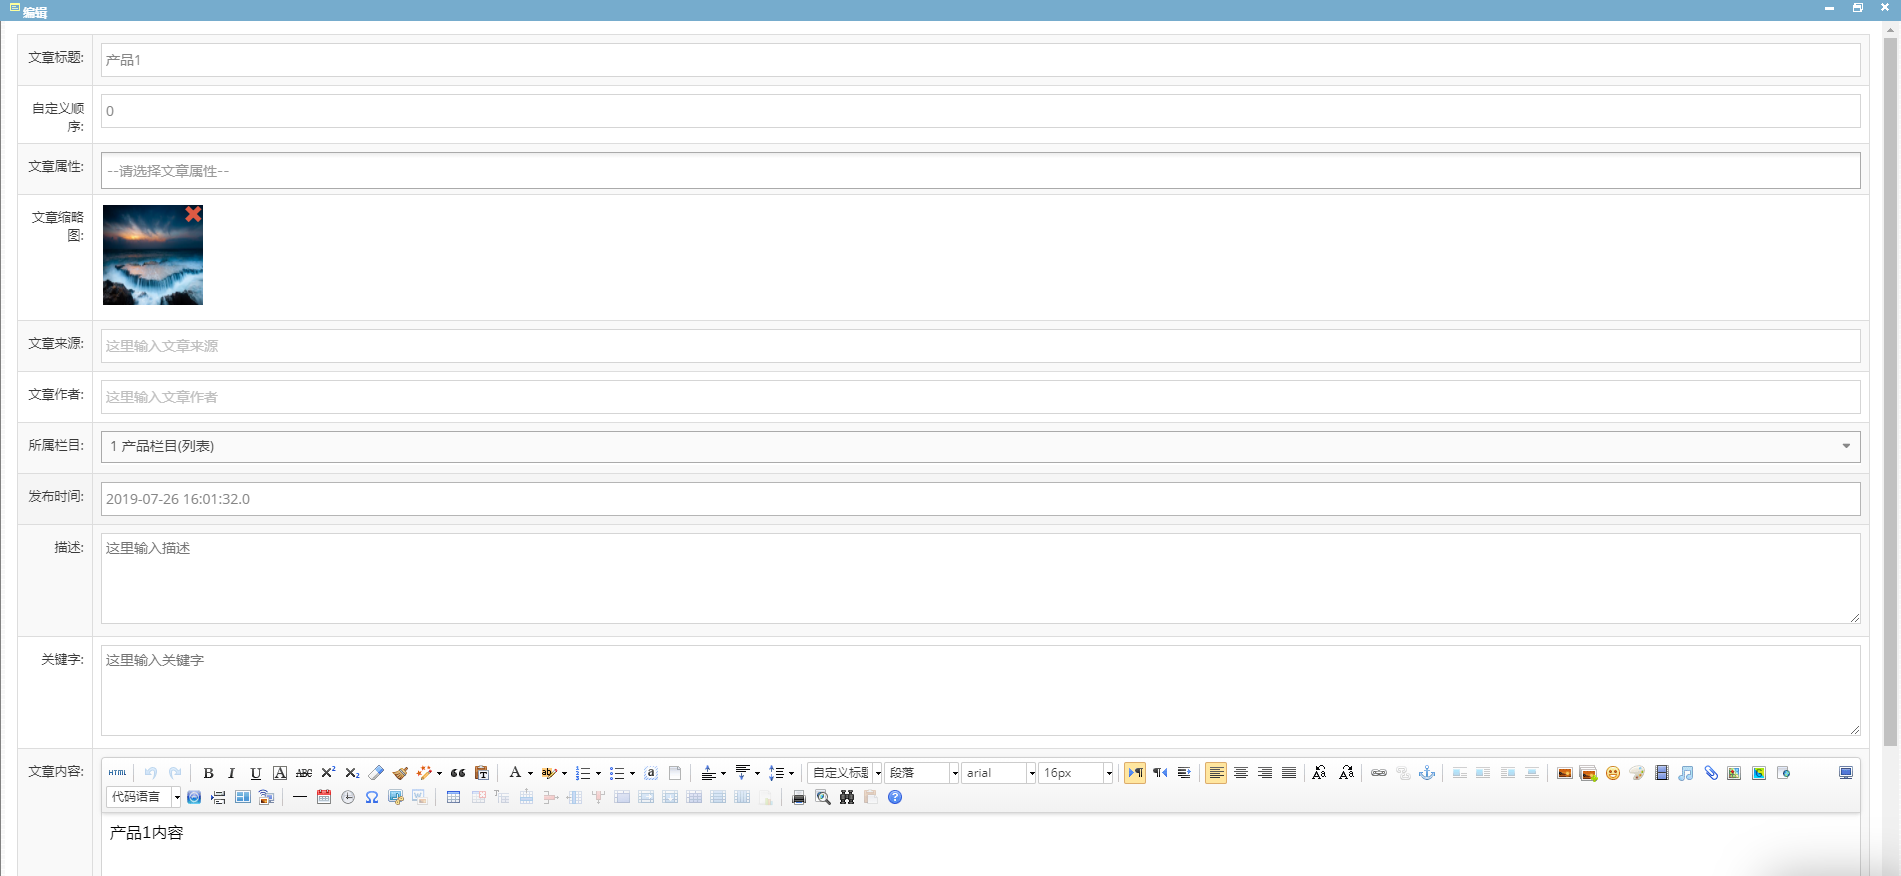
按照示例图片填写内容后点击保存文章
选中关于我们
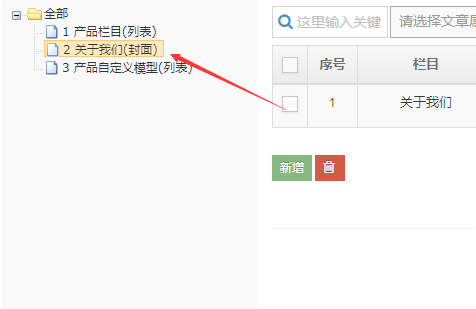
点击新增按钮
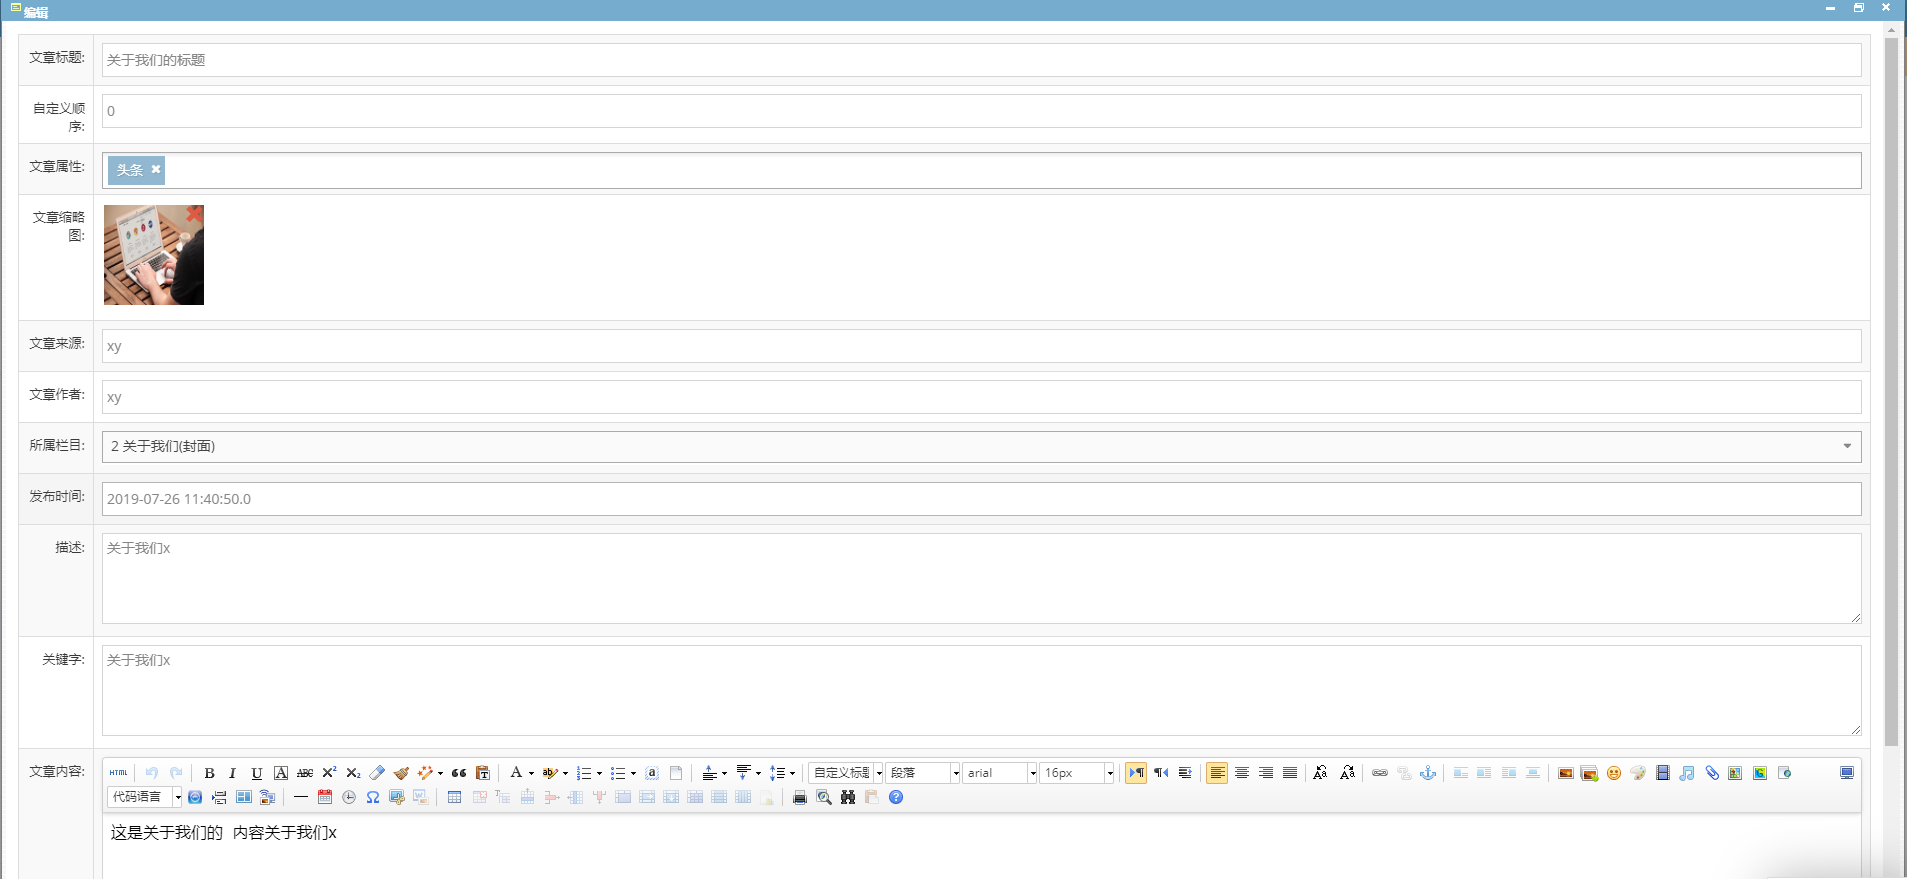
按照上图填写保存
选择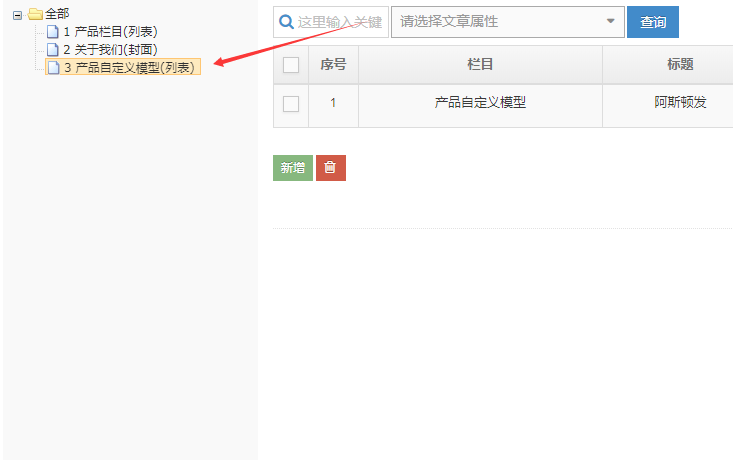
同上进行新增文章
示例图
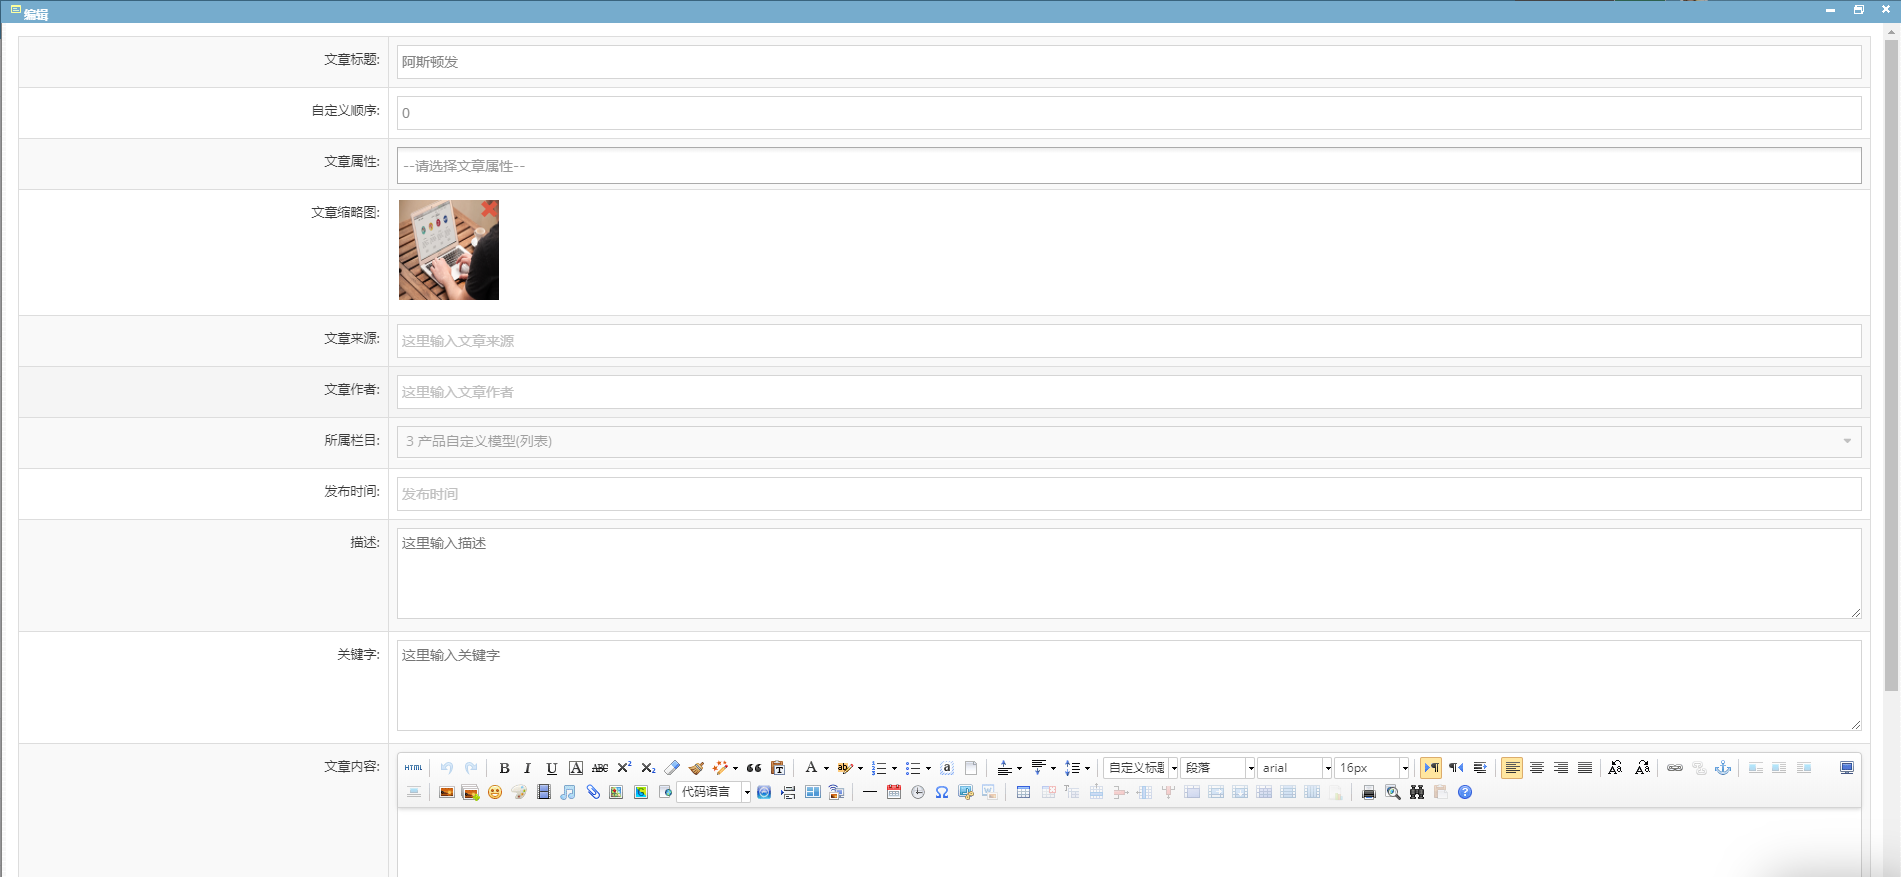
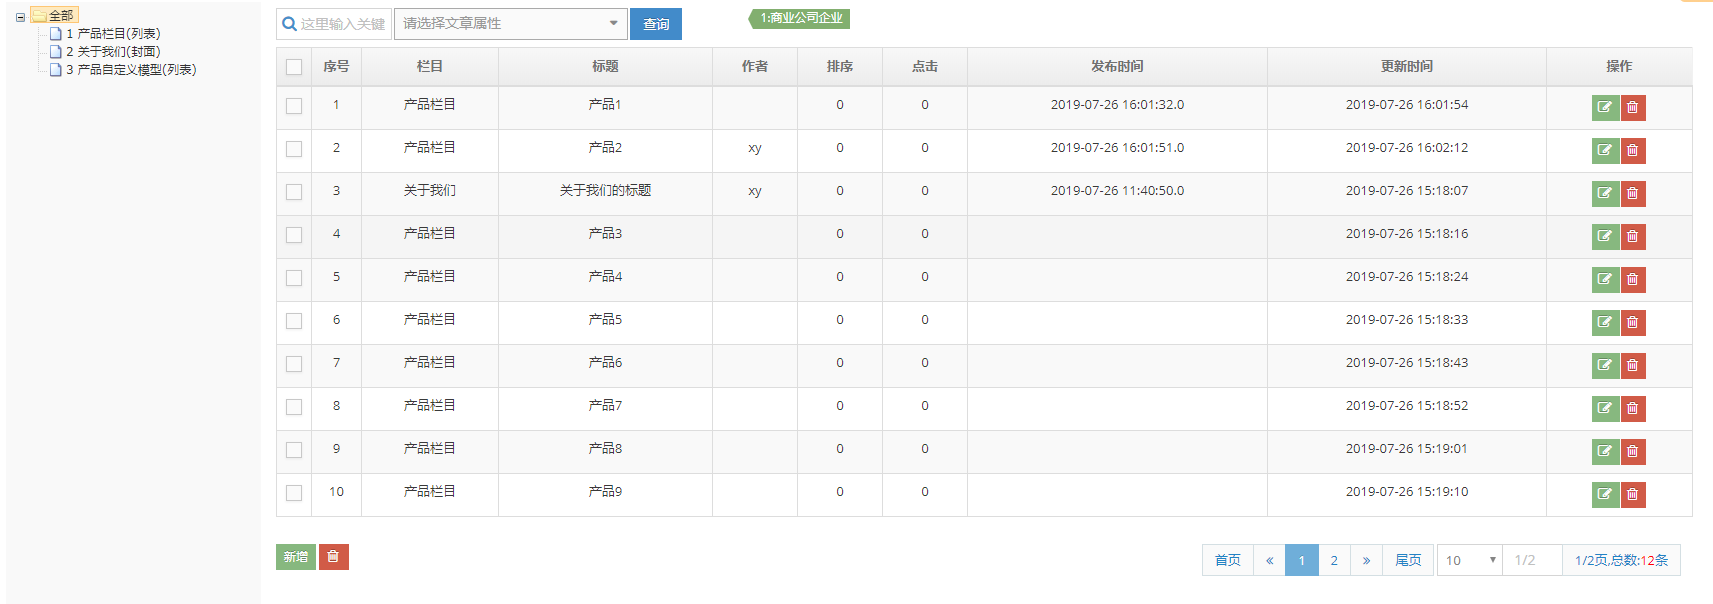
完成三个栏目的文章新增后列表如下图(少几条记录可以,但是要确保三个栏目都有文章)
接下来最后一步
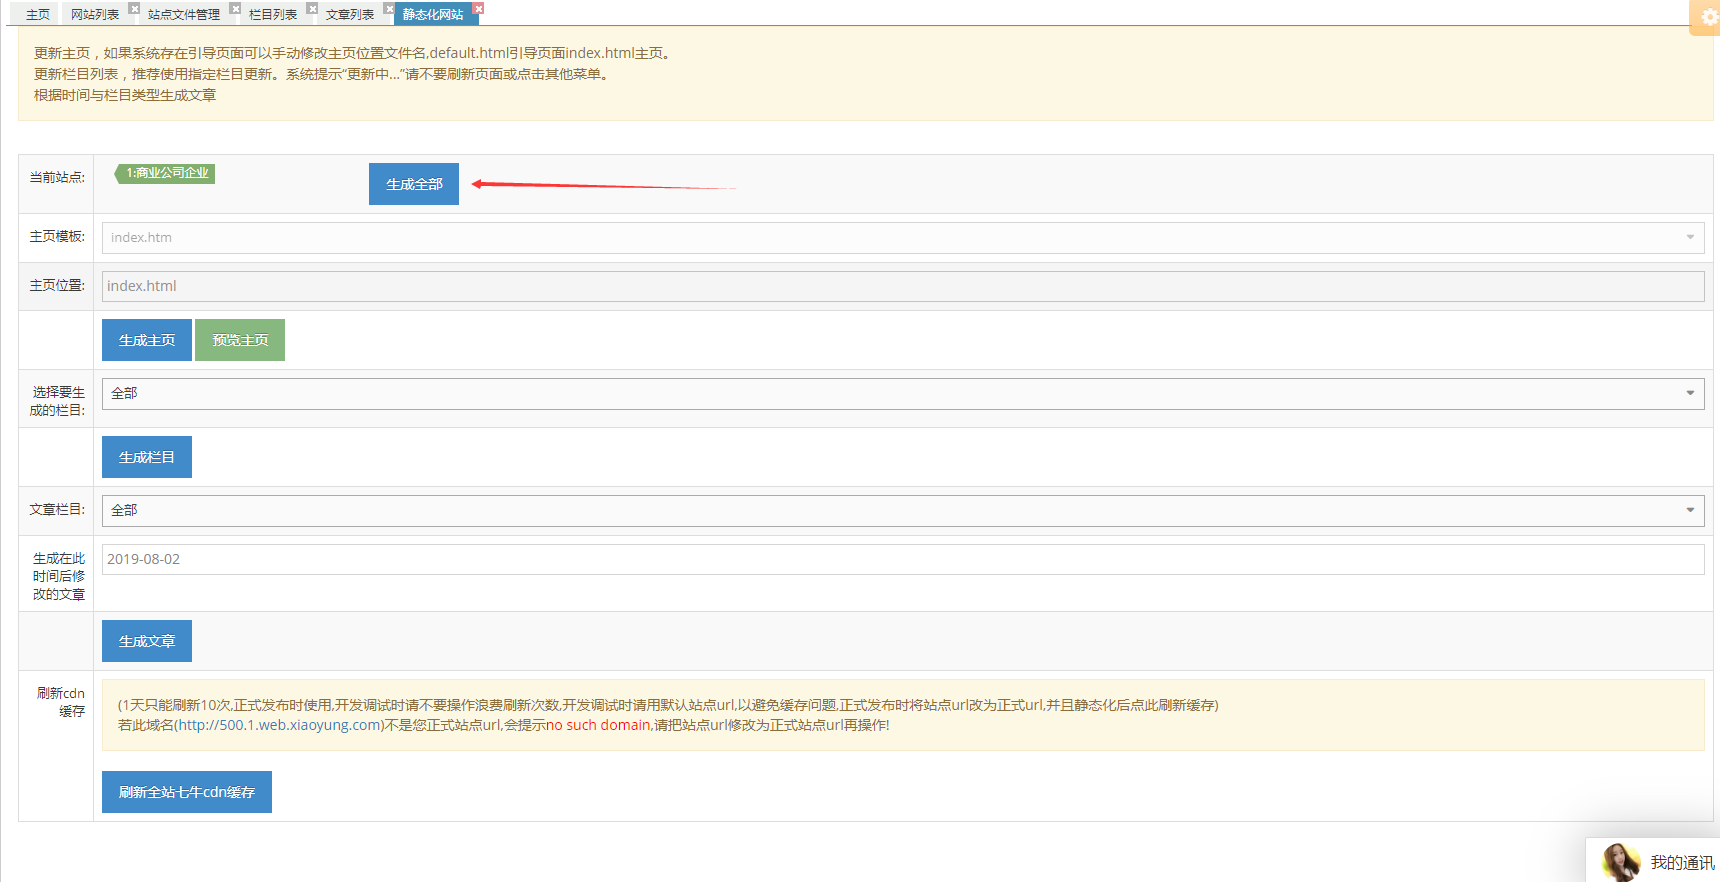
选择静态化网站
点击生成全部按钮即可完成一个简单的站点网站
