这个章节,我们将告诉你怎么开发一个云写作插件
首先确保你已经安装了[Node.js](https://nodejs.org/en/),然后安装云写作插件的开发工具:
```
npm install -g @topwrite/plugin-cli
```
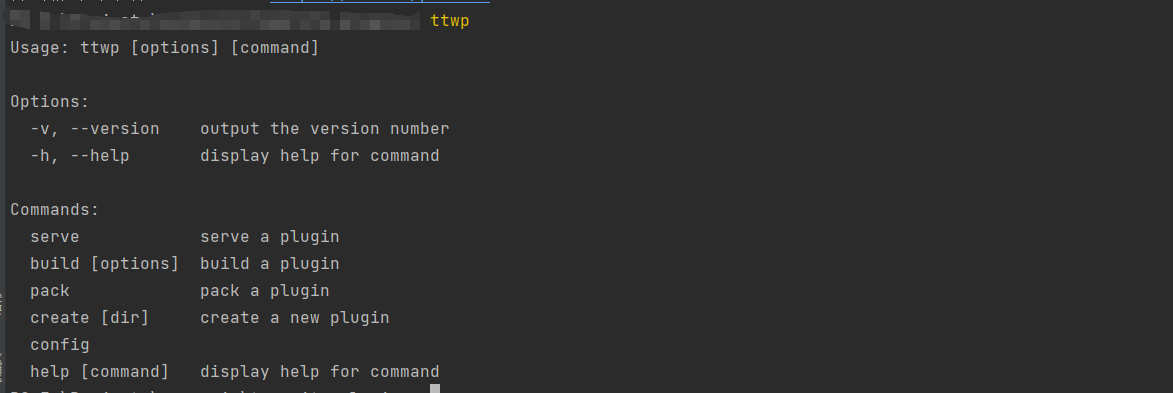
安装完成后,此工具会提供一个命令`ttwp`

我们来创建第一个插件:

这样在目录`plugin-demo`里一个插件的模板就创建好了,然后我们进入这个目录,安装一下依赖
> 这里我们推荐使用`yarn`包管理器,你也可以使用`npm`
```
cd plugin-demo
yarn 或 npm install
```
然后执行`ttwp serve`

这样开发环境的服务就启动了,访问输出的地址,这里是`http://localhost:8080`,端口可能不同
就会打开开发环境的一个编辑器了

通过右下角预览的按钮可以进入阅读页面的开发环境
现在我们来自定义一个可以输出hello world的智能组件

智能组件的格式为像上图中块状代码,其中的lang内容为中括号包起来的一个标识
然后我们在代码里设置这个智能模块的输出
> 这里所有的组件均需使用import异步加载
```
// index.ts
import createPlugin from '@@/create-plugin';
export default createPlugin({
components: {
'block:demo': () => import('./components/demo')
}
});
```
```
// components/demo.ts
export default function Demo() {
return <div>Hello World</div>;
}
```
这样我们刷新页面后可以看到右边的预览已经变成

阅读页面也是如此

插件开发完成后,执行打包命令
```
ttwp pack
```
这样就会在插件根目录下生成一个tgz插件包,用于后续的发布
本章节到此结束,更多内容参考后续API和组件说明