<div style="width:100%;margin-botton:30px;padding:20px; height: 330px; background-color: #ffffff; border-radius: 10px; box-shadow: 0 0 10px rgba(0, 0, 0, 0.3);">
<h1>
源码部署流程(本文档示例部署在[宝塔面板](https://www.bt.cn/))🔐</h1>
📘、安装PHP运行环境的相关软件
📙、上传源码
📒、在源码对应的目录启动
📚、<span style="color:red;font-weight:800">注意开启三个端口安全组:2021(给客户端发消息的端口),2020(通信端口),2023(web演示端口,最新版本这个端口可以去掉,前端代码单独运行部署都可以,在源码的web目录)
</span>
## <b>在线演示:http://114.96.100.72:5657/ 🦄 🦄 🦄 🦄 🦄 🦄 🦄 🦄 🦄 🦄
</div>
<br>
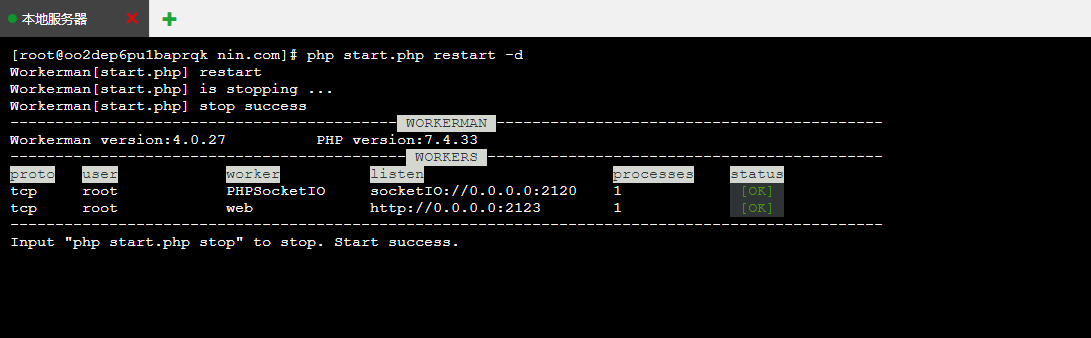
### 使用以下命令启动:
➡`php start.php start -d` 如下图就是启动完成了
<br>
相关命令讲解:
* 重启:`php start.php restart`
* 启动:`php start.php start`
* 停止:`php start.php stop`
* 当前服务状态: `php server.php status `
👺可以在命令后添加 `-d` 参数以在后台运行,也可以使用 `ctrl+c` 组合键退出。
> 📣**注意:** 如果你熟悉[pm2](https://pm2.fenxianglu.cn/docs/start/),也可以将该服务放在[pm2](https://pm2.fenxianglu.cn/docs/start/)中管理。