## 一、页面类异常处理
之前章节给大家讲的都是接口类的异常处理,那我们做页面模板时,Controller发生异常我们该怎么办?应该统一跳转到404页面。
面临的问题:
**程序员抛出自定义异常CustomException,全局异常处理截获之后返回@ResponseBody AjaxResponse,不是ModelAndView,所以我们无法跳转到error.html页面,那我们该如何做页面的全局的异常处理?**
答:
1. 用面向切面的方式,将CustomException转换为ModelAndViewException。
2. 全局异常处理器拦截ModelAndViewException,返回ModelAndView,即error.html页面
3. 切入点是带@ModelView注解的Controller层方法
**使用这种方法处理页面类异常,程序员只需要在页面跳转的Controller上加@ModelView注解即可**
### 错误的写法
~~~
@GetMapping("/freemarker")
public String index(Model model) {
try{
List<ArticleVO> articles = articleRestService.getAll();
model.addAttribute("articles", articles);
}catch (Exception e){
return "error";
}
return "fremarkertemp";
}
~~~
### 正确的写法
~~~
@ModelView
@GetMapping("/freemarker")
public String index(Model model) {
List<ArticleVO> articles = articleRestService.getAll();
model.addAttribute("articles", articles);
return "fremarkertemp";
}
~~~
## 二 用面向切面的方法处理页面全局异常
因为用到了面向切面编程,所以引入maven依赖包
~~~
<dependency>
<groupId>org.springframework.boot</groupId>
<artifactId>spring-boot-starter-aop</artifactId>
</dependency>
~~~
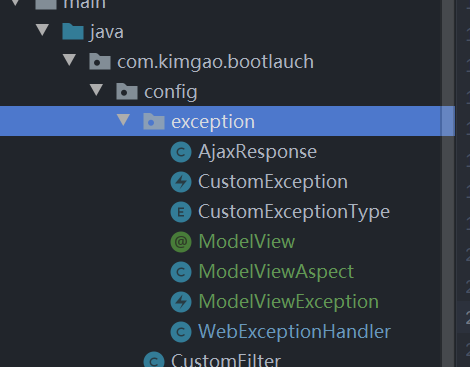
新定义一个异常类ModelViewException
~~~
public class ModelViewException extends RuntimeException{
//异常错误编码
private int code ;
//异常信息
private String message;
public static ModelViewException transfer(CustomException e) {
return new ModelViewException(e.getCode(),e.getMessage());
}
private ModelViewException(int code, String message){
this.code = code;
this.message = message;
}
int getCode() {
return code;
}
@Override
public String getMessage() {
return message;
}
}
~~~
ModelView 注解,只起到标注的作用
~~~
@Documented
@Retention(RetentionPolicy.RUNTIME)
@Target({ElementType.METHOD})//只能在方法上使用此注解
public @interface ModelView {
}
~~~
以@ModelView注解为切入点,面向切面编程,将CustomException转换为ModelViewException抛出。
~~~
@Aspect
@Component
@Slf4j
public class ModelViewAspect {
//设置切入点:这里直接拦截被@ModelView注解的方法
@Pointcut("@annotation(com.kimgao.bootlauch.config.exception.ModelView)")
public void pointcut() { }
/**
* 当有ModelView的注解的方法抛出异常的时候,做如下的处理
*/
@AfterThrowing(pointcut="pointcut()",throwing="e")
public void afterThrowable(Throwable e) {
log.error("切面发生了异常:", e);
if(e instanceof CustomException){
throw ModelViewException.transfer((CustomException) e);
}
}
}
~~~

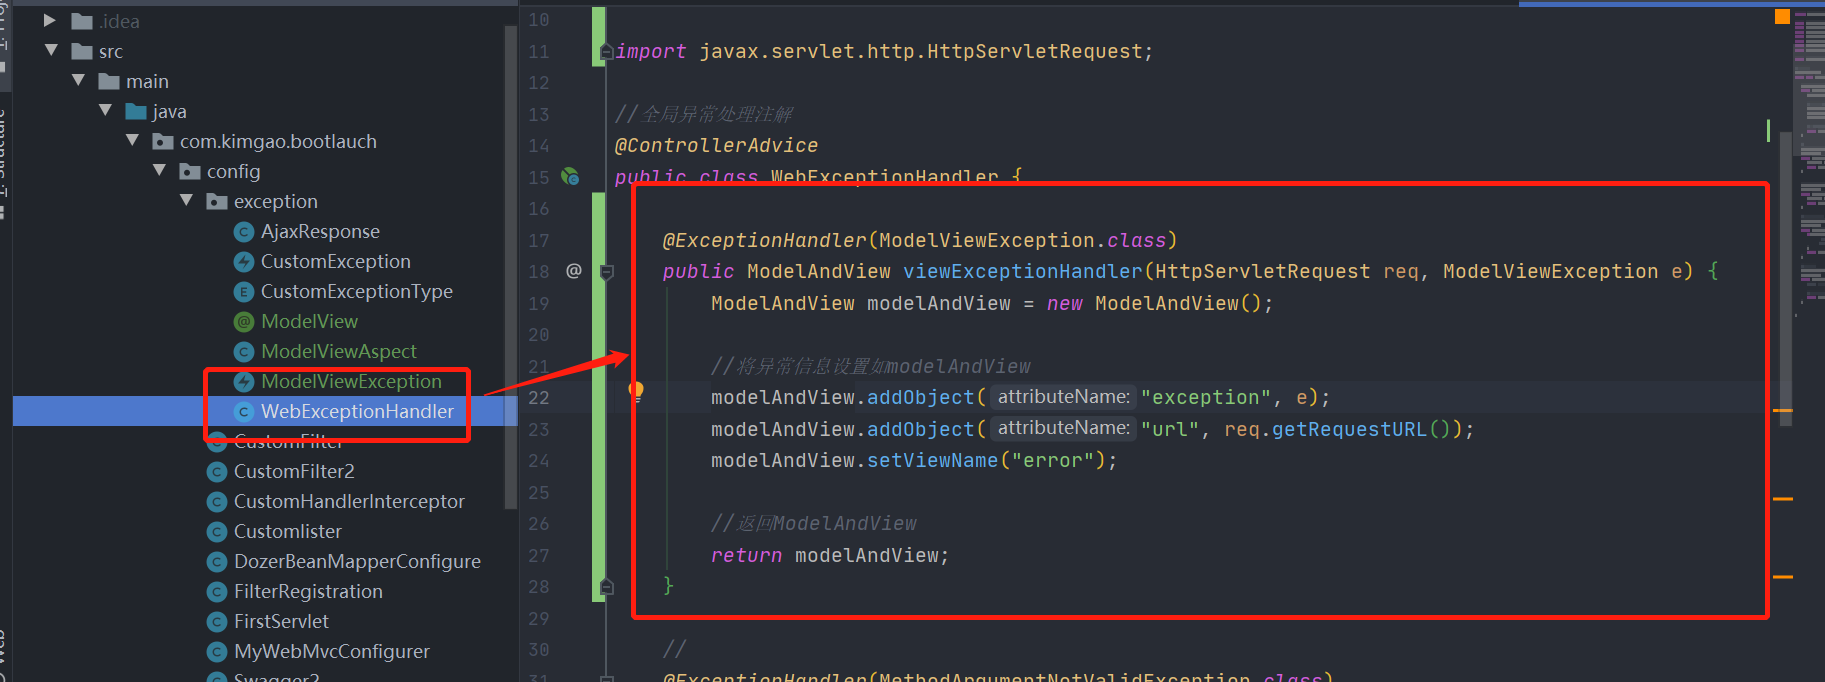
全局异常处理器:

~~~
@ExceptionHandler(ModelViewException.class)
public ModelAndView viewExceptionHandler(HttpServletRequest req, ModelViewException e) {
ModelAndView modelAndView = new ModelAndView();
//将异常信息设置如modelAndView
modelAndView.addObject("exception", e);
modelAndView.addObject("url", req.getRequestURL());
modelAndView.setViewName("error");
//返回ModelAndView
return modelAndView;
}
~~~
## 三 测试
创建error.html
~~~
<!DOCTYPE html>
<html xmlns:th="http://www.thymeleaf.org">
<!--thymeleaf favicon.ico y -->
<link rel="shortcut icon" th:href="@{/favicon.ico}"/>
<head lang="en">
<meta charset="UTF-8" />
<title>error页面</title>
</head>
<body>
<h1>error</h1>
<div th:text="${exception}"></div>
<div th:text="${url}"></div>
</body>
</html>
~~~
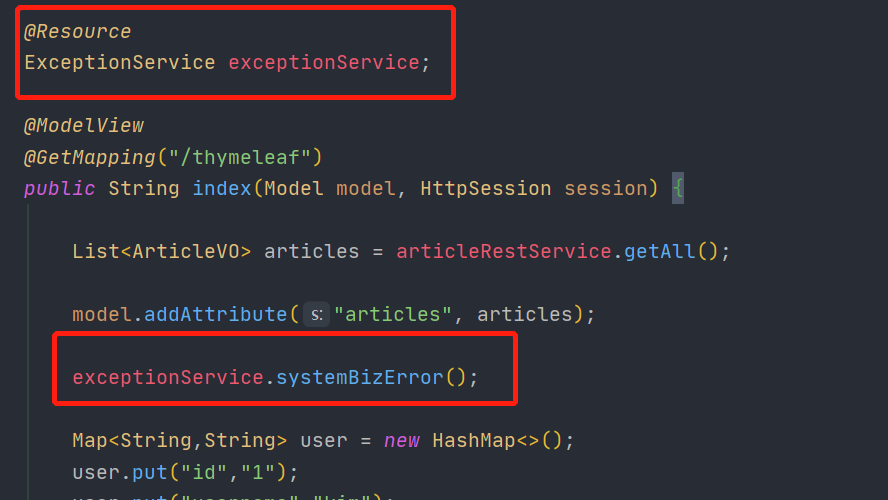
TemplateController中创建一个异常
引入异常service
~~~
@Resource
ExceptionService exceptionService;
~~~
制造一个异常,并返回ModelView
~~~
@ModelView
@GetMapping("/thymeleaf")
public String index(Model model, HttpSession session) {
...
exceptionService.systemBizError();
...
~~~

启动服务,运行页面
[http://127.0.0.1:8899/kimgao/template/thymeleaf](http://127.0.0.1:8899/kimgao/template/thymeleaf)
异常跳转到的error页面

## 四 总结
1. 全都用CustomException抛出异常,不在单独写try catch;
2. 模板、ajax、json混用可以加@ModelView跳转到error页面;
3. 服务端数据校验,需要加@Valid。
- 内容简介
- 第一章 Spring boot 简介
- 1.1 helloworld
- 1.2 提高开发效率工具lombok
- 1.3 IDEA热部署
- 1.4 IDEA常用插件
- 1.5 常用注解
- 第二章 RESTful接口
- 2.1 RESTful风格API
- 2.1.1 spring常用注解开发RESTful接口
- 2.1.2 HTTP协议与Spring参数接收注解
- 2.1.3 Spring请求处理流程注解
- 2.2 JSON数据格式处理
- 2.2.1 Jackson的转换示例代码
- 2.3 针对接口编写测试代码
- 2.3.1 编码接口测试示例代码
- 2.3.2 带severlet容器的接口测试示例代码
- 2.3.3 Mockito测试示例代码
- 2.3.4 Mockito轻量测试
- 2.4 使用swagger2构建API文档
- 2.4.1 swagger2示例代码
- 2.4.2 pom.xml
- 2.5 使用swagger2导出各种格式的接口文档
- 第三章 sping boot配置管理
- 3.1 YAML语法
- 3.2 YAML绑定配置变量的方式
- 3.3 YAML配置属性值校验
- 3.4 YAML加载外部配置文件
- 3.5 SpEL表达式绑定配置项
- 3.6 不同环境下的多配置
- 3.7 配置文件的优先级
- 3.8 配置文件敏感字段加密
- 第四章 连接数据库使用到的框架
- 4.1 spring JDBC
- 4.2 mybatis配置mybatisgenerator自动生成代码
- 4.3 mybatis操作数据库+dozer整合Bean自动加载
- 4.4 spring boot mybatis 规范
- 4.5 spirng 事务与分布式事务
- 4.6 spring mybaits 多数据源(未在git版本中实现)
- 4.7 mybatis+atomikos实现分布式事务(未在git版本中实现)
- 4.8 mybatis踩坑之逆向工程导致的服务无法启动
- 4.9 Mybatis Plus
- 4.9.1.CURD快速入门
- 4.9.2.条件构造器使用与总结
- 4.9.3.自定义SQL
- 4.9.4.表格分页与下拉分页查询
- 4.9.5.ActiveRecord模式
- 4.9.6.主键生成策略
- 4.9.7.MybatisPlus代码生成器
- 4.9.8.逻辑删除
- 4.9.9.字段自动填充
- 4.9.10.多租户解决方案
- 4.9.11.雪花算法与精度丢失
- 第五章 页面展现整合
- 5.1 webjars与静态资源
- 5.2 模板引擎与未来趋势
- 5.3 整合JSP
- 5.4 整合Freemarker
- 5.5 整合Thymeleaf
- 5.6 Thymeleaf基础语法
- 5.7 Thymeleaf内置对象与工具类
- 5.8 Thymeleaf公共片段(标签)和内联JS
- 第六章 生命周期内的拦截、监听
- 6.1 servlet与filter与listener的实现
- 6.1.1 FilterRegistration
- 6.1.2 CustomFilter
- 6.1.3 Customlister
- 6.1.4 FirstServlet
- 6.2 spring拦截器及请求链路说明
- 6.2.1 MyWebMvcConfigurer
- 6.2.2 CustomHandlerInterceptor
- 6.3 自定义事件的发布与监听
- 6.4 应用启动的监听
- 第七章 嵌入式容器的配置与应用
- 7.1 嵌入式的容器配置与调整
- 7.2 切换到jetty&undertow容器
- 7.3 打war包部署到外置tomcat容器
- 第八章 统一全局异常处理
- 8.1 设计一个优秀的异常处理机制
- 8.2 自定义异常和相关数据结构
- 8.3 全局异常处理ExceptionHandler
- 8.3.1 HelloController
- 8.4 服务端数据校验与全局异常处理
- 8.5 AOP实现完美异常处理方案
- 第九章 日志框架与全局日志管理
- 9.1 日志框架的简介与选型
- 9.2 logback日志框架整合使用
- 9.3 log4j2日志框架整合与使用
- 9.4 拦截器实现用户统一访问日志
- 第十章 异步任务与定时任务
- 10.1 实现Async异步任务
- 10.2 为异步任务规划线程池
- 10.3 通过@Scheduled实现定时任务
- 10.4 quartz简单定时任务(内存持久化)
- 10.5 quartz动态定时任务(数据库持久化)
- 番外章节
- 1.windows下安装git
- 1 git的使用
- 2 idea通过git上传代码到github
- 2.maven配置
- 3.idea几个辅助插件
- 4.idea配置数据库
- 5.搭建外网穿透实现外网访问内网项目
- 6.idea设置修改页面自动刷新
- 7.本地tomcat启动乱码
- 8.win10桌面整理,得到一个整洁的桌面
- 9.//TODO的用法
- 10.navicat for mysql 工具激活
- 11.安装redis
- 12.idea修改内存
- 13.IDEA svn配置
- 14.IntelliJ IDEA像Eclipse一样打开多个项目
