
## VtigerCRM自定义安装
在开始VtigerCRM的安装之前,建议完成如下事情:
* 浏览器访问:http://公网ip/9panel ,快速了解镜像的使用
* 通过phpMyAdmin将数据库默认的root密码修改成您自己的密码,并牢记密码
* 通过域名控制台解析域名(增加一个A记录指向服务器IP),并测试是否成功
---
### VtigerCRM安装向导:
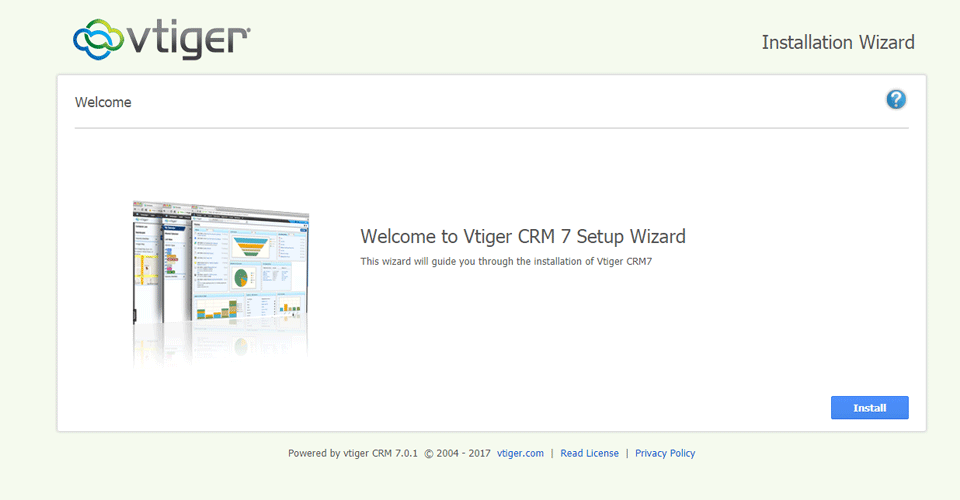
1. 本地浏览器访问:http://域名 或 http://公网IP ,进入安装向导(首选域名访问方式安装),选择接受协议,进入下一步
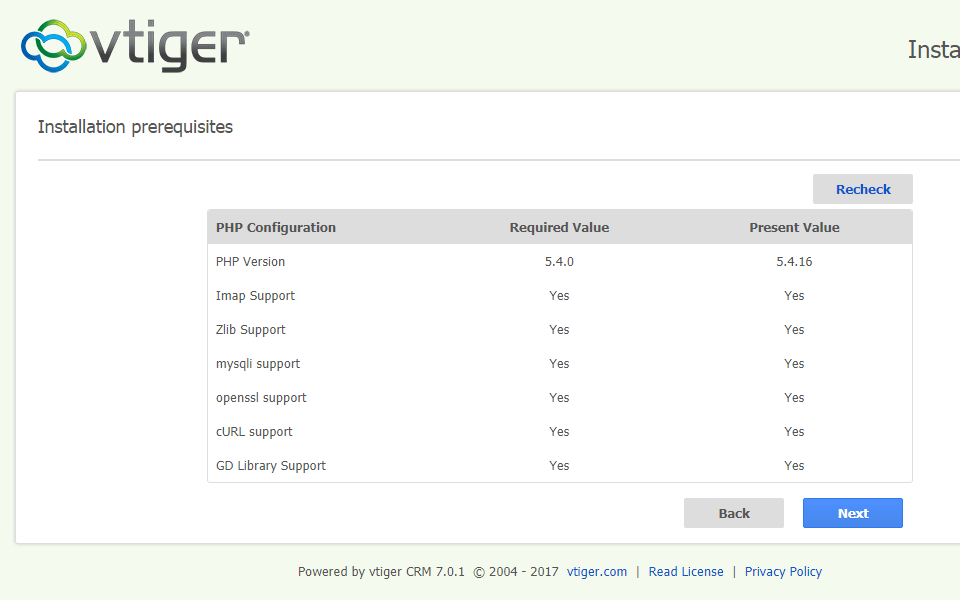
2. 系统进入环境检测步骤,通过后进入下一步
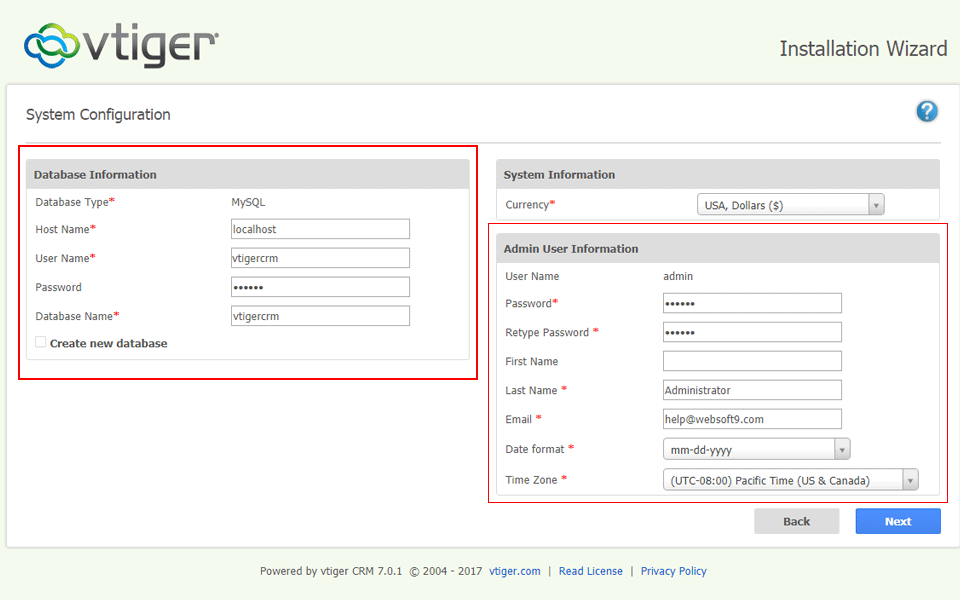
3. 填写您的数据库参数\(默认数据库为:
vtigercrm
,默认用户名为
root
和密码参考本文档”
常用账号与密码说明
“章节\)和管理员信息,牢记之,并进入下一步
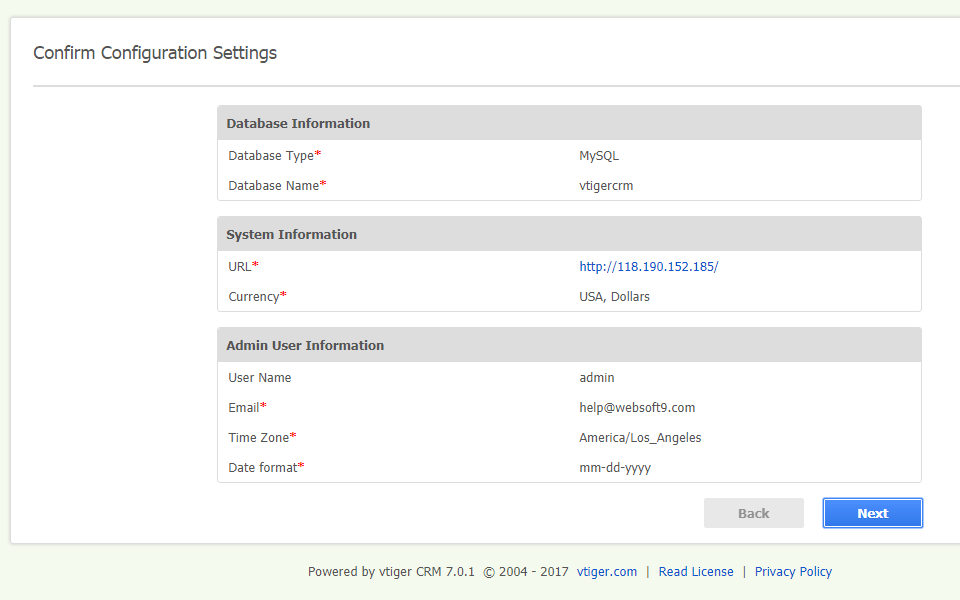
4. 数据库连接正确,点击“Next”进入下一步
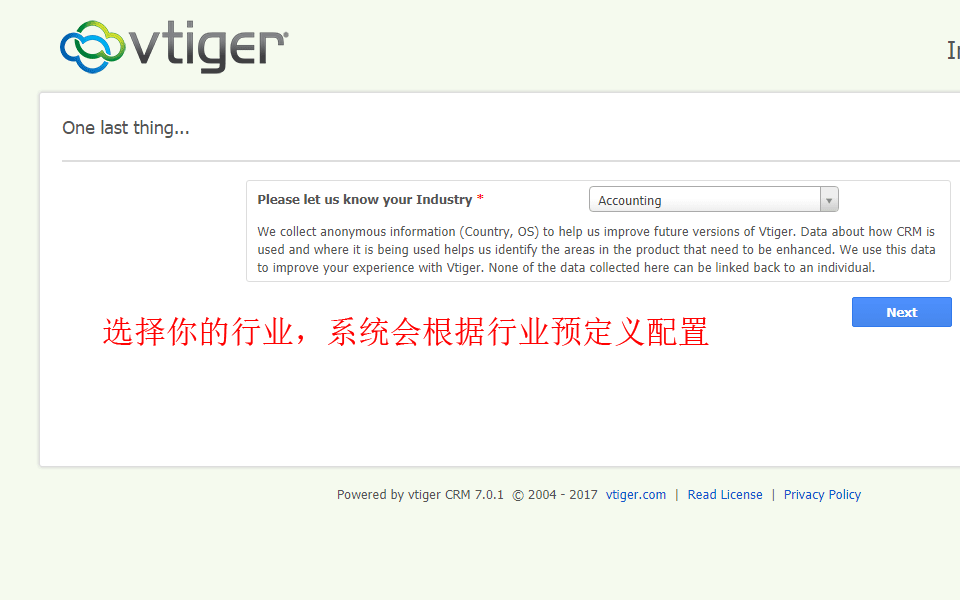
5. 选择一个匹配的行业,然后进入下一步
6. 选择需要安装的模块,建议全部勾选上,然后进入下一步

7. 系统提示选择货币、时区等
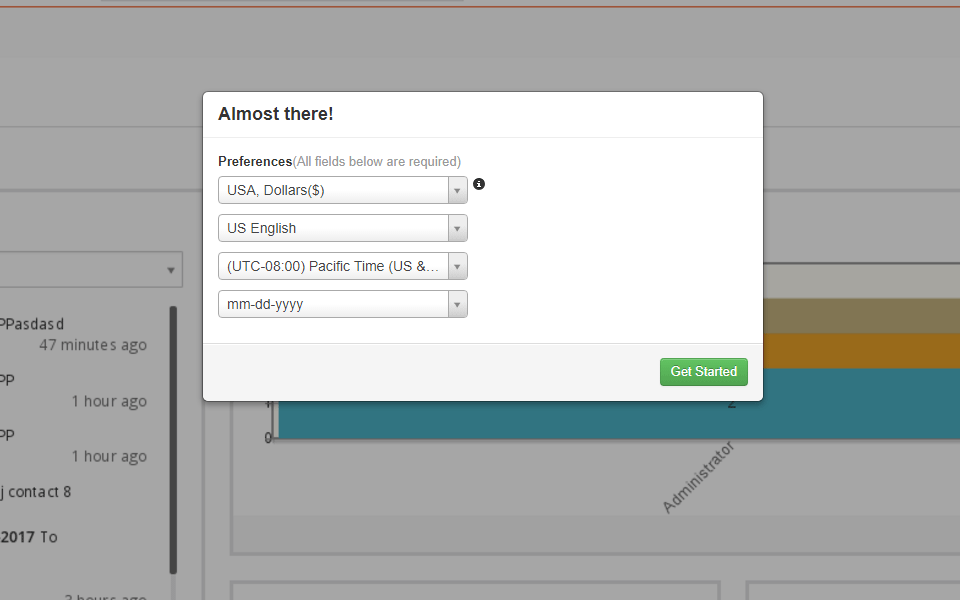
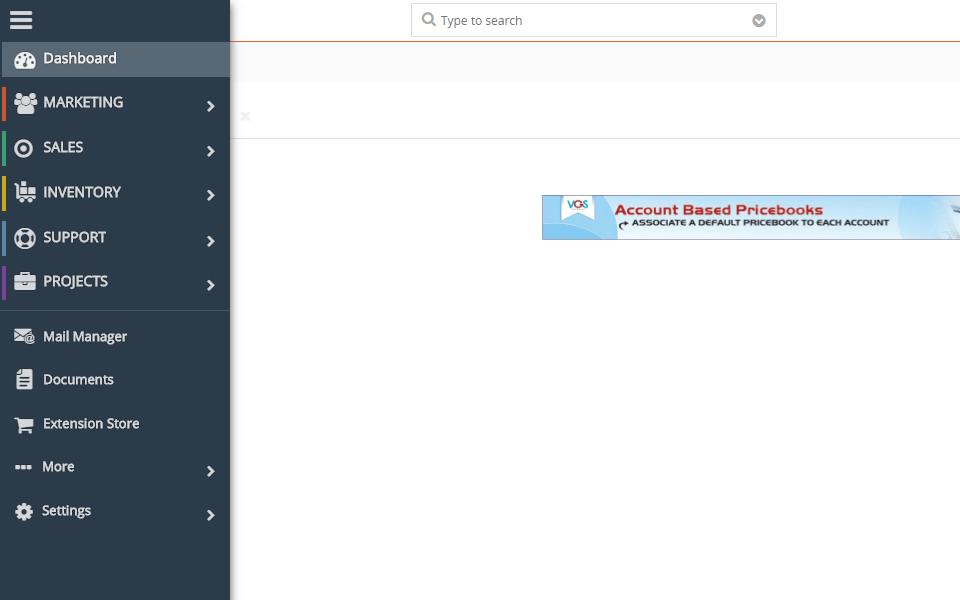
8. 点击“Get Started”,进入后台,体验系统的完整功能
* * * * *
### 附:VtigerCRM镜像组成一览
VtigerCRM镜像是基于LAMP环境制作,下面是一些可能会用得到的参数:
| **项** | **路径或说明** |
| :--- | :--- |
| 操作系统 | CentOS |
| Web服务 | Apache |
| 默认根目录 | /data/wwwroot/default/vtigercrm |
| PHP配置 | /etc/php.ini |
| Apache虚拟主机文件目录 | /ect/httpd/conf.d |
| Apache虚拟主机文件--根目录对应的文件 | /ect/httpd/conf.d/vhost.conf |
| 日志文件 | /var/log/httpd |
| MySQL数据目录 | /data/mysql |
| MySQL配置文件 | /etc/my.cnf |
| MySQL管理地址 | http://服务器公网IP/phpmyadmin |
| 9Panel访问地址 | http://服务器公网IP/9panel |
- 关于本书
- 多余的话
- 获取一键安装包
- Odoo
- ERPNext
- 功能及演示
- ERPNext镜像说明
- ERPNext自定义安装
- ERPNext实用教程
- ERPNext如何发送邮件?
- ERPNext如何设置HTTPS?
- ERPNext备份
- ERPNext升级
- ERPNext常见问题
- 附:常用账号和密码
- Dolibarr
- 功能及演示
- Dolibarr镜像说明
- Dolibarr自定义安装
- Dolibarr实用教程
- Dolibarr如何发送邮件?
- Dolibarr如何设置HTTPS?
- Dolibarr备份
- Dolibarr升级
- Dolibarr常见问题
- 附:常用账号和密码
- Ranzhi(然之协同)
- 功能及演示
- Ranzhi镜像说明
- Ranzhi自定义安装
- Ranzhi&EspoCRM&禅道组合
- 组合镜像组成
- 组合自定义安装
- Ranzhi实用教程
- Ranzhi如何发送邮件?
- Ranzhi如何设置HTTPS?
- Ranzhi如何重置管理员密码?
- Ranzhi如何发出邮件?
- Ranzhi备份
- Ranzhi升级
- Ranzhi常见问题
- 附:常用账号和密码
- ZurmoCRM
- 功能及演示
- ZurmoCRM自定义安装
- ZurmoCRM镜像说明
- ZurmoCRM实用教程
- ZurmoCRM如何发送邮件?
- ZurmoCRM如何设置HTTPS?
- ZurmoCRM如何设置LDAP?
- ZurmoCRM备份
- ZurmoCRM升级
- ZurmoCRM常见问题
- 附:常用账号和密码
- VtigerCRM
- 功能及演示
- VtigerCRM镜像说明
- VtigerCRM自定义安装
- VtigerCRM实用教程
- VtigerCRM如何安装中文包?
- VtigerCRM如何发送邮件?
- VtigerCRM如何设置HTTPS?
- VtigerCRM备份
- VtigerCRM升级
- VtigerCRM常见问题
- 附:常用账号和密码
- EspoCRM
- 功能及演示
- EspoCRM镜像说明
- EspoCRM自定义安装
- EspoCRM实用教程
- EspoCRM如何发送邮件?
- EspoCRM如何设置HTTPS?
- EspoCRM备份
- EspoCRM升级
- EspoCRM常见问题
- 附:常用账号和密码
- SuiteCRM
- 功能及演示
- SuiteCRM镜像说明
- SuiteCRM自定义安装
- SuiteCRM实用教程
- SuiteCRM如何安装中文包?
- SuiteCRM如何发送邮件?
- SuiteCRM如何设置HTTPS?
- SuiteCRM备份
- SuiteCRM升级
- SuiteCRM常见问题
- 附:常用账号和密码
- 云服务器操作
- Linux登录与文件管理(SFTP)
- 如何使用phpMyAdmin管理数据库?
- 如何修改Linux文件权限?
- 如何在镜像上新增更多应用?
- 如何修改PHP配置?
- 如何实现服务启停?
- 安全组设置
- 快照备份
- 备份
- 升级
- 域名配置
- 域名解析
- 域名绑定
- 附:工具和术语
- 配套视频教程