[How To Install](https://cylonjs.com/documentation/platforms/yun/#how-to-install) [How To Use](https://cylonjs.com/documentation/platforms/yun/#how-to-use) [How To Connect](https://cylonjs.com/documentation/platforms/yun/#how-to-connect) [Drivers](https://cylonjs.com/documentation/platforms/yun/#Drivers)
#### [Repository](https://github.com/hybridgroup/cylon-firmata)| [Issues](https://github.com/hybridgroup/cylon-firmata/issues)
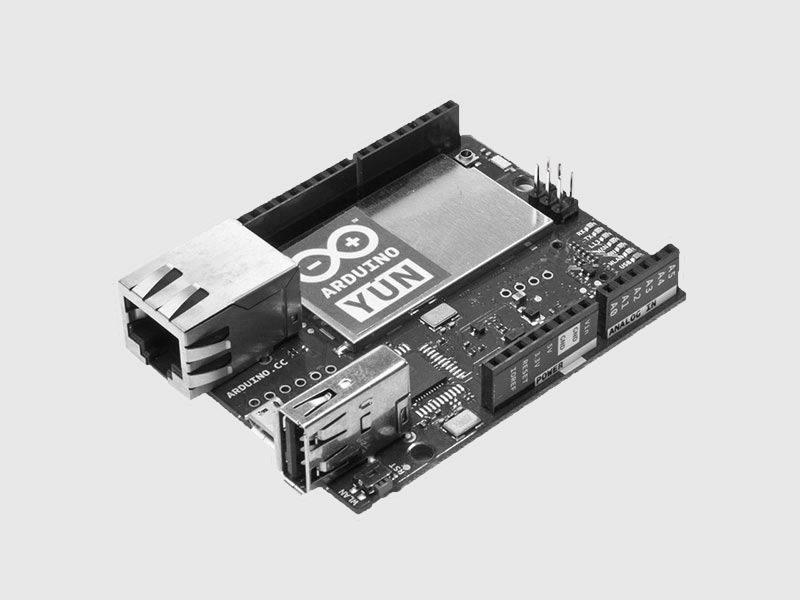
The Arduino Yún is a microcontroller board based on the ATmega32u4 and the Atheros AR9331\. The Atheros processor supports a Linux distribution based on OpenWrt named OpenWrt-Yun.
You can find more info about it [here](http://arduino.cc/en/Main/ArduinoBoardYun?from=Products.ArduinoYUN).
## How To Install
Installing Cylon.js with Arduino YUN support is pretty easy if you are just going to use it as an Arduino UNO.
$ npm install cylon-firmata
## How To Use
This small program lets you push a button on the arduino board to turn a LED on or off. In less than 10 lines of code using Cylon.js.
var Cylon = require('cylon');
Cylon.robot({
connections: {
arduino: { adaptor: 'firmata', port: '/dev/ttyACM0' }
},
devices: {
led: { driver: 'led', pin: 13 },
button: { driver: 'button', pin: 2 }
},
work: function(my) {
my.button.on('push', function() {
my.led.toggle()
});
}
}).start();
### Upgrade and Increase Available Storage
The first step is to make sure the YUN is on the latest firmware, which you can find [here](http://arduino.cc/en/main/software).
After that, you'll want to increase the storage space available to the OpenWRT distro. You can find a pretty good guide to that [here](http://arduino.cc/en/Tutorial/ExpandingYunDiskSpace).
### Installing Node.JS, Node-Serialport, and Firmata.
Next up, installing the latest version of Node on the OpenWRT install. The Arduino blog has a great tutorial for that [here](http://blog.arduino.cc/2014/05/06/time-to-expand-your-yun-disk-space-and-install-node-js/).
Additionally. since we'll be using Node.JS on the OpenWRT side of the YUN to talk to Firmata on the Arduino side, we'll need to install node-serialport. There's a precompiled package available, and [this guide](http://www.appsaloon.be/blog/node-js-arduino-yun/). will help you get both node-serialport and Firmata working.
Alternatively, if you have an SSH connection to the YUN, you can install node-serialport with the built-in package manager:
$ opkg update
$ opkg install node-serialport
We'll also need to upload a modified StandardFirmata sketch to the Arduino. Since we've already disabled the bridge, we need to do this through the Arduino IDE and the WiFi port. You can find the modified Firmata sketch [here](https://gist.github.com/edgarsilva/e73c15a019396d6aaef2).
The YUN unfortunately doesn't have enough internal memory to install NPM modules directly to it. So, we need to download them on a host computer and copy them over to the YUN either using SCP, or directly to the memory card.
The first module we'll need is firmata:
$ npm install firmata
Before you copy this over to the YUN, be sure to delete the `serialport` module from the`firmata/node_modules` folder. We do this, because we already have the correct pre-compiled node-serialport version installed on the Yun.
This set of commands will install the firmata module globally on the YUN, allowing it to be used in any of your projects:
$ rm -rf ./node_modules/firmata/node_modules/serialport
$ scp ./node_modules/firmata root@arduino.local:/usr/lib/node_modules/
### Disabling the Bridge Script
We need to disable the YUN's bridge so we can take control of the serialport interface.
To remove the bridge setup from the YUN's inittab script:
* SSH into the YUN
* Edit the `/etc/inittab` file to comment out the `ttyATH0` line (put a `#` before it)
When you're done, the file should look like this:
::sysinit:/etc/init.d/rcS S boot
::shutdown:/etc/init.d/rcS K shutdown
#ttyATH0::askfirst:/bin/ash --login
After you're done, restart the YUN with a long press of the YUN RST button.
### Testing Communication
Next up, let's test if both Firmata on the Arduino side, and the firmata module are installed and working. We'll be using a modified version of @david's `www-blink.js` program.
Create a new `www-blink.js` file, and copy this code to it:
console.log('WWW blink start ...');
var ledPin = 13;
var firmata = require('firmata');
var board = new firmata.Board("/dev/ttyATH0", function(err) {
if (err) {
console.log(err);
board.reset();
return;
}
console.log('connected...');
console.log('board.firmware: ', board.firmware);
board.pinMode(ledPin, board.MODES.OUTPUT);
var url = require('url');
var http = require('http');
http.createServer(function(request, response) {
var params = url.parse(request.url, true).query;
if (params.value.toLowerCase() == 'high') {
board.digitalWrite(ledPin, board.HIGH);
} else {
board.digitalWrite(ledPin, board.LOW);
}
response.writeHead(200);
response.write("The value written was: " + params.value);
response.end();
}.bind(this)).listen(8080);
console.log('Listening on port 8080 ...');
});
Save this, and run it on the YUN.
Basically, if you can see the `listening on port 8080` message, and can hit endpoints, you're good.
### Installing Cylon
The last step is to download the appropriate Cylon modules, and copy them over to the YUN. As before, we need to make sure to delete the `firmata` module dependency from the `cylon-firmata`module, since we already have it installed globally on the YUN.
$ npm install cylon-firmata
$ rm -rf ./node_modules/cylon-firmata/node_modules/firmata
Now, you can copy the Cylon modules on your computer over to the YUN:
# on host computer:
tar -cvf yun_project.tar ./yun_project
scp ./yun_project.tar root@arduino.local:/root
# on YUN OpenWRT:
tar -xvf yun_project.tar
cd yun_project
node index.js # or whatever the name of the main file is.
And from here you should be good to go.
To test things out, here's a small Cylon script that'll make a button on the YUN turn a LED on or off:
var Cylon = require('cylon');
Cylon.robot({
connections: {
arduino: { adaptor: 'firmata', port: '/dev/ttyATH0' }
},
devices: {
led: { driver: 'led', pin: 13 },
button: { driver: 'button', pin: 2 }
},
work: function(my) {
my.button.on('push', function() {
my.led.toggle()
});
}
}).start();
## Drivers
Cylon.JS' communication with the Arduino relies on using the Firmata firmware. This allows for interaction with a wide range of I/O hardware devices and interfaces, using a set of previously-defined and easy-to-use drivers.
Available drivers for the Arduino platform are listed below.
## GPIO Drivers
[Analog Sensor
](https://cylonjs.com/documentation/drivers/analog-sensor "Analog Sensor")
[Button
](https://cylonjs.com/documentation/drivers/button "Button")
[Continuous Servo
](https://cylonjs.com/documentation/drivers/continuous-servo "Continuous Servo")
[Direct Pin
](https://cylonjs.com/documentation/drivers/direct-pin "Direct Pin")
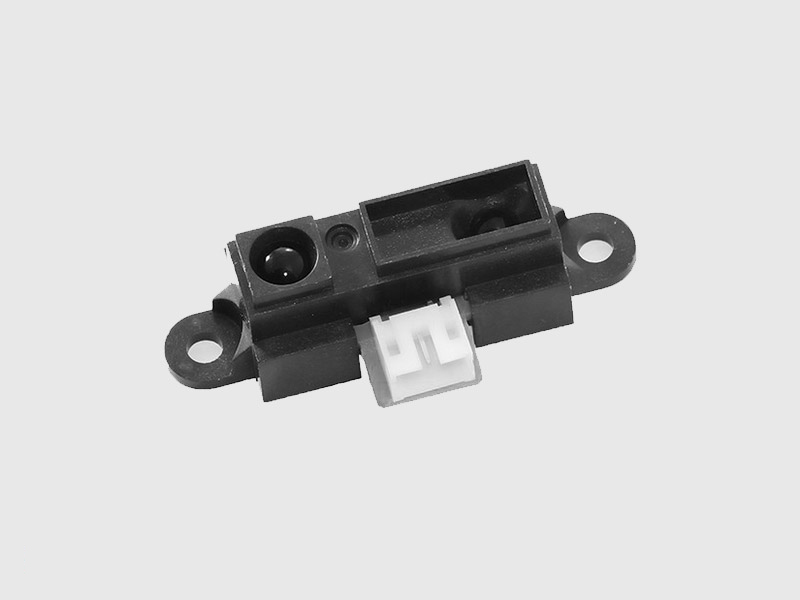
[IR Range Finder
](https://cylonjs.com/documentation/drivers/ir-range-finder "IR Range Finder")
[LED
](https://cylonjs.com/documentation/drivers/led "LED")
[Makey Button
](https://cylonjs.com/documentation/drivers/makey-button "Makey Button")
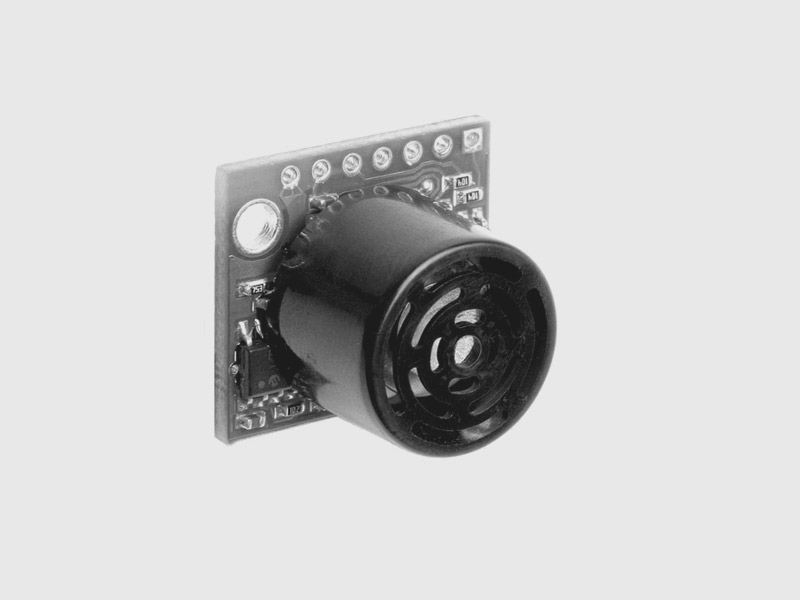
[Maxbotix
](https://cylonjs.com/documentation/drivers/maxbotix "Maxbotix")
[Motor
](https://cylonjs.com/documentation/drivers/motor "Motor")
[Relay
](https://cylonjs.com/documentation/drivers/relay "Relay")
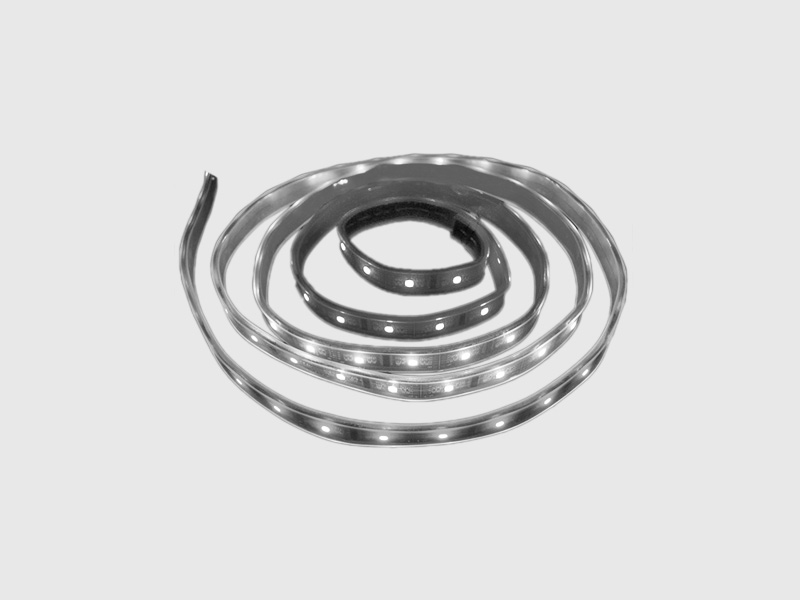
[RGB LED
](https://cylonjs.com/documentation/drivers/rgb-led "RGB LED")
[Servo
](https://cylonjs.com/documentation/drivers/servo "Servo")
## I2C Drivers
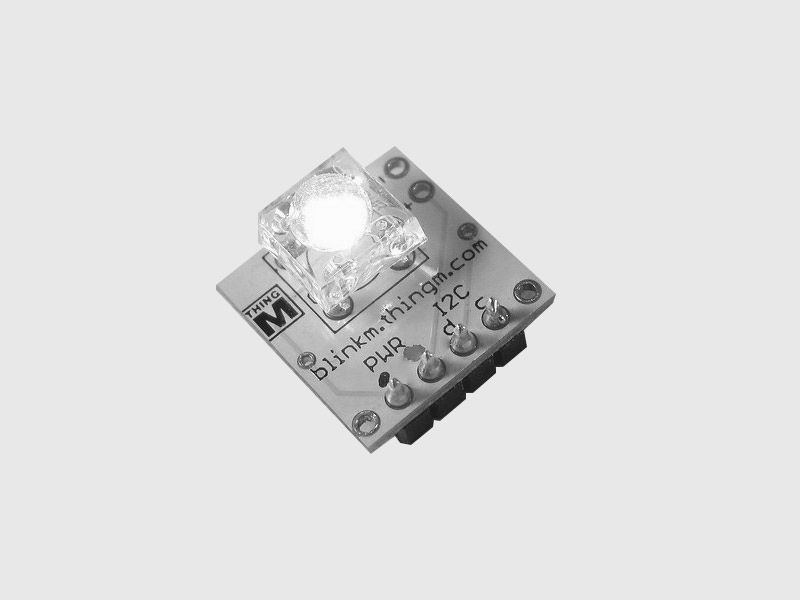
[BlinkM
](https://cylonjs.com/documentation/drivers/blinkm "BlinkM")
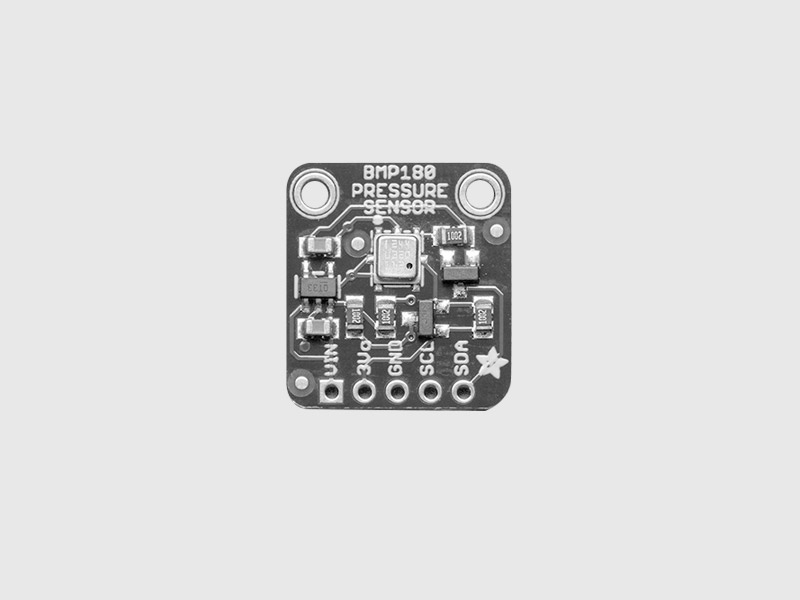
[BMP180
](https://cylonjs.com/documentation/drivers/bmp180 "BMP180")
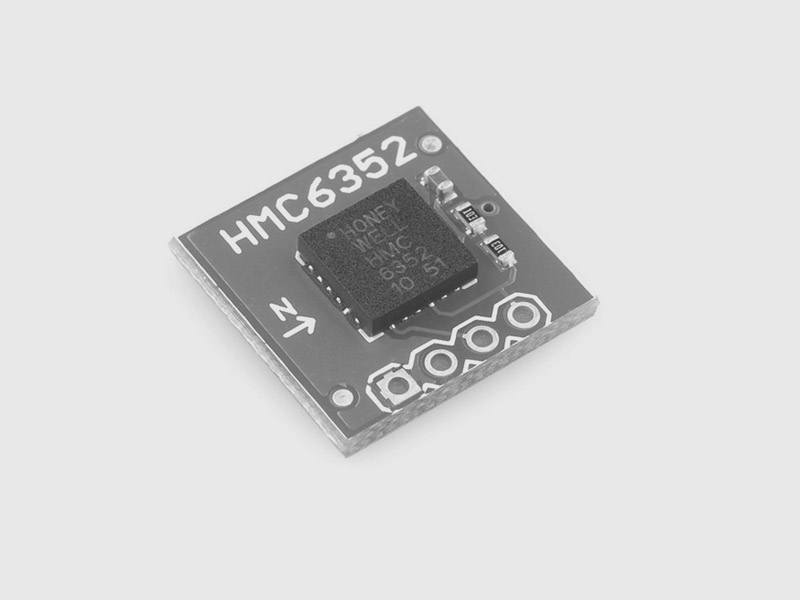
[HMC6352 Compass
](https://cylonjs.com/documentation/drivers/hmc6352-compass "HMC6352 Compass")
[LCD
](https://cylonjs.com/documentation/drivers/lcd "LCD")
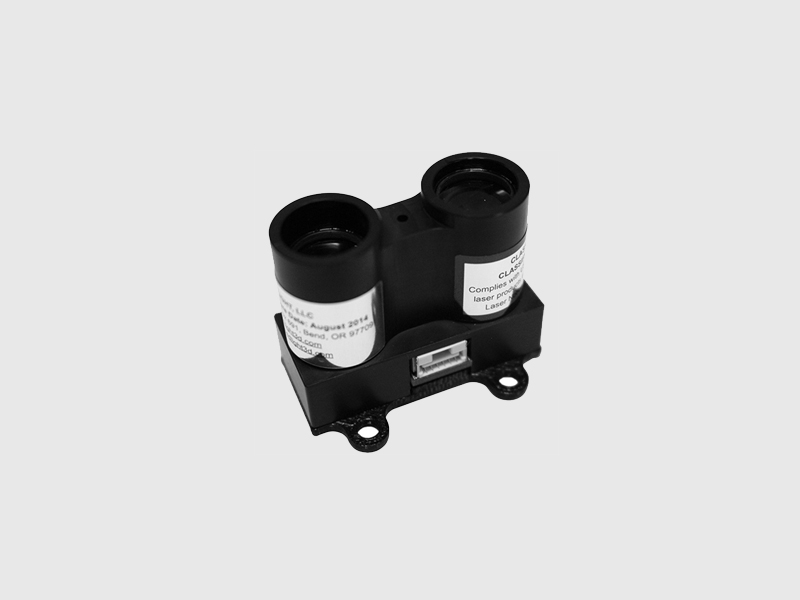
[LIDAR-Lite
](https://cylonjs.com/documentation/drivers/lidar-lite "LIDAR-Lite")
[LSM9DS0G
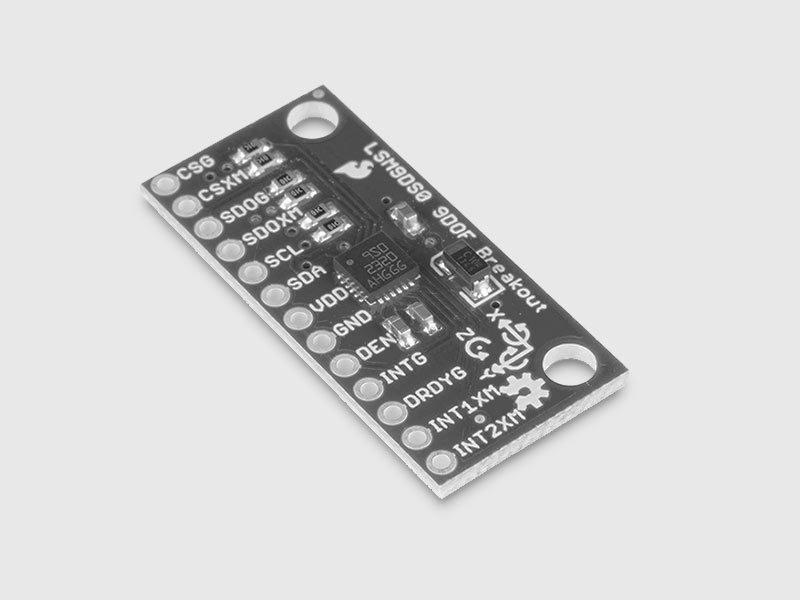](https://cylonjs.com/documentation/drivers/lsm9ds0g "LSM9DS0G")
[LSM9DS0XM
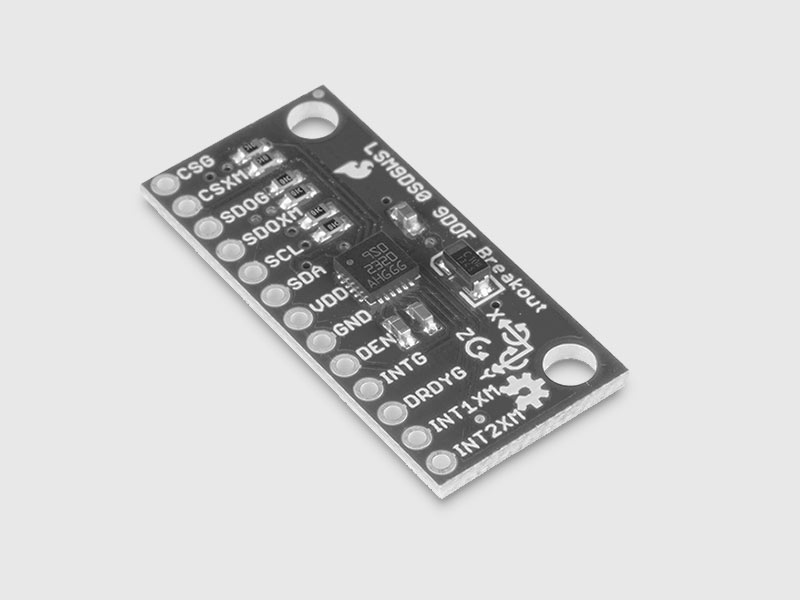](https://cylonjs.com/documentation/drivers/lsm9ds0xm "LSM9DS0XM")
[MPL115A2
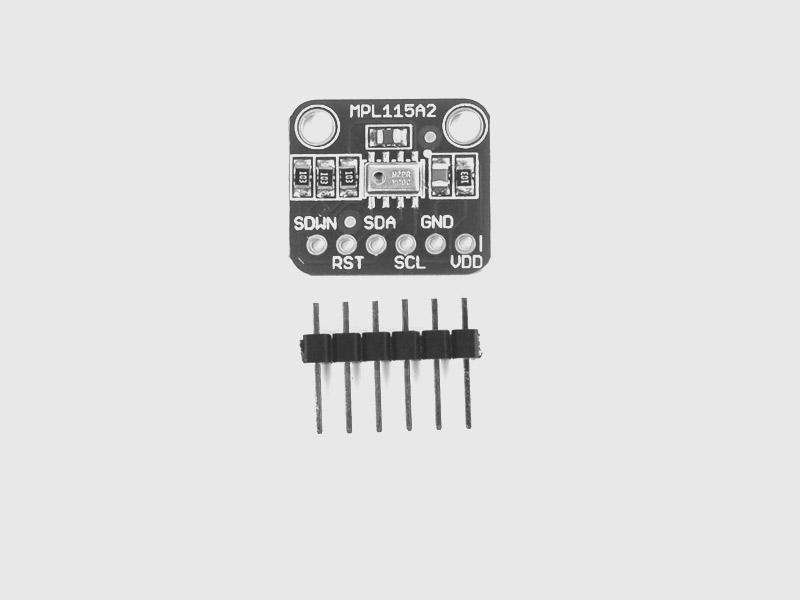](https://cylonjs.com/documentation/drivers/mpl115a2 "MPL115A2")
[MPU6050
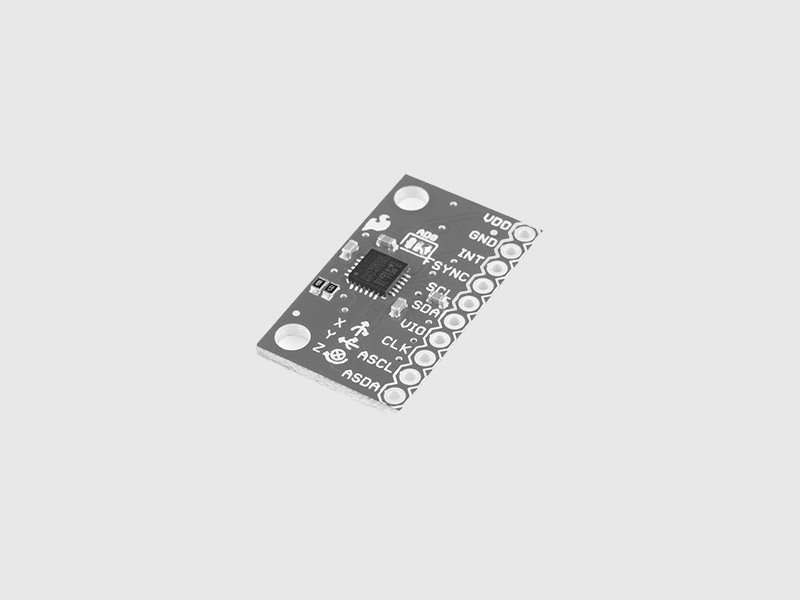](https://cylonjs.com/documentation/drivers/mpu6050 "MPU6050")
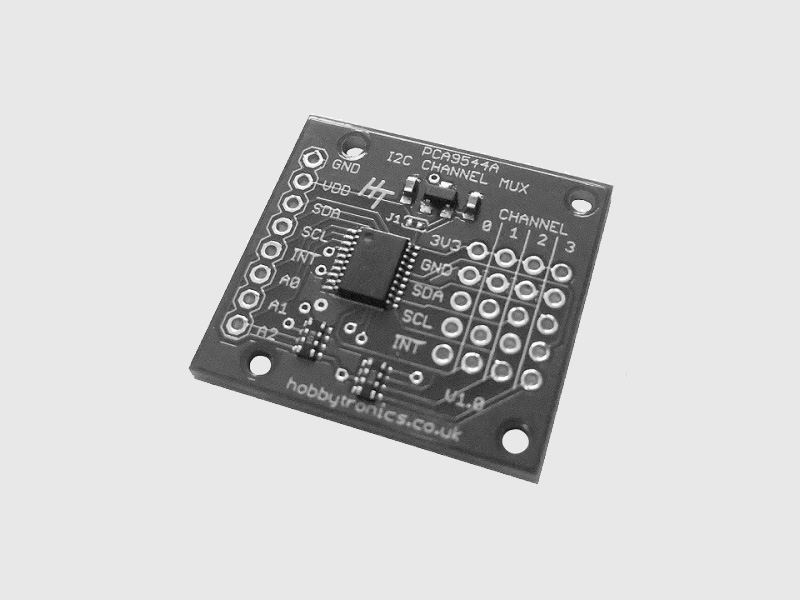
[PCA9544a
](https://cylonjs.com/documentation/drivers/pca9544a "PCA9544a")
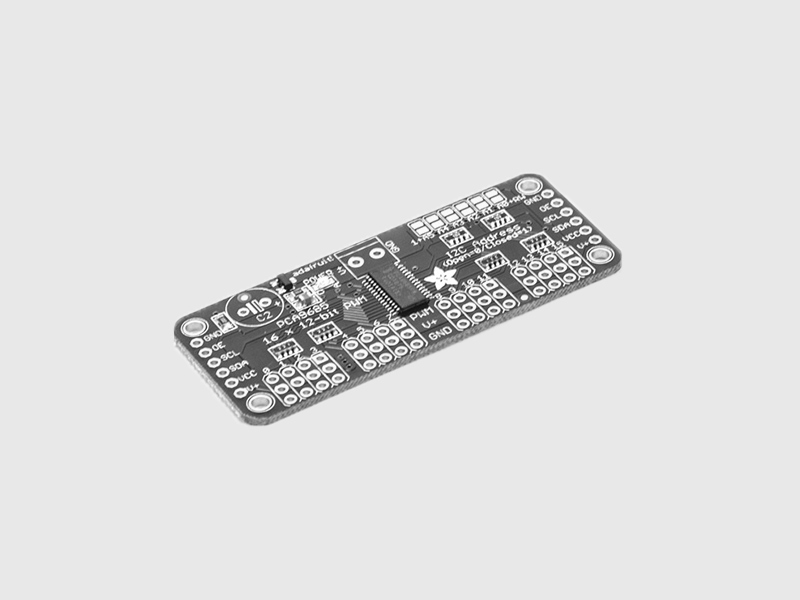
[PCA9685
](https://cylonjs.com/documentation/drivers/pca9685 "PCA9685")
