原文档看懂了不知道把源码放在哪一行哪个文件,来这里就对了。小白为您解答!
原文档:https://ext.dcloud.net.cn/plugin?id=7100
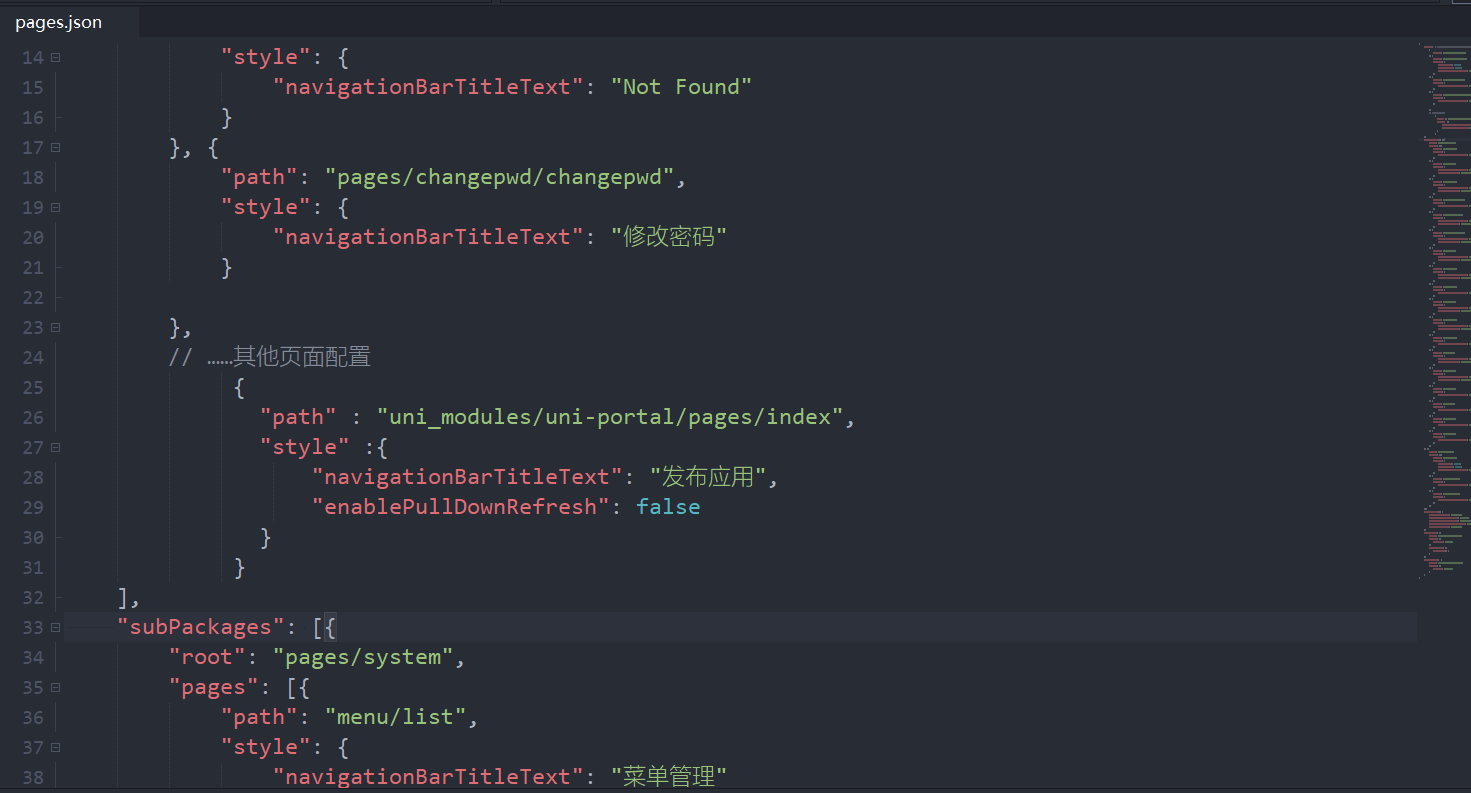
将第五步的源码粘贴到修改密码的下面,花括号别分错段落了
原文:编辑`pages.json`,增加如下内容
~~~
//此结构与uni-admin中的pages.json结构一致
"pages": [
// ……其他页面配置
{
"path" : "uni_modules/uni-portal/pages/index",
"style" :{
"navigationBarTitleText": "发布应用",
"enablePullDownRefresh": false
}
}
]
~~~
](images/screenshot_1645360845605.png)
原文:在`应用管理`列表中,添加“发布”按钮,作为`uni-portal`统一发布页的入口。
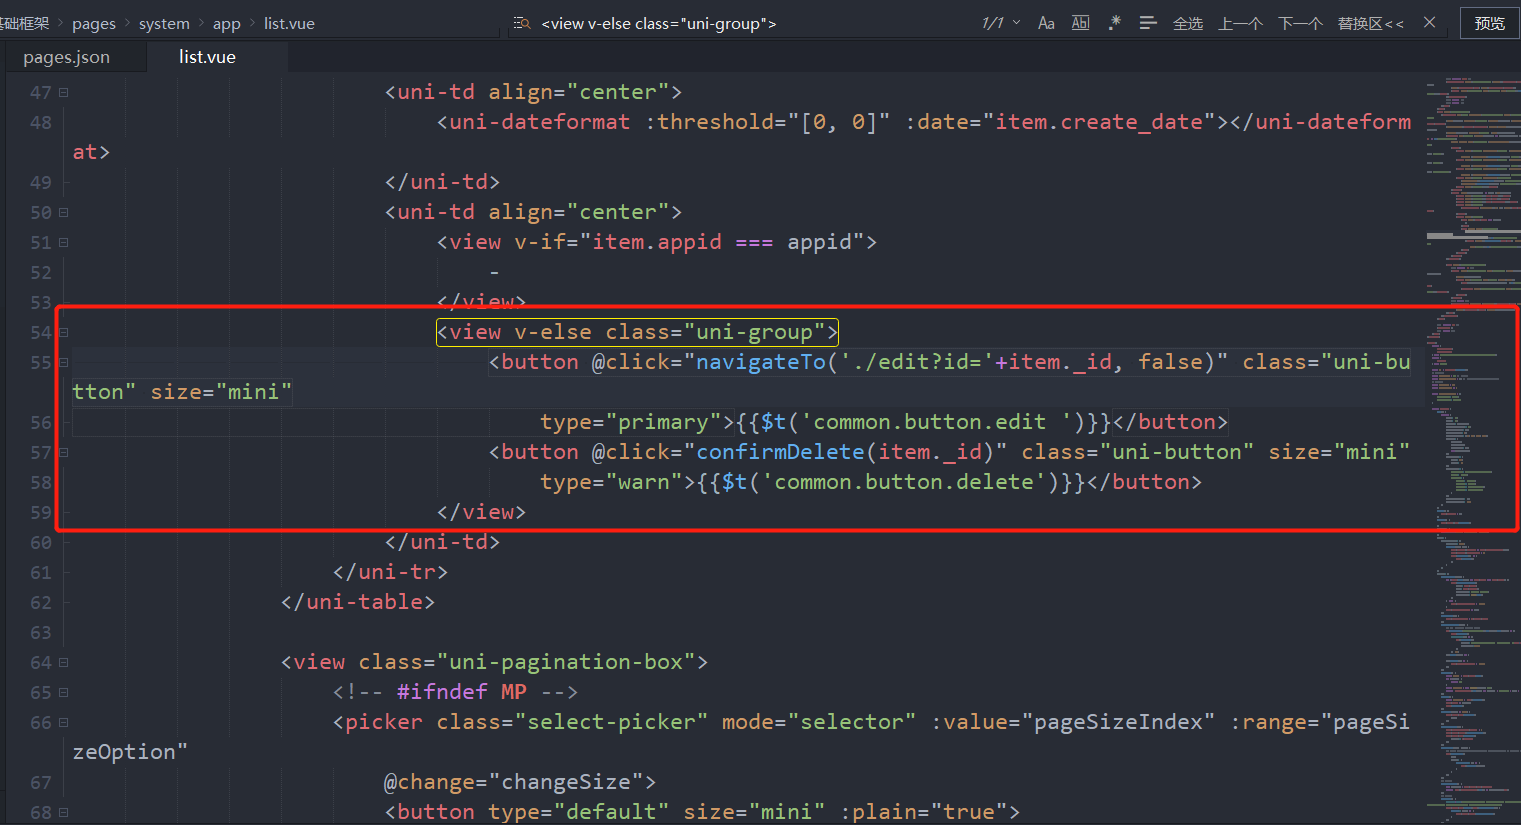
找到并编辑`uni-admin`项目下`/pages/system/app/list.vue`,在原`编辑`、`删除`按钮之前,添加`发布`按钮,编辑后内容如下:
~~~
<view v-else class="uni-group">
<!-- 这里是新增的发布按钮,若有国际化需求,请到国际化配置文件中进行编辑 -->
<button @click="navigateTo('/uni_modules/uni-portal/pages/index?id='+item.appid, false)" class="uni-button" size="mini" type="primary">发布</button>
<!-- 下方是原有的编辑、删除按钮 -->
<button @click="navigateTo('./edit?id='+item._id, false)" class="uni-button" size="mini" type="primary">{{$t('common.button.edit')}}</button>
<button @click="confirmDelete(item._id)" class="uni-button" size="mini" type="warn">{{$t('common.button.delete')}}</button>
</view>
~~~
请把上面代码全部复制,删除图片内方框里原来代码,粘贴到原来的位置。(54-59行代码处)(如下图)

最后别忘了Ctrl+S,保存。基本就完工了。
怎么查看是否生效。
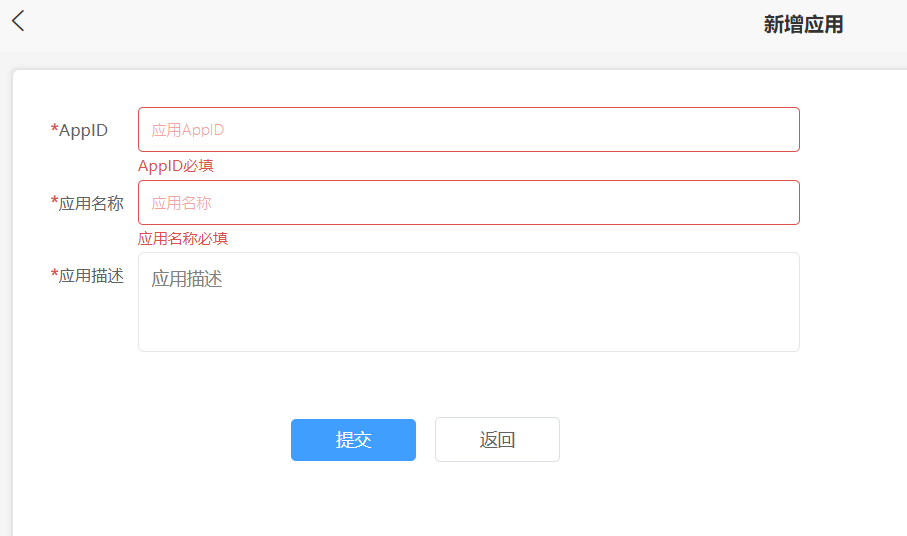
登录/刷新后台,点击应用管理-新增(看下两张图)


APPID在开发中心看。
开发中心:https://dev.dcloud.net.cn/app/index?type=0

填写完会看到多加了一个应用,那个发布按钮就是咱们的主角。

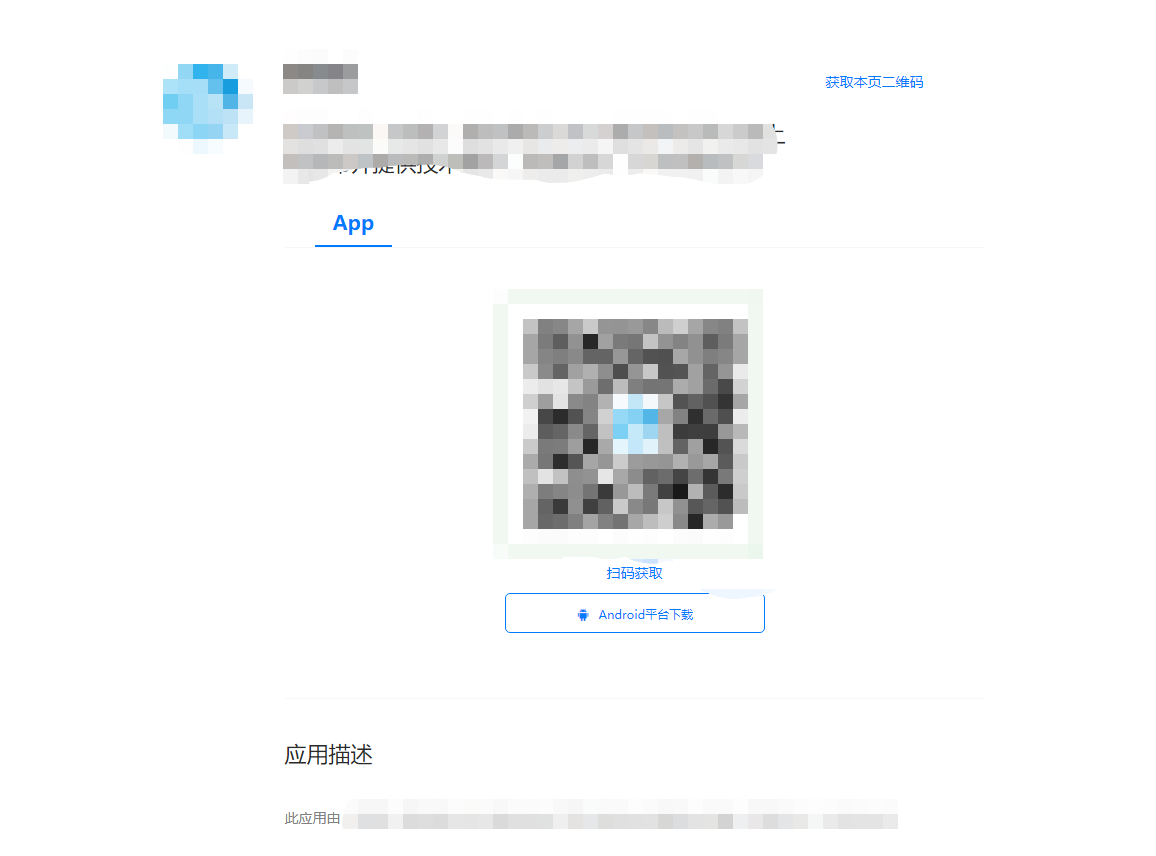
点击发布,完善平台信息,就可以看到发布页面啦。(下图见效果)

最后将生成的页面可以放进前端网页托管
官方网页托管地址:https://unicloud.dcloud.net.cn/static/hosting?platform=aliyun&appid=
