## 部署Saber
>本章节以商业版展示,开源版处理方式与商业版一致,大家可以直接参考
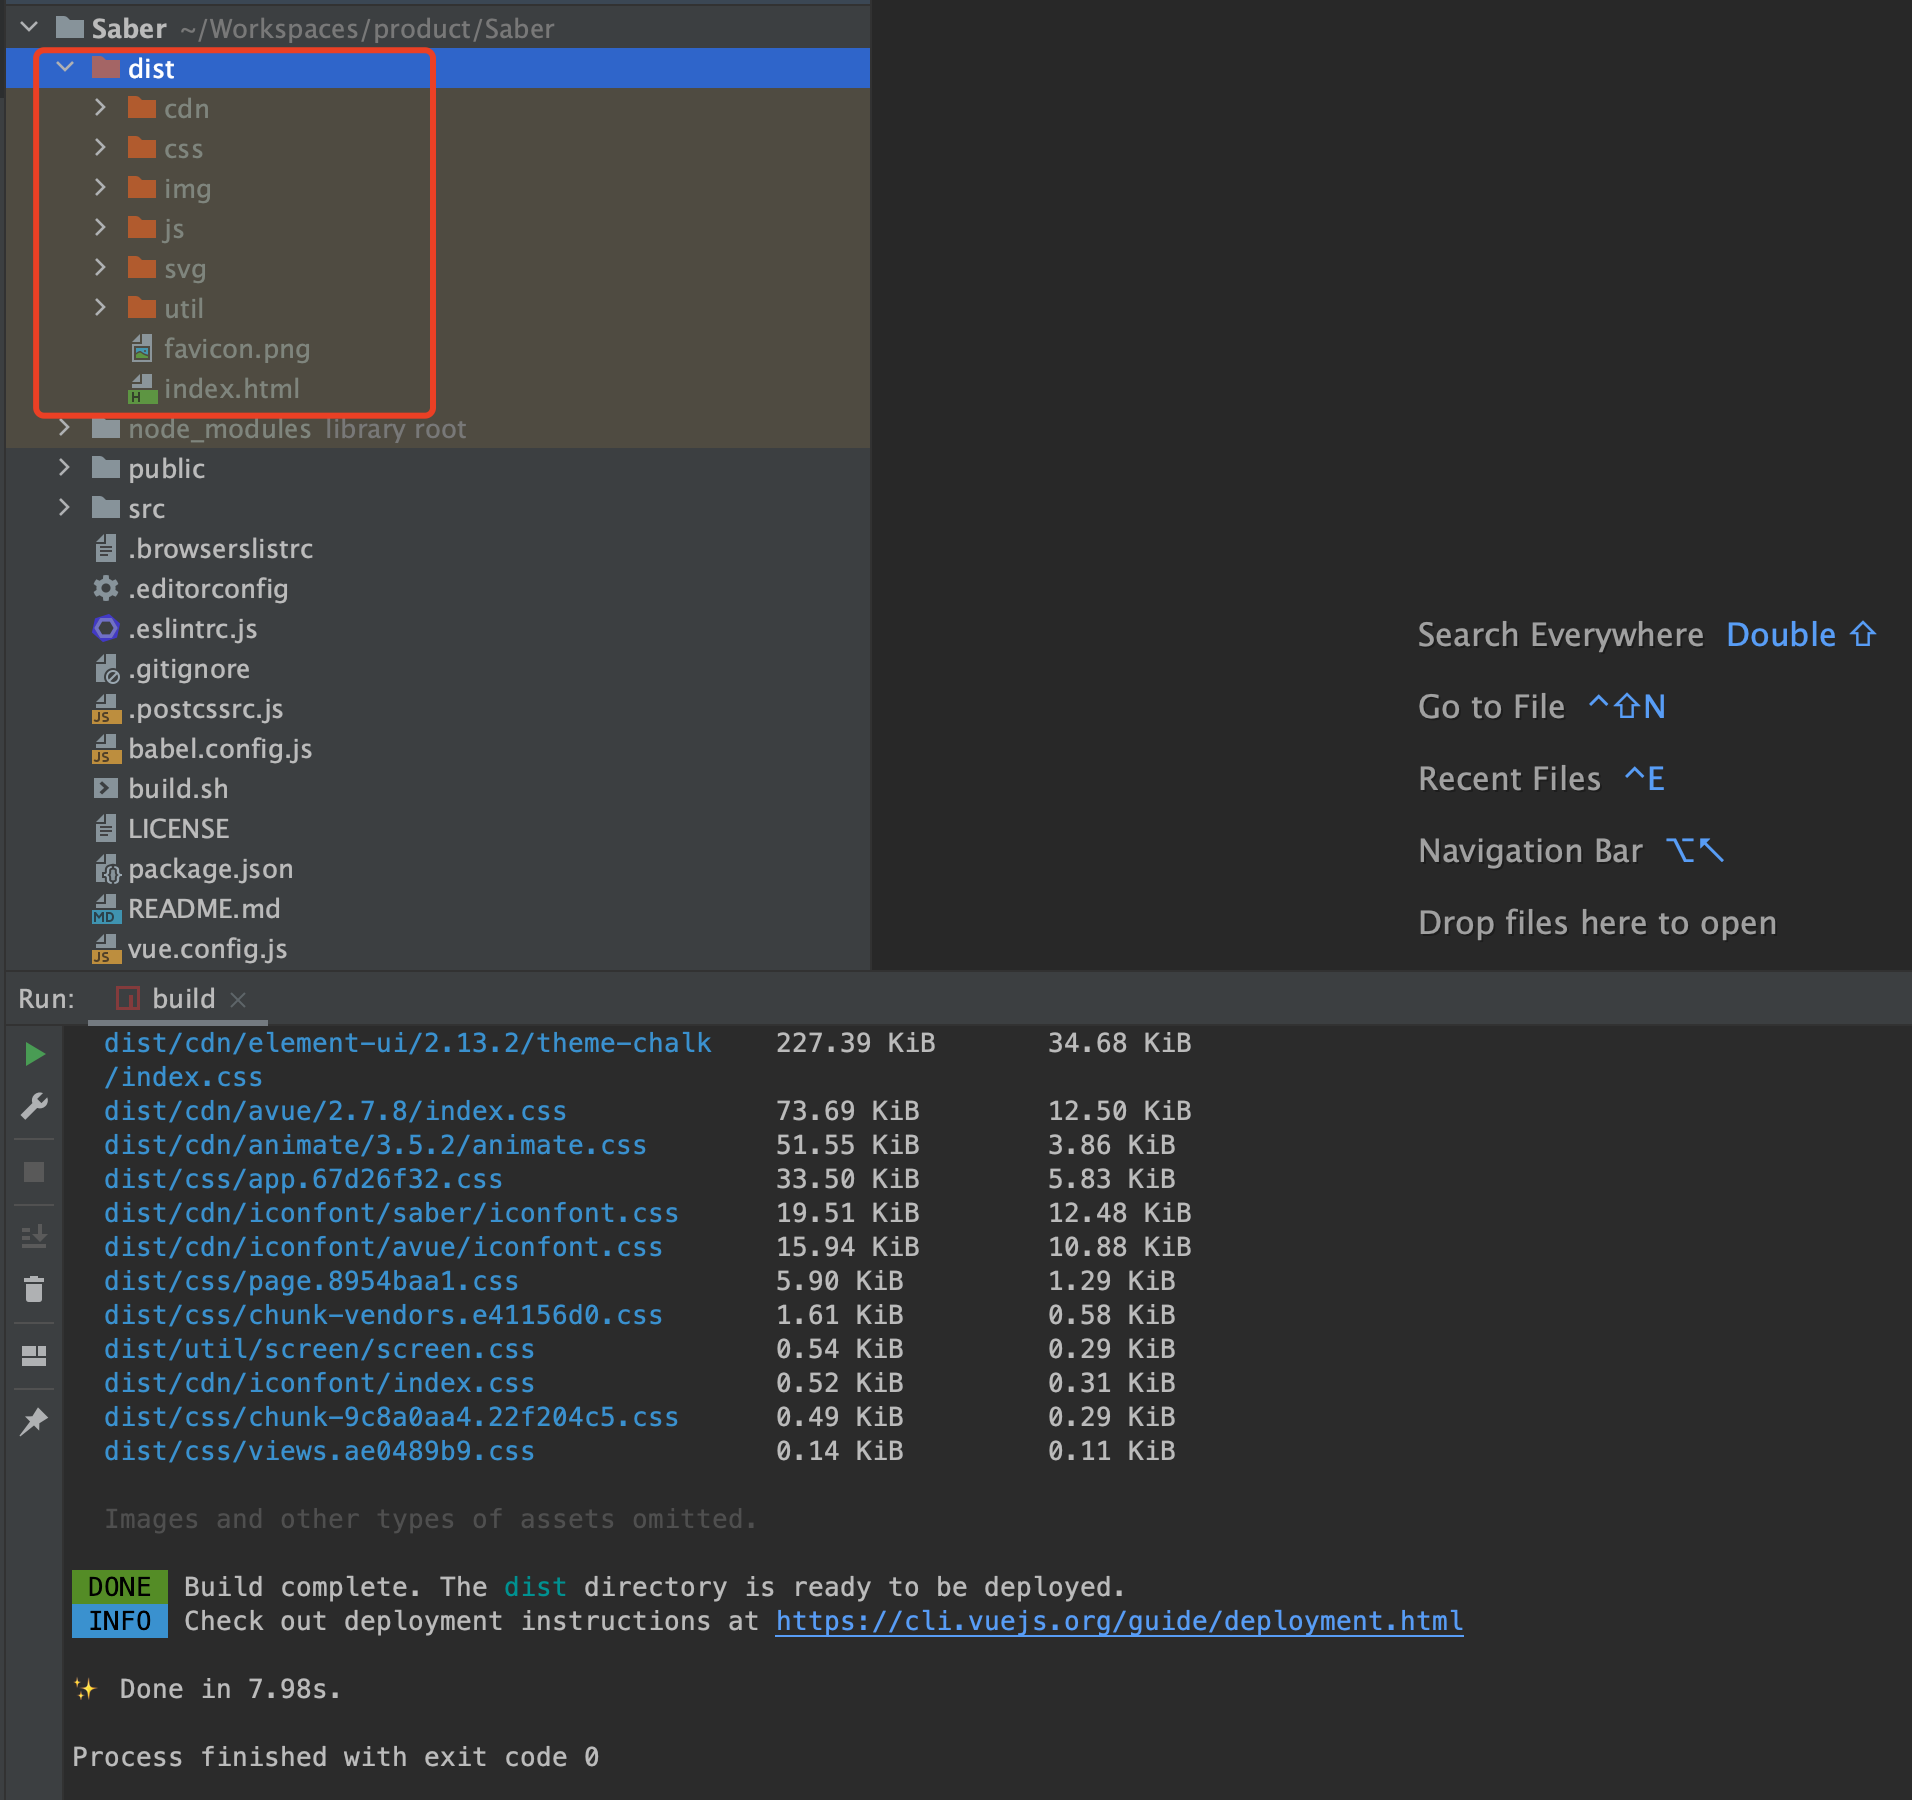
1. 本章节以Saber为例进行部署,其实Sword方式也是一致的
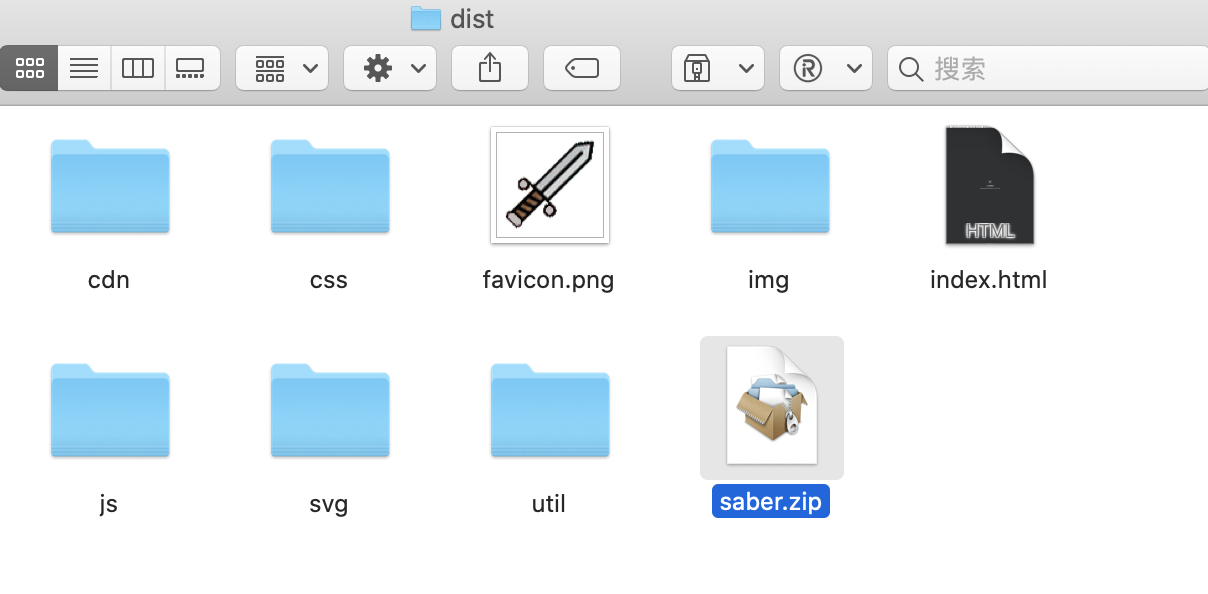
2. 进入Saber根目录执行` yarn run build`,并进入dist目录,将目录文件打成压缩包
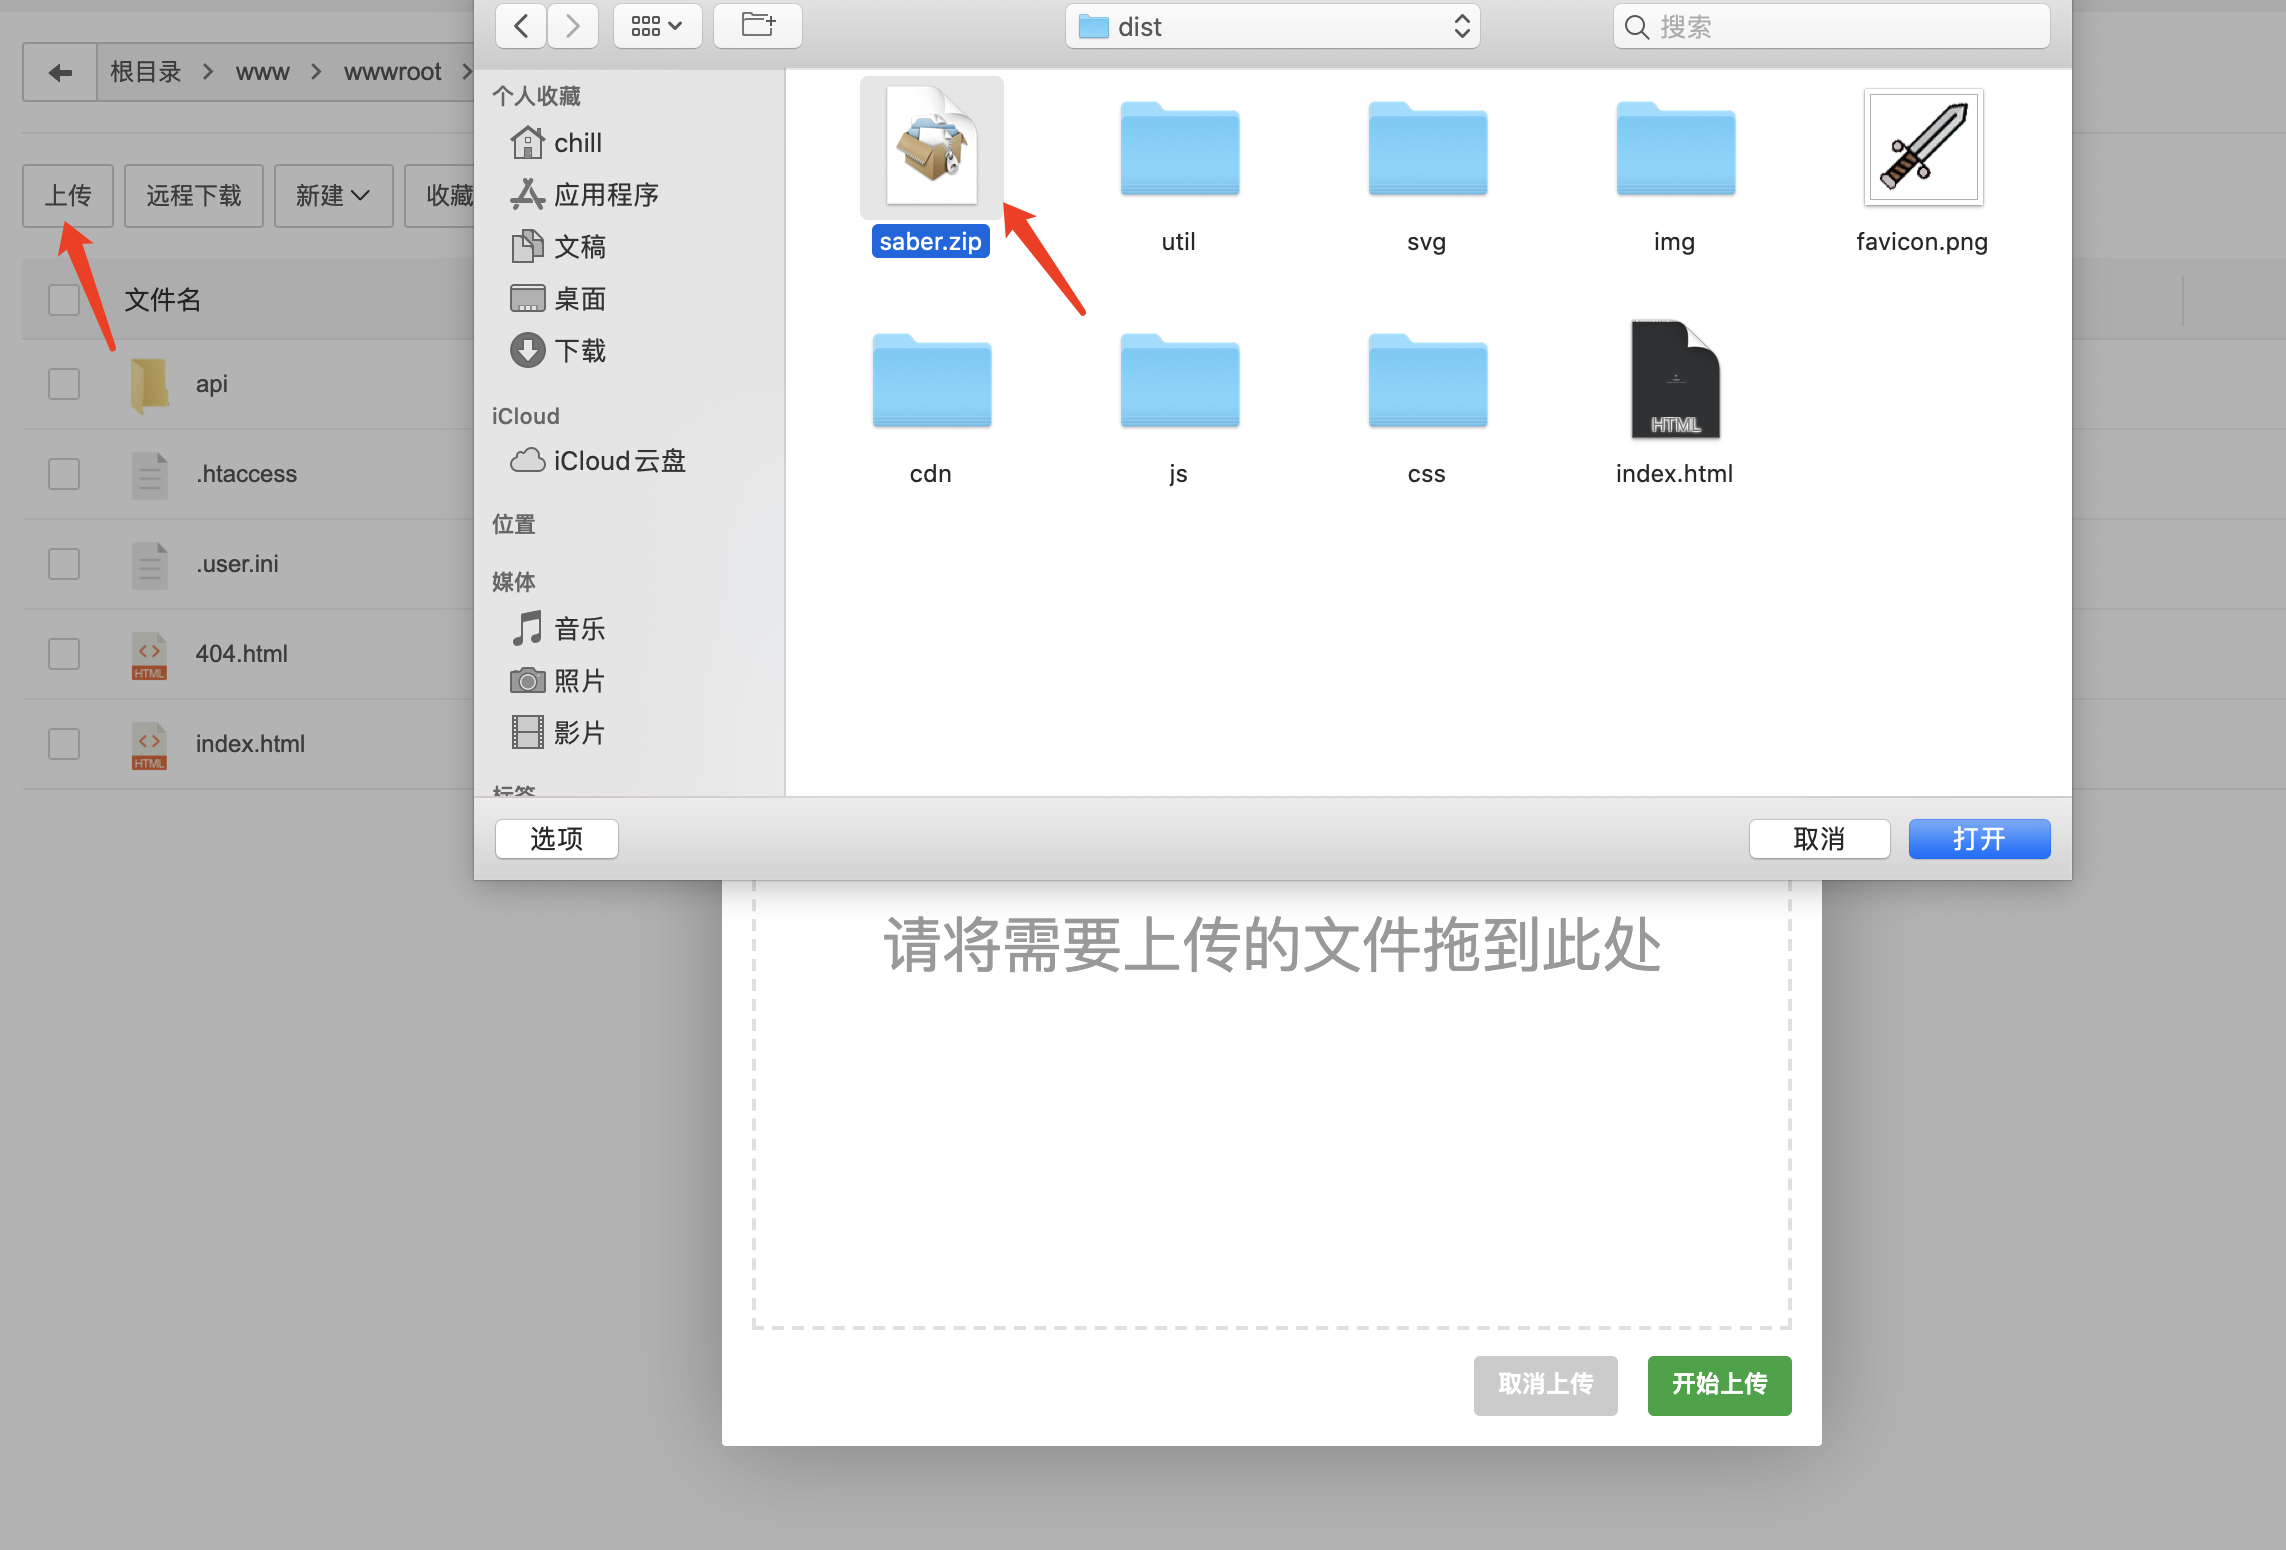
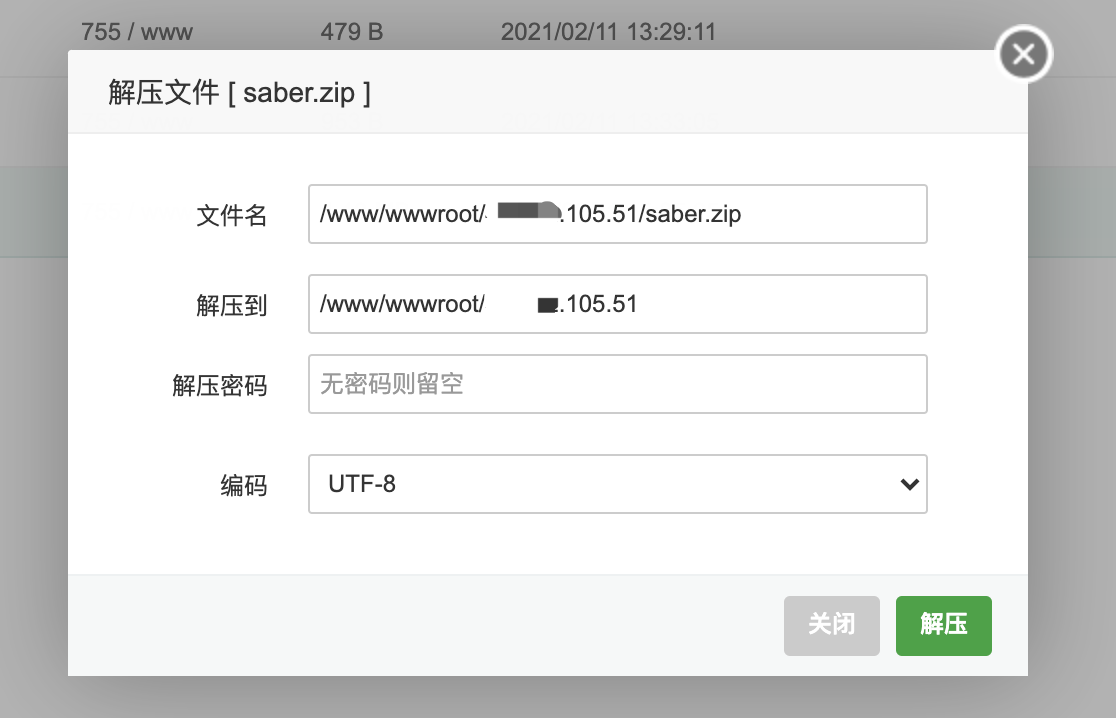
3. 将压缩包上传至宝塔创建的站点根目录后点击`解压`
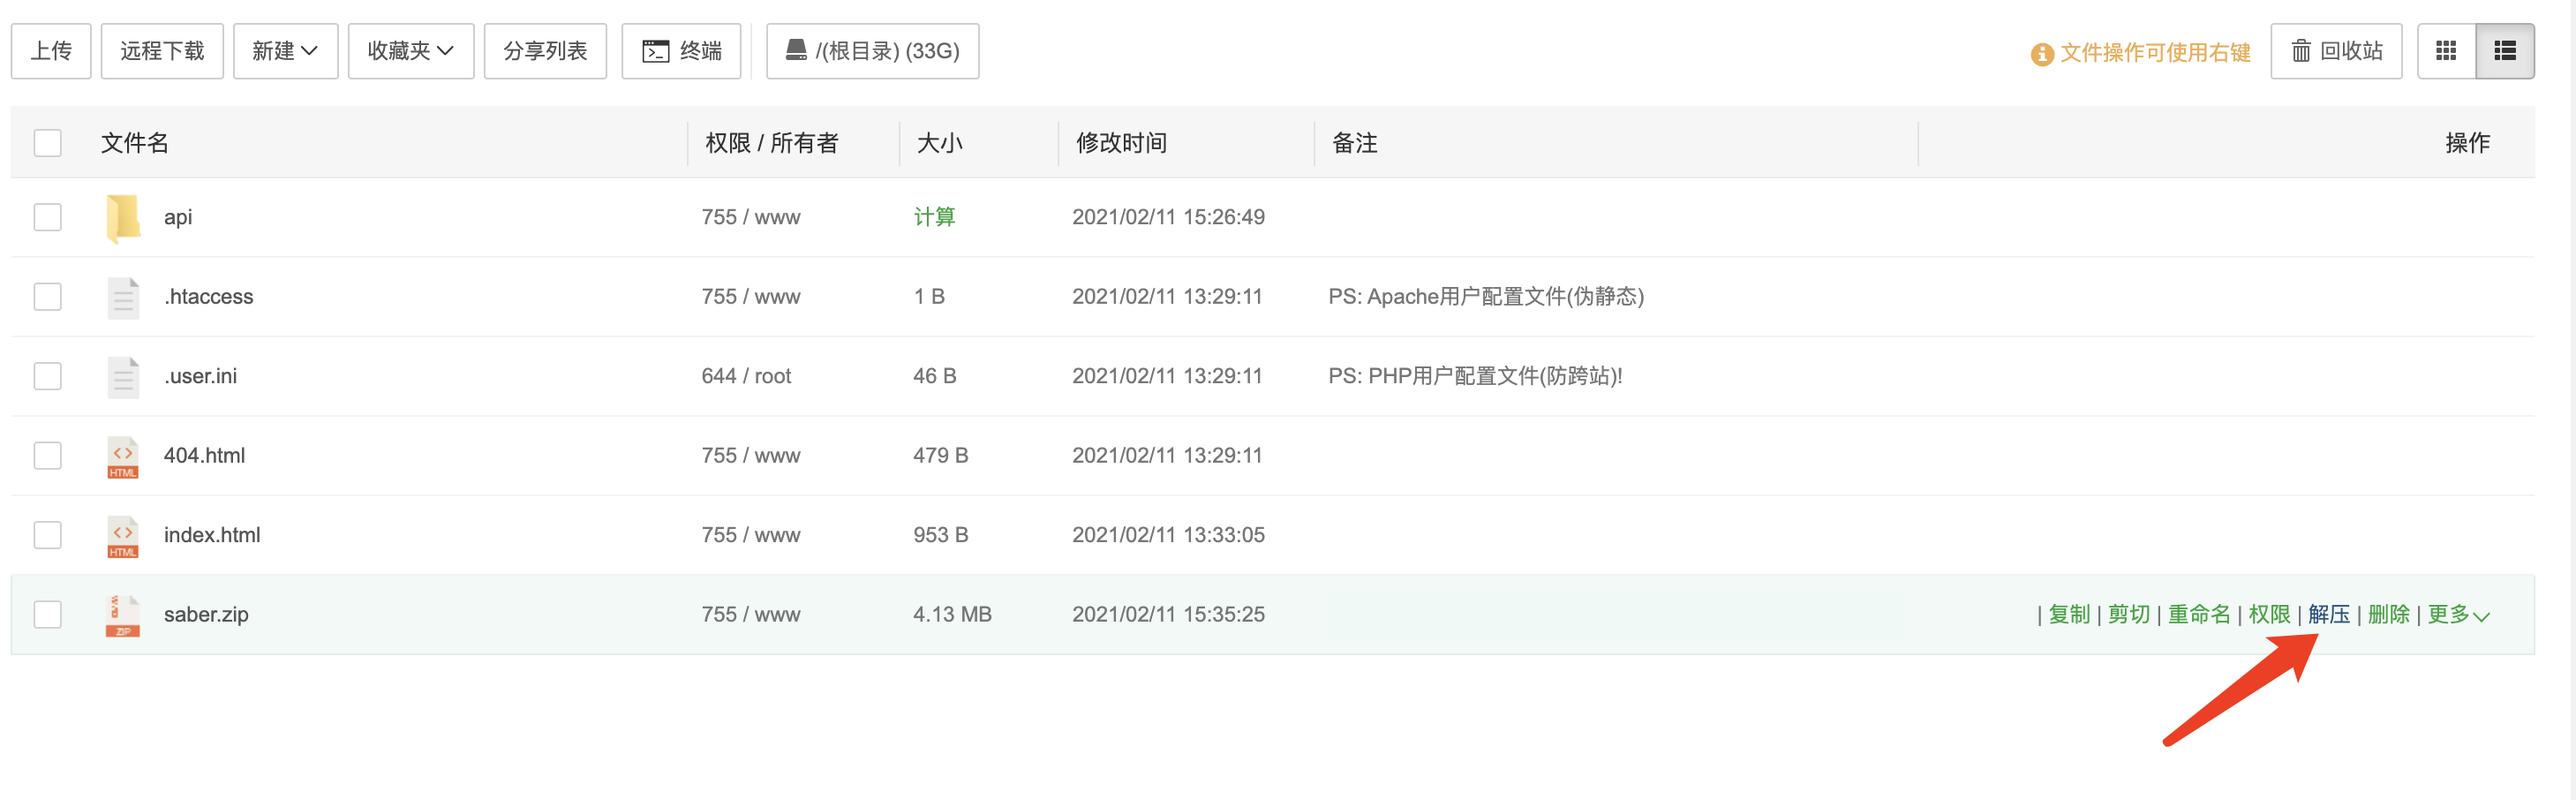
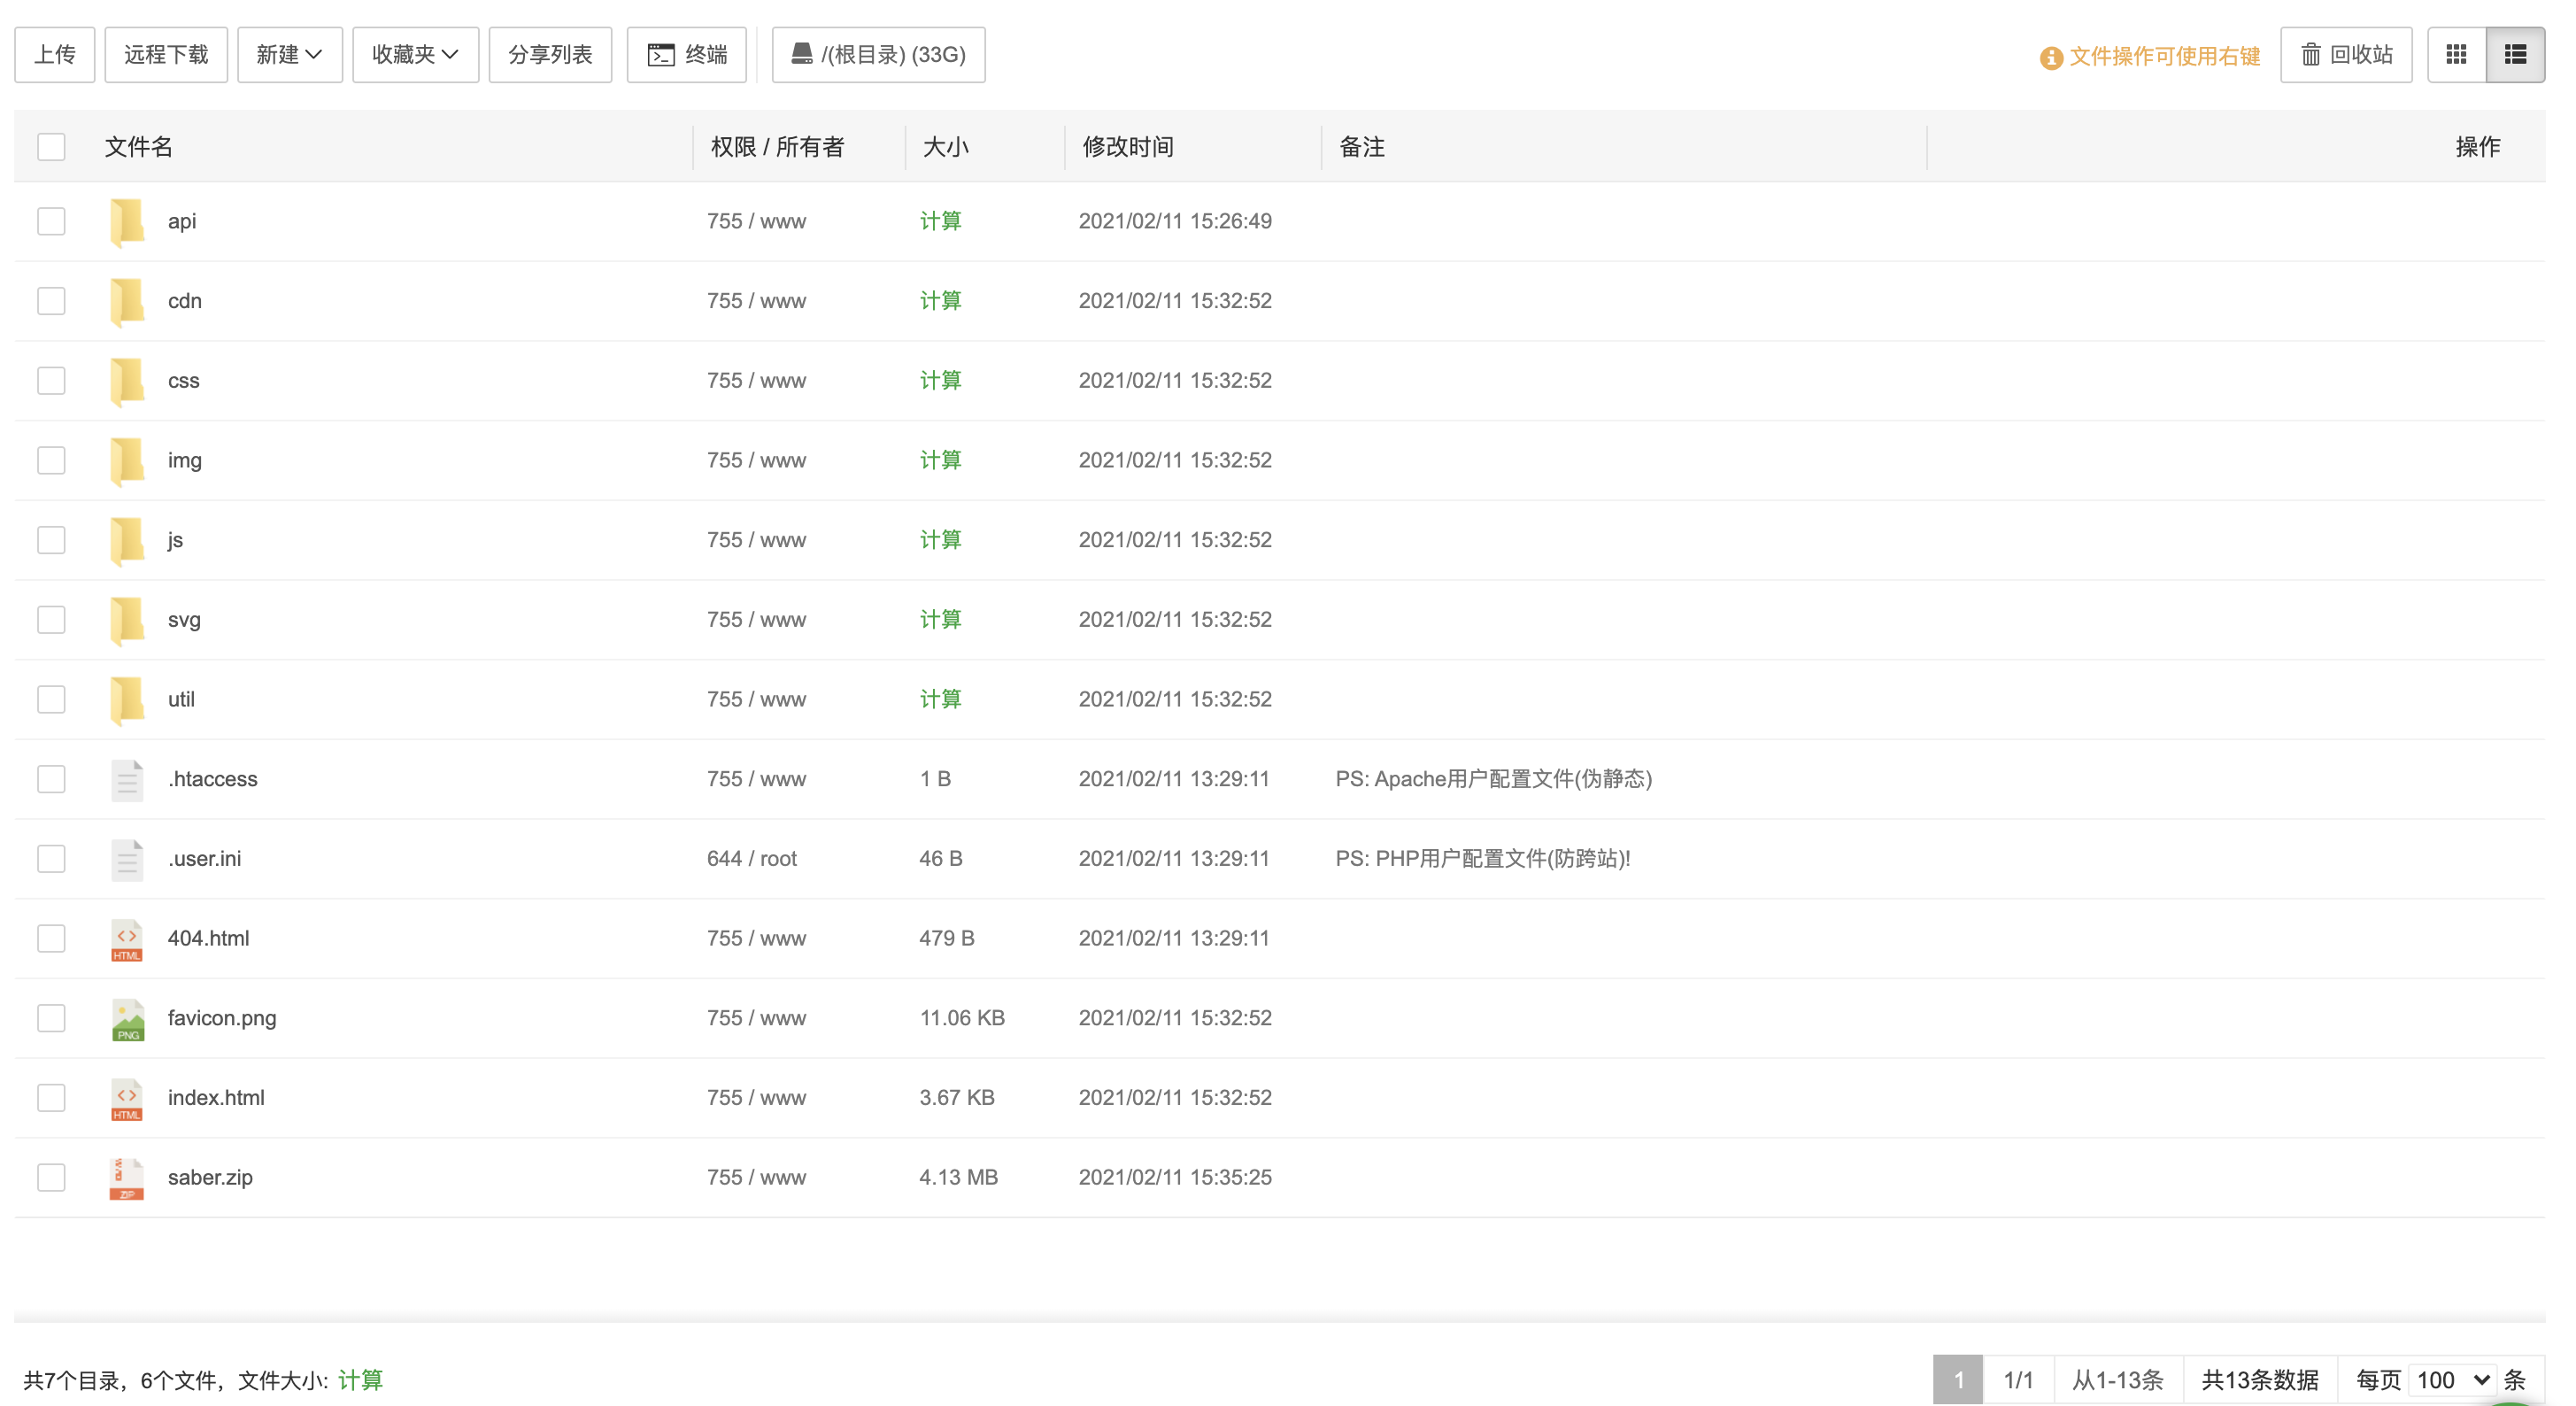
4. 解压后目录如下
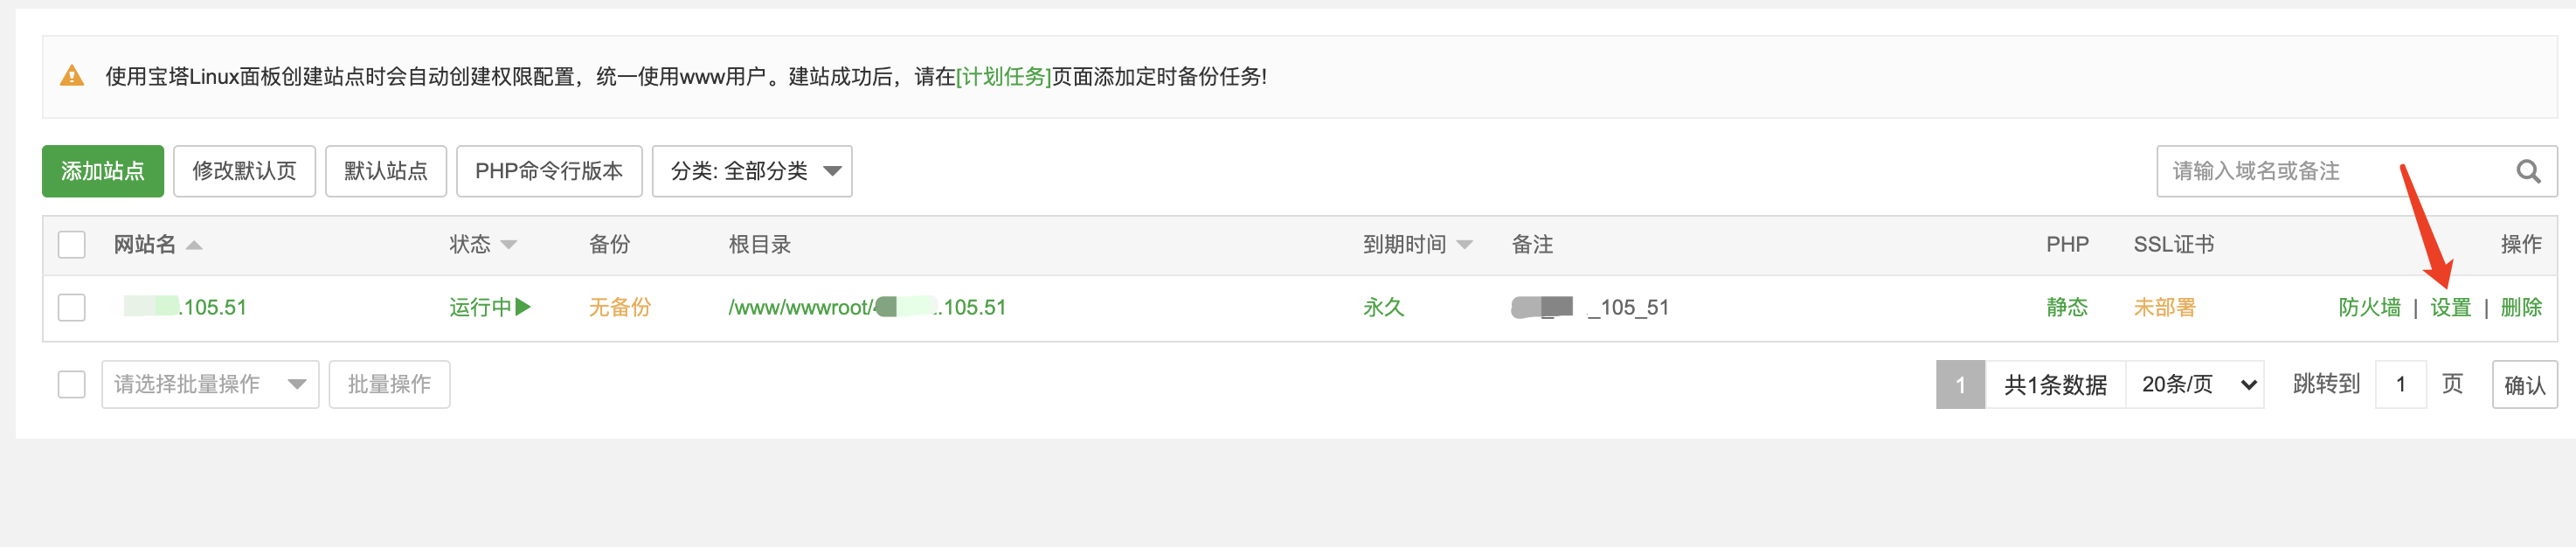
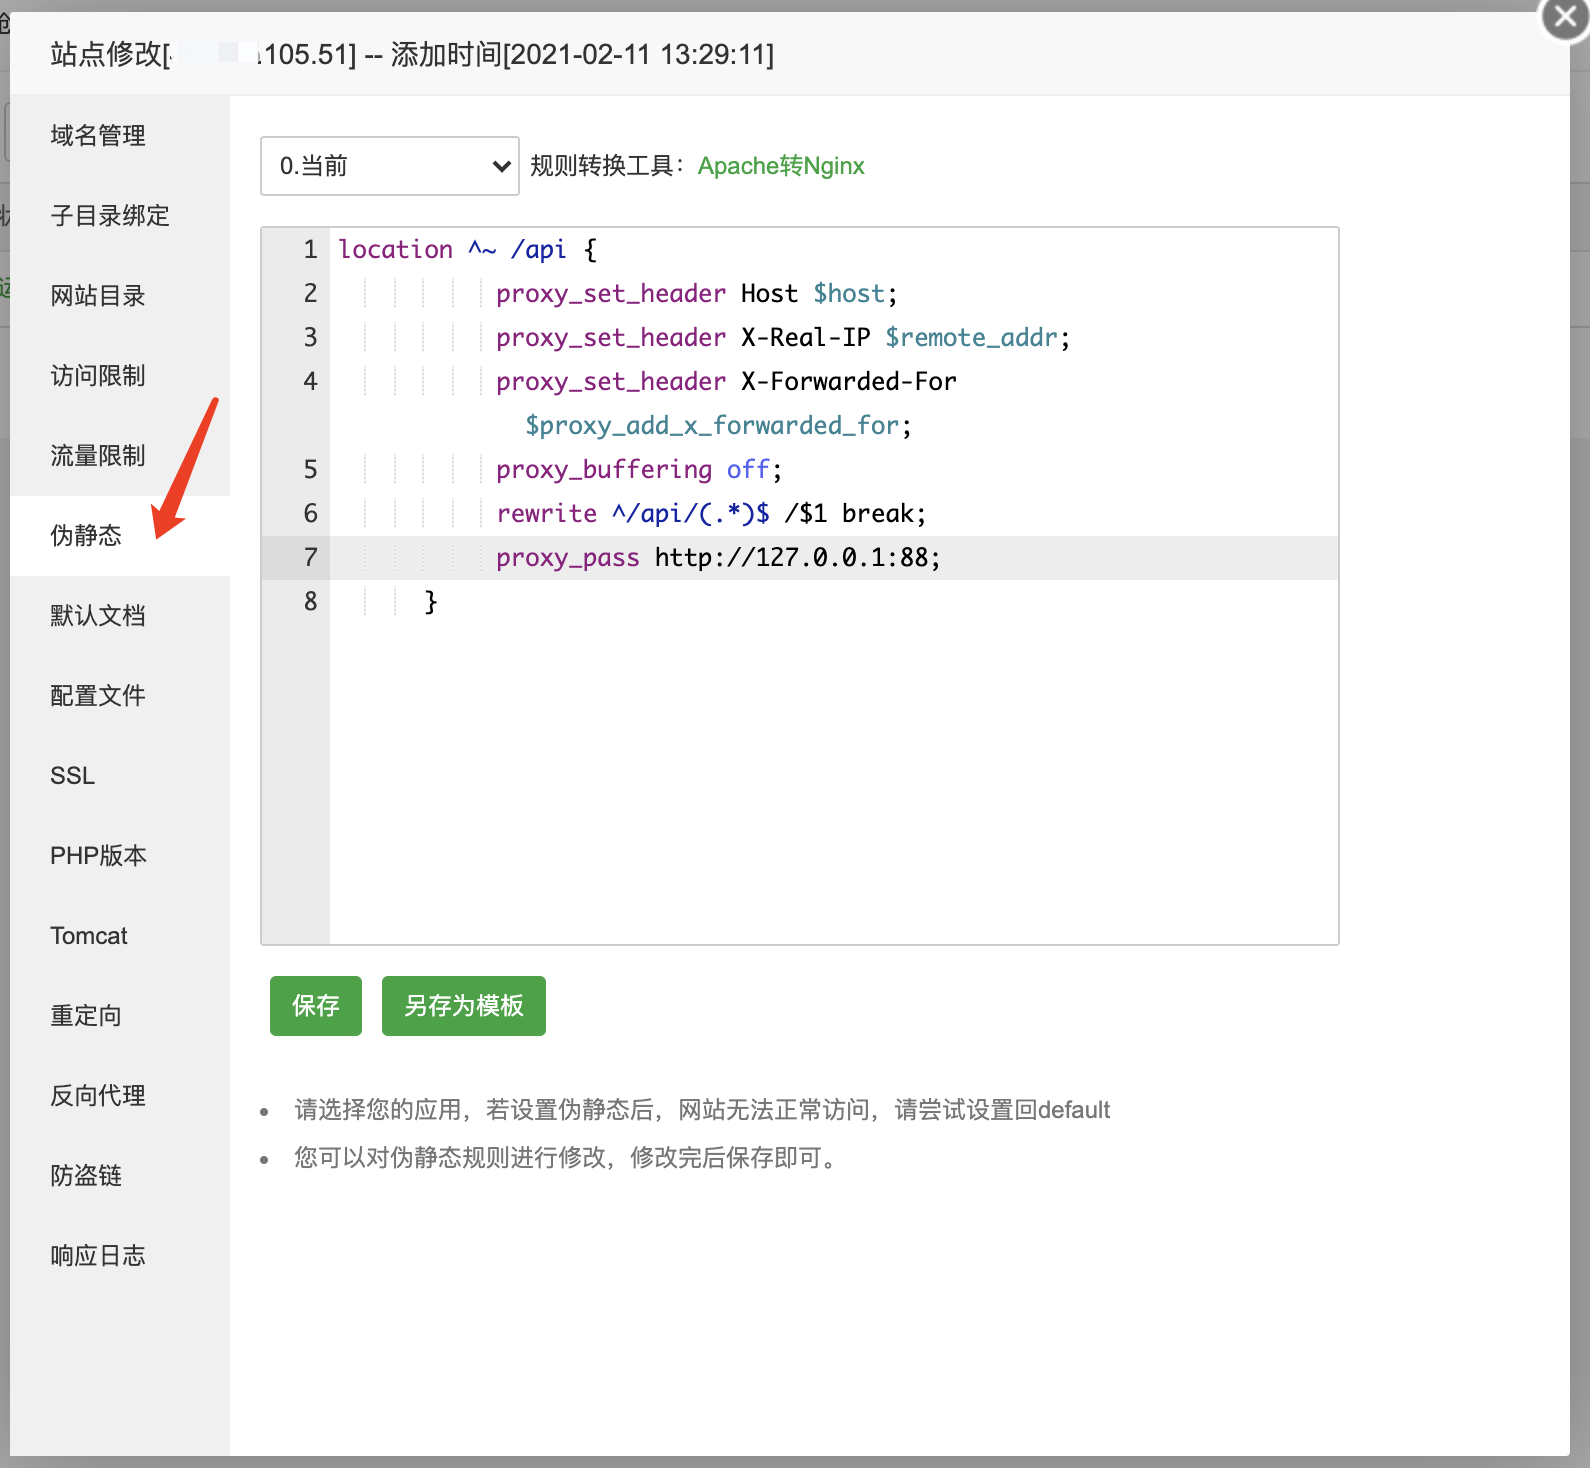
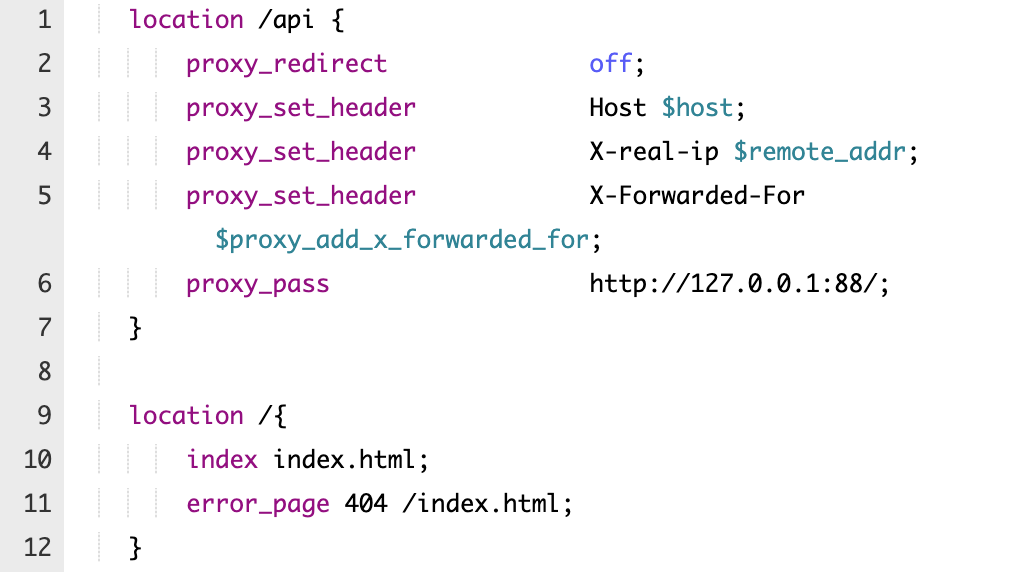
5. 返回站点目录点击设置,找到`伪静态`栏目,填入后端反向代理配置
~~~shell
location ^~ /api {
proxy_set_header Host $host;
proxy_set_header X-Real-IP $remote_addr;
proxy_set_header X-Forwarded-For $proxy_add_x_forwarded_for;
rewrite ^/api/(.*)$ /$1 break;
proxy_pass http://127.0.0.1:88;
}
~~~
6. 如果使用saber3版本,需要额外添加如下配置
~~~
location /{
index index.html;
error_page 404 /index.html;
}
~~~
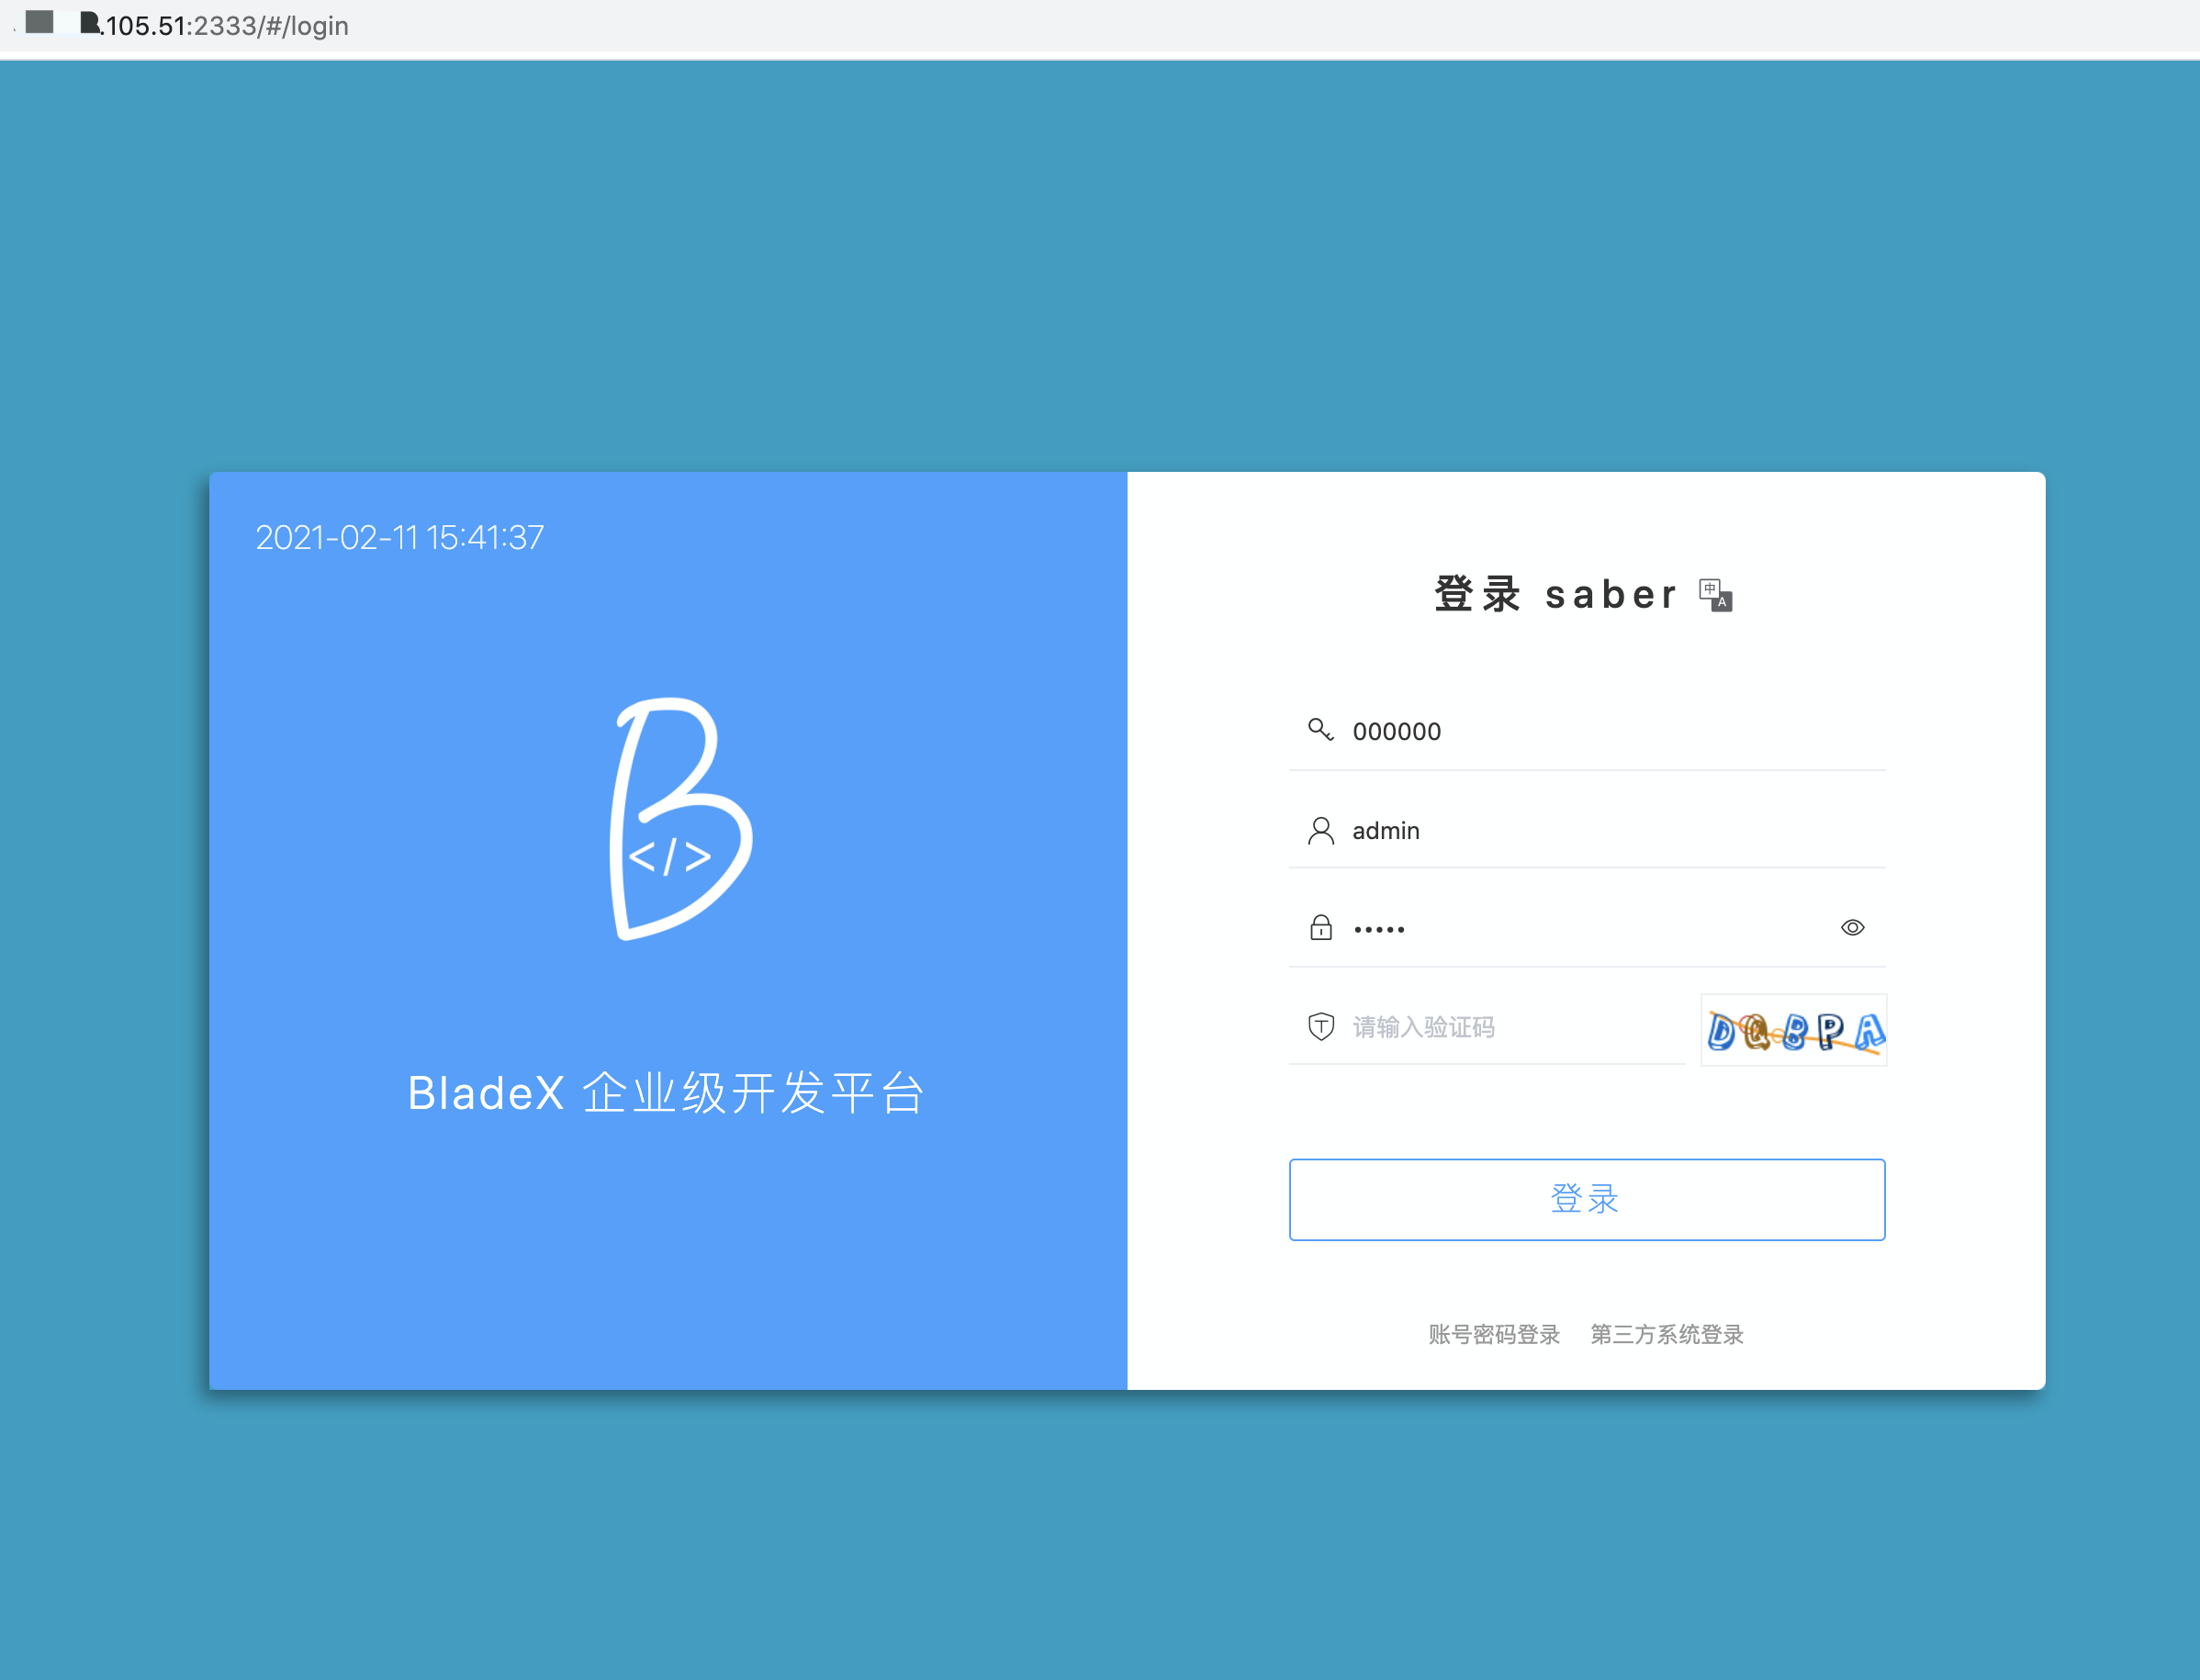
7. 刷新地址,发现Saber正确展示,验证码也正确展示
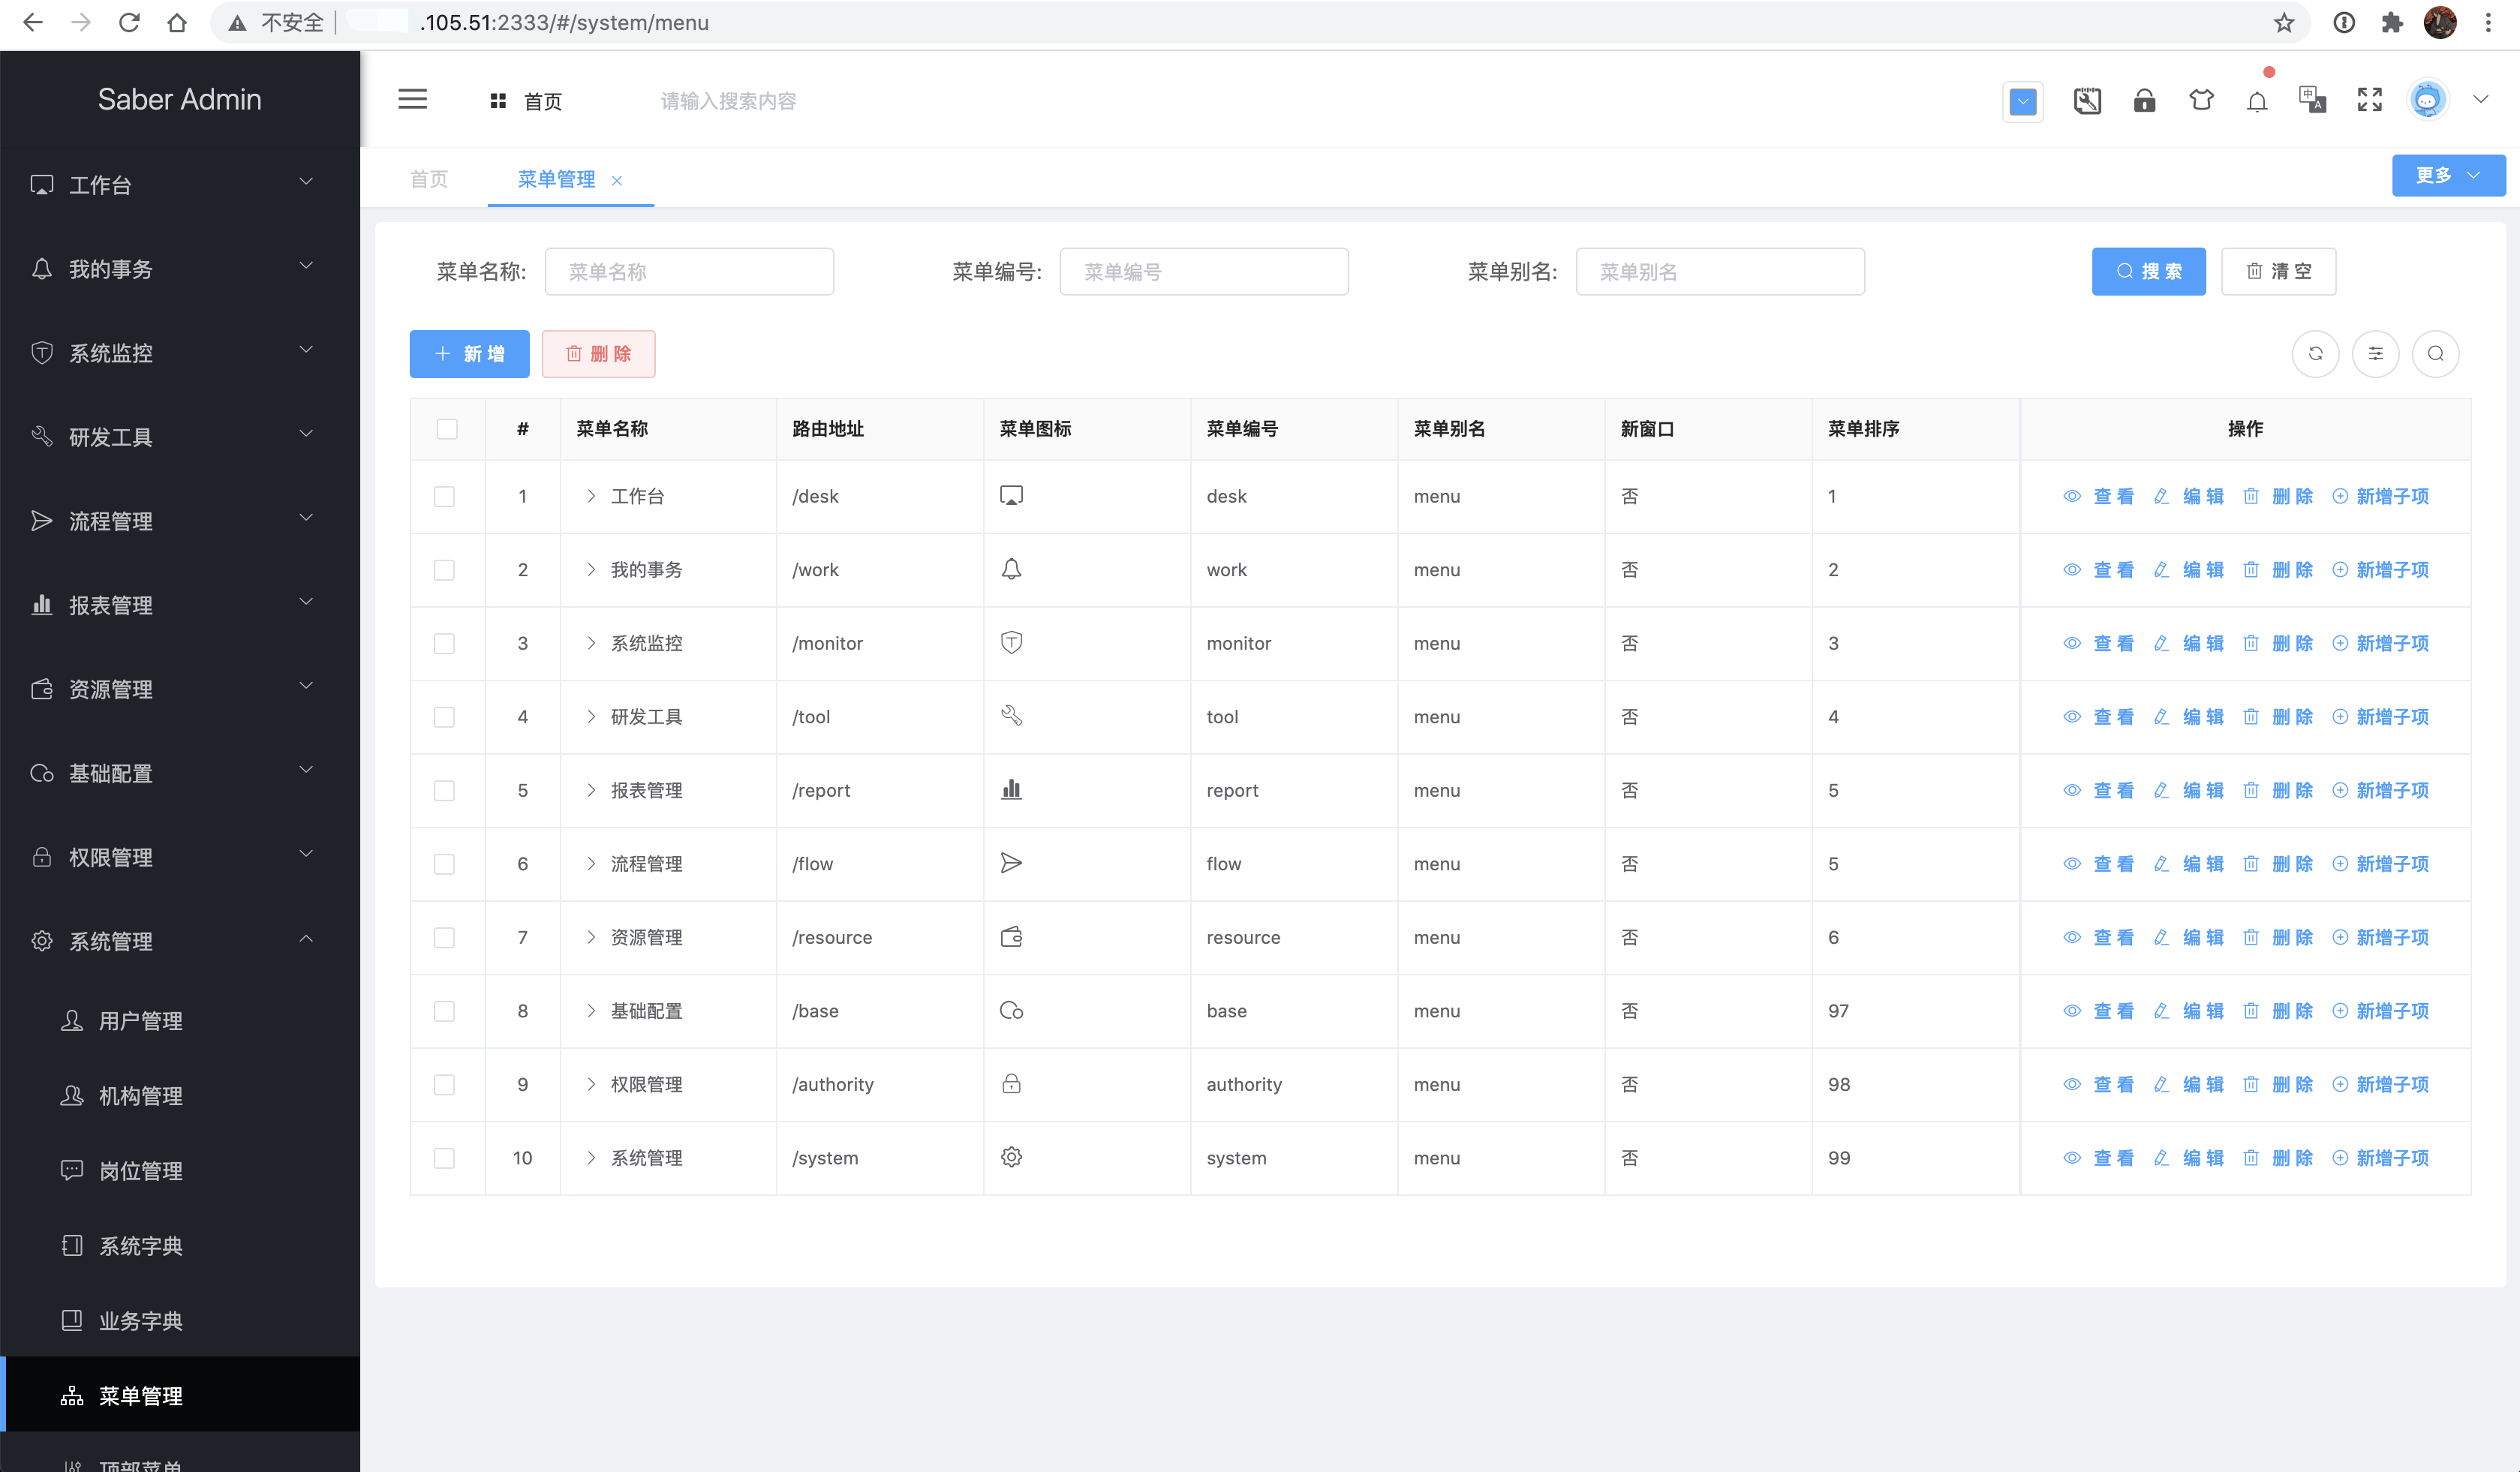
8. 点击登录,可以正确展示,至此部署就已经全部完工
- 第零章 序
- 序言
- 系统架构
- 视频公开课
- 开源版介绍
- 商业版介绍
- 功能对比
- 答疑流程
- 第一章 快速开始
- 升级必看
- 环境要求
- 环境准备
- 基础环境安装
- Docker安装基础服务
- Nacos安装
- Sentinel安装
- 插件安装
- 建数据库
- 工程导入
- 导入Cloud版本
- 导入Nacos配置
- 导入Boot版本
- 工程运行
- 运行Cloud版本
- 运行Boot版本
- 工程测试
- 测试Cloud版本
- 测试Boot版本
- 第二章 技术基础
- Java
- Lambda
- Lambda 受检异常处理
- Stream 简介
- Stream API 一览
- Stream API (上)
- Stream API (下)
- Optional 干掉空指针
- 函数式接口
- 新的日期 API
- Lombok
- SpringMVC
- Swagger
- Mybatis
- Mybatis-Plus
- 开发规范
- 第三章 开发初探
- 新建微服务工程
- 第一个API
- API鉴权
- API响应结果
- Redis缓存
- 第一个CRUD
- 建表
- 建Entity
- 建Service和Mapper
- 新增 API
- 修改 API
- 删除 API
- 查询 API
- 单条数据
- 多条数据
- 分页
- 微服务远程调用
- 声明式服务调用 Feign
- 熔断机制 Hystrix
- 第四章 开发进阶
- 聚合文档
- 鉴权配置
- 跨域处理
- Xss防注入
- 自定义启动器
- Secure安全框架
- Token认证简介
- Token认证配置
- PreAuth注解配置
- Token认证实战
- Token认证加密
- 日志系统
- 原理解析
- 功能调用
- Seata分布式事务
- 简介
- 编译包启动
- 配置nacos对接
- docker启动
- 对接微服务
- 代码生成配置
- 前言
- 数据库建表
- 代码生成
- 前端配置
- 优化效果
- 第五章 功能特性
- SaaS多租户
- 概念
- 数据隔离配置
- 线程环境自定义租户ID
- 多终端令牌认证
- 概念
- 系统升级
- 使用
- 第三方系统登录
- 概念说明
- 对接说明
- 对接准备
- 配置说明
- 操作流程
- 后记
- UReport2报表
- 报表简介
- 对接配置
- 报表后记
- 动态数据权限
- 数据权限简介
- 数据权限开发
- 纯注解配置
- Web全自动配置
- 注解半自动配置
- 数据权限注意点
- 动态接口权限
- 乐观锁配置
- 统一服务登陆配置
- Skywalking追踪监控
- Minio分布式对象存储
- Boot版本对接至Cloud
- 第六章 生产部署
- windows部署
- linux部署
- jar部署
- docker部署
- java环境安装
- mysql安装
- docker安装
- docker-compose安装
- harbor安装
- 部署步骤
- 宝塔部署
- 准备工作
- 安装工作
- 部署准备
- 部署后端
- 部署前端
- 部署域名
- 结束工作
- k8s平台部署
- 第七章 版本控制
- Git远程分支合并
- Git地址更换
- 第八章 学习资料
- 第九章 FAQ
- 第十章 联系我们