[TOC]
# **slot插槽**
slot定义在子组件中,相当于留出一个位置。当父组件引用这个子组件时,可以向这个位置插入内容。
## **1. 匿名插槽(预设插**槽)
在子组件中,由slot标签定义,具有以下特点:
**1. 当父组件中,没有特殊指定位置的内容默认放到匿名插槽当中
2. 匿名插槽可以有多个,都会渲染父组件传来的默认内容
3. 当父组件没有传入默认内容时,显示自己的内容**
### 1.1 显示父组件的内容
**1. helloworld.vue**
~~~
<template>
<div>
<slot>这是子组件的一个预设插槽</slot>
</div>
</template>
<script>
export default {
name: "HelloWorld",
};
</script>
~~~
**2. home.vue** 父组件
~~~
<template>
<div class="home">
<hello-world> 这是父组件传来的内容 </hello-world>
</div>
</template>
<script>
// @ is an alias to /src
import HelloWorld from "@/components/HelloWorld.vue";
export default {
name: "Home",
components: {
HelloWorld
}
};
</script>
~~~
但是,父组件中建议用`<template>`标签传入内容
~~~
<template>
<div class="home">
<hello-world> <template>这是父组件传来的内容</template> </hello-world>
</div>
</template>
~~~

### 1.2 多个匿名插槽
**1. helloworld.vue**
~~~
<template>
<div>
<slot>这是子组件的一个预设插槽</slot>
<slot>这是子组件的一个预设插槽</slot>
<slot>这是子组件的一个预设插槽</slot>
</div>
</template>
<script>
export default {
name: "HelloWorld",
};
</script>
~~~
**2. home.vue** 父组件
~~~
<template>
<div class="home">
<hello-world> <template>这是父组件传来的内容 <br></template> </hello-world>
</div>
</template>
<script>
// @ is an alias to /src
import HelloWorld from "@/components/HelloWorld.vue";
export default {
name: "Home",
components: {
HelloWorld
}
};
</script>
~~~
如下图,多个匿名插槽都被父组件传来的一个内容所替代了
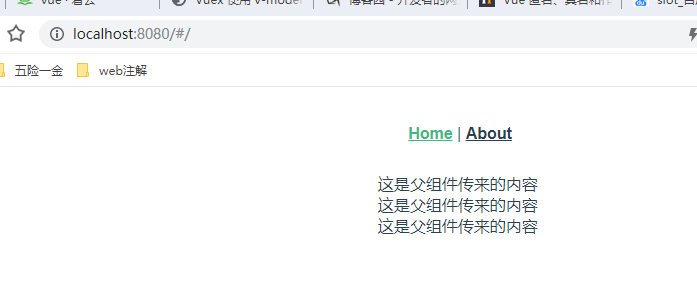
html渲染如下:

### 1.3 父组件不传内容时,显示自己
**1. helloworld.vue**同1.2
**2. home.vue**不传内容
~~~
<template>
<div class="home">
<hello-world> </hello-world>
</div>
</template>
~~~

## **2. 具名插槽**
相对于匿名插槽,具名插槽有一个名称,用来标识自己,具有以下特点:
1. 可以出现多次,和不同地方
2. 父组件只要匹配了name,就可以渲染
### **2.1 vue 2.6以前的写法**
**1.hellowold.vue**
子组件在slot标签中用name属性声明插槽名称
~~~
<template>
<div>
<slot>这是子组件的一个预设插槽</slot>
<slot name="header"> 这是具名插槽 </slot>
</div>
</template>
~~~
**2. home.vue**
**在父组件中,使用slot指令指定插槽,slot="插槽名"**
父组件中,在teamplate标签中用`slot="header"`(vue 2.6以前的写法)属性,指定插槽
~~~
<template>
<div class="home">
<hello-world>
<template>这是父组件传来的内容 <br></template>
<template slot="header">这是父组件传给子组件具名插槽 <br></template>
</hello-world>
</div>
</template>
~~~

home.vue中去掉slot="header",就会都插入匿名插槽中!
### **2.2 vue 2.6后的写法**
**在父组件中,使用v-slot 指定插槽**
`v-slot="插槽名"` 或者简写 `#插槽名`
**1. hellowold.vue**
~~~
<template>
<div>
<slot>这是子组件的一个预设插槽</slot>
<slot name="header"> 这是具名插槽 </slot>
</div>
</template>
~~~
**2. home.vue**
~~~
<template>
<div class="home">
<hello-world>
<template>这是父组件传来的内容 <br></template>
<!-- vue 2.6以前 -->
<!--<template slot="header">这是父组件传给子组件具名插槽 <br></template>-->
<!-- vue 2.6以后写法 -->
<template v-slot:header>这是父组件传给子组件具名插槽1 <br></template>
</hello-world>
</div>
</template>
~~~
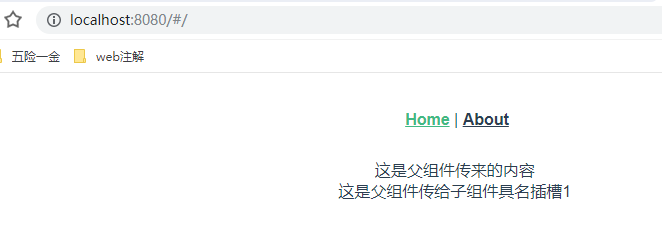
**v-slot指令和v-on等指令一样,也有简写形式**
`v-slot:header = #header`
## **3. 作用域插槽**
将slot插槽的所有属性,封装成一个对象(x),父组件在使用子组件时,可以调用这些属性数据-父组件向子组件中的插槽传值(可是是数据或者函数)
### **3.1 使用插槽的属性值**
#### **3.1.1 vue 2.6以前的写法**
父组件通过slot-scope或者scope属性(**在vue 2.5.0+ 中slot-scope替代了 scope**)
**1.helloworld.vue**
~~~
<template>
<div>
<slot>这是子组件的一个预设插槽</slot>
<slot name="header" data="hello slot" id="110"> 这是具名插槽 </slot>
</div>
</template>
~~~
**2. home.vue**
* slot="header" : 指定name=header的插槽
* slot-scope="slotValue" :对于header插槽,给其属性数据起一个”别名“,这个slotValue是一个对象,包含了slot的所有属性数据:`{ "data": "hello slot", "id": "110" }`
~~~
<template>
<div class="home">
<hello-world>
<template>这是父组件传来的内容 <br></template>
<template slot="header" slot-scope="slotValue">
{{slotValue}} <br>
id:{{slotValue.id}} <br>
</template>
</hello-world>
</div>
</template>
~~~
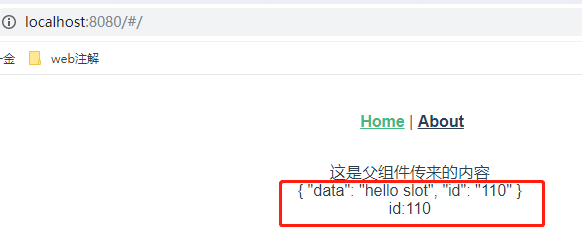
如图,slotValue包含了header插槽的所有属性数据
#### **3.1.2 vue 2.6以后的写法**
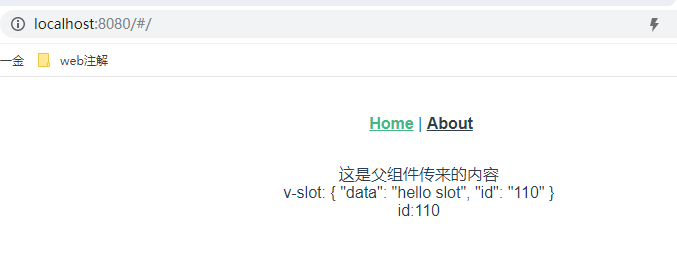
v-slot指令,相当于slot和slot-scope的功能集合,slot定位和数据传递
v-slot:插槽名="属性别名" 或者 #插槽名="属性别名"
**2. home.vue**
~~~
<template>
<div class="home">
<hello-world>
<template>这是父组件传来的内容 <br></template>
<template v-slot:header="slotValue">
v-slot: {{slotValue}} <br>
id:{{slotValue.id}} <br>
</template>
</hello-world>
</div>
</template>
~~~
```
<list :data="listData" class="img-list">
<template scope="scope">
<div class="info">
<p>数据:{{scope}}</p>
<p>索引:{{scope.$index}}</p>
<p>姓名:{{scope.row.name}}</p>
<p>性别:{{scope.row.sex}}</p>
</div>
</template>
</list>
```
## **4. 案例**
### **4.1 传值**
**1. slot-test.vue 子组件**
~~~
<template>
<div class="color-list">
<h2>{{ title }}</h2>
<div class="list">
<div class="list-item" v-for="(item, index) in items" :key="index">
<slot v-bind="item"></slot>
</div>
</div>
</div>
</template>
<script>
export default {
name: "slot-test",
props: {
title: {
type: String,
default: 'slot测试'
},
items: {
type: Array
}
}
}
</script>
<style scoped>
</style>
~~~
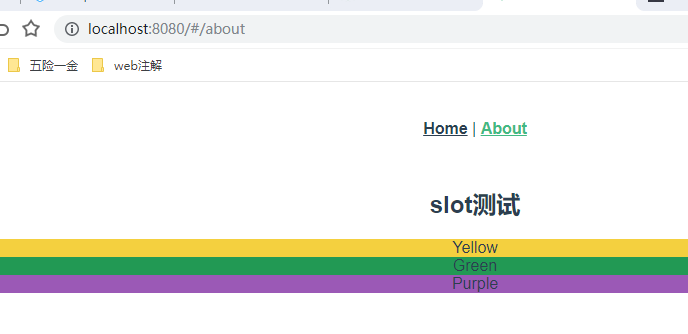
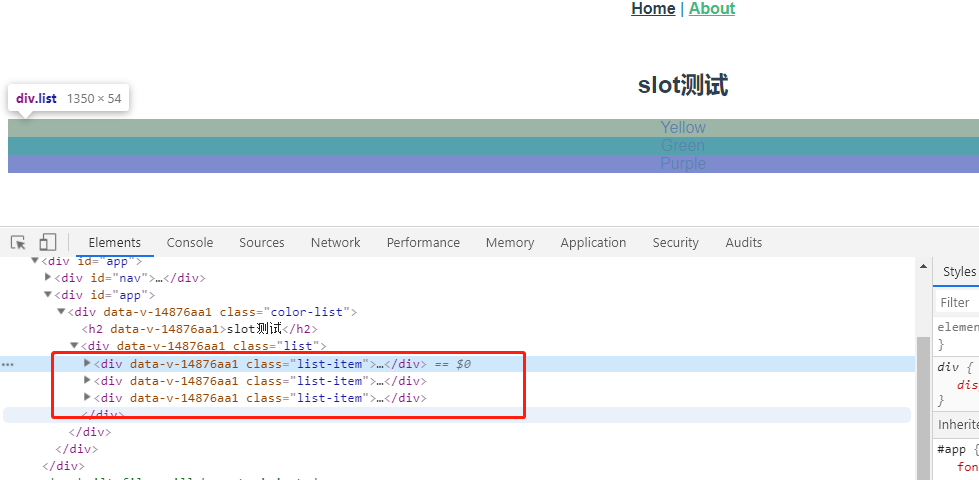
其中:以下产生多个匿名slot
```
<div class="list-item" v-for="(item, index) in items" :key="index">
<slot v-bind="item"></slot>
</div>
```
三个匿名slot
**2. about.vue**
~~~
<template>
<div id="app">
<slot-test :items="colors" title="slot测试">
<template v-slot:default="color">
<div :style="{background: color.hex}">{{ color.name }}</div>
</template>
</slot-test>
</div>
</template>
<script>
import SlotTest from '@/components/slot-test'
export default {
name: 'app',
components: {
SlotTest
},
data () {
return {
colors: [
{ name: 'Yellow', hex: '#F4D03F', },
{ name: 'Green', hex: '#229954' },
{ name: 'Purple', hex: '#9B59B6' }
]
}
}
}
</script>
~~~
其中,
```
<template v-slot:default="color">
<div :style="{background: color.hex}">{{ color.name }}</div>
</template>
```
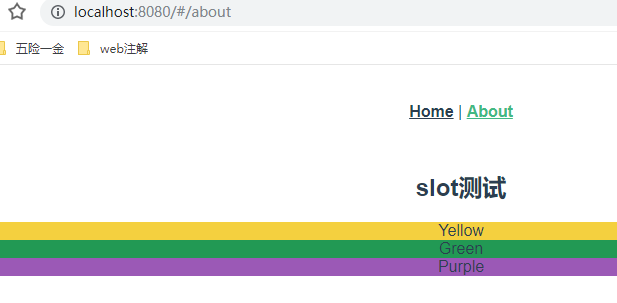
v-slot:default="color" :default指定是匿名插槽,也可以不指定。父组件传的值都会再子组件的多个匿名插槽中显示,所有有以下三个颜色的div
### **4.2 读取值**
子组件通过`v-bind="{ item, form, handleFieldChange, setFieldValue }"`绑定属性数据和函数
~~~
<slot name="field" v-if="item.slots.ext" v-bind="{ item, form, handleFieldChange, setFieldValue }">
<span>customEditor</span>
</slot>
setFieldValue(name, value) {
this.$set(this.form, name, value);
this.handleFieldChange(name, value);
},
~~~
父组件不但可以使用子组件的值,还可以使用子组件的函数`setFieldValue`
~~~
<template v-slot:field="{ form, item, setFieldValue }">
<div>
<el-input :value="form.file" @input="setFieldValue(item.field.name, $event)">
<el-button slot="append" @click="uploadBtn">选择软件包</el-button>
</el-input>
<input @change="changeFile(form, item.field.name,setFieldValue)" type="file" style="display: none;" class="fileInput"/>
</div>
</template>
~~~
## 5. 总结
vue2.6以后使用v-slot代替slot和slot-scope(scope),例如:
~~~
v-slot:header="slotValue"
~~~
等价于
~~~
slot="header" slot-scope="slotValue">
~~~
- vue
- 为什么要学vue
- 数据双向绑定
- vue指令
- v-bind创建HTML节点属性
- v-on绑定事件
- v-cloak
- v-text
- v-for和key属性
- v-if和v-show
- 案例1
- 自定义指令
- vue样式
- vue生命周期
- vue过滤器
- 自定义键盘修饰符
- 跨域请求
- vue组件
- 组件基础
- 引入vue文件组件
- 引入render函数作为组件
- 兄弟间组件通信
- 组件函数数据传递练习
- 路由
- 数据监听
- webpack
- vue校验
- vue笔记
- form表单中input前部分默认输入,切不可修改
- mixins
- 部署到nginx
- scope
- render
- 下载文件
- vue动态组件
- axios
- Promise
- vue进阶
- node-vue-webpack搭建
- vue事件
- 插槽
- vuex
- vuex基础
- vuex命名空间
- HTML递归?
- this.$nextTick异步更新dom
- elementui
- table
- 修改element ui样式
- form
- 优质博客
- vuex state数据与form元素绑定
- es6
- Promise
