## Open a Table
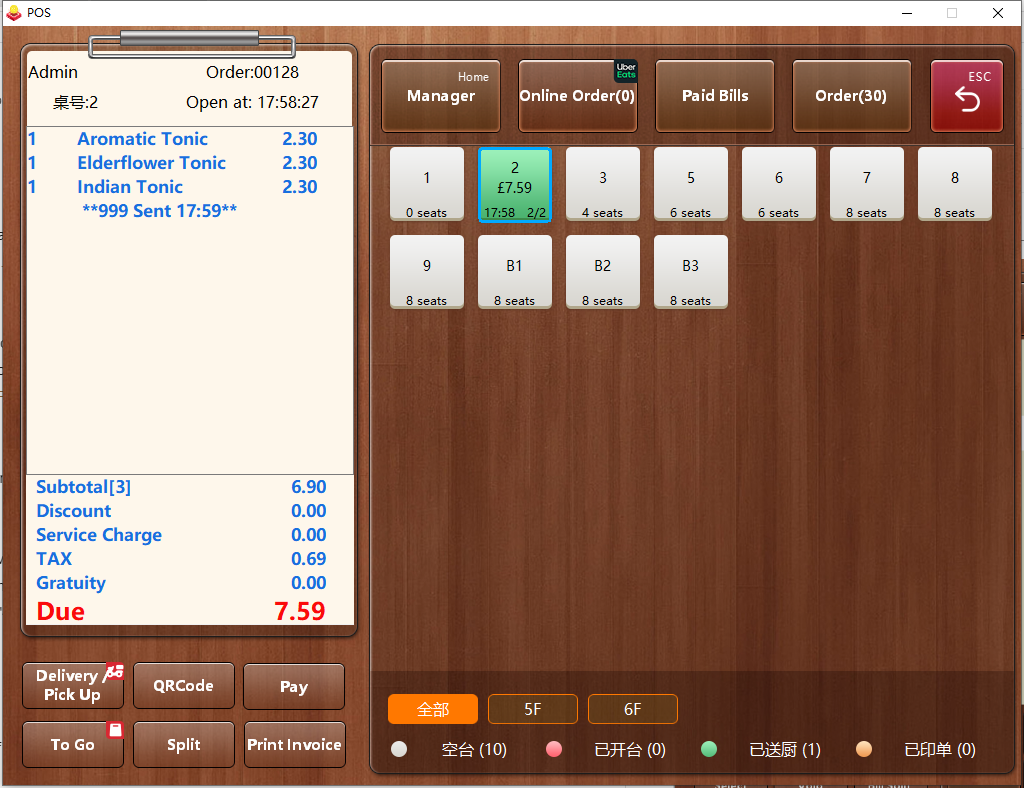
* Login Pudding Orders, double click a table, and input the number of guests.
* * * * *
## Order
* The ordering interface is as below.
](images/screenshot_1617240129465.png)
* * * * *
* The left section in blank contains the menu items that you've ordered, and the middle is major groups for menu items.
* Click a major group to show secondary group, and click a secondary group to show specific items.

* * * * *
* Choose the items you want, and they'll be displayed on the left part.

**Note**.
* Choose an item that you've ordered by clicking it.
* Delete and modify the item by clicking "Delete" or buttons on the bottom. eg. if you want to change the price to "40", just click "Price" and input "40".
* * * * *
## Send
* Click "Send" on the top of the page, the order will be sent to kitchen, and the kitchen printer will print the order.
- Introduction to Pudding POS Management Software
- 1. Register
- 2. Orders
- 2.1 Login
- 2.2 Order
- 2.2 Pay
- 2.3 Cashier Shift & End of Day
- 3. Configurator
- 3.Setting the restaurant information
- 3.1 Modify Menu Items
- 3.2 Print Receipt
- 3.3 Table Settings
- 3.4 Employee Management
- 3.5 Discount
- 3.6 Tax Settings
- 3.7 Service Charge
- 3.8 Quick Service
- 3.9 Backup and Restore
- 4.0 Switch points floor
