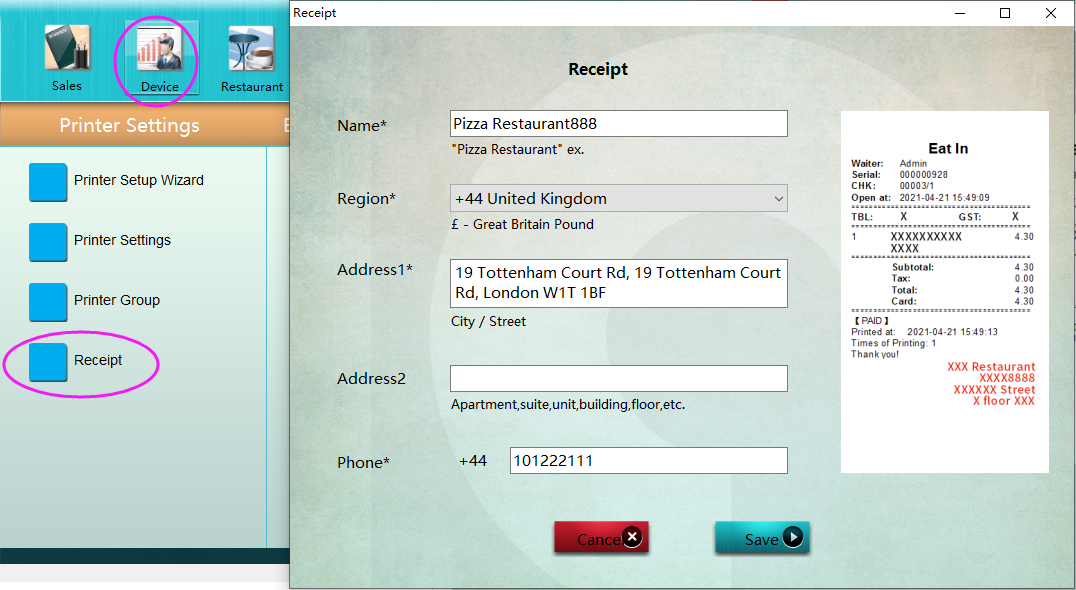
**Upgrade the cashier to version 21.6 and above**,Use the following interface to set the receipt store information
1、Start the cashier management Settings,as follows:
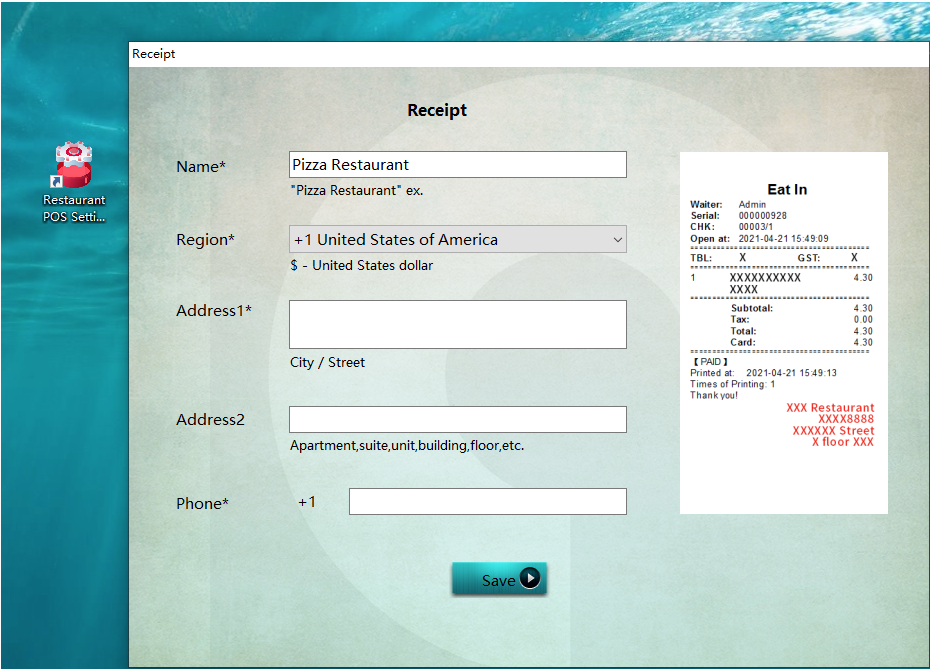
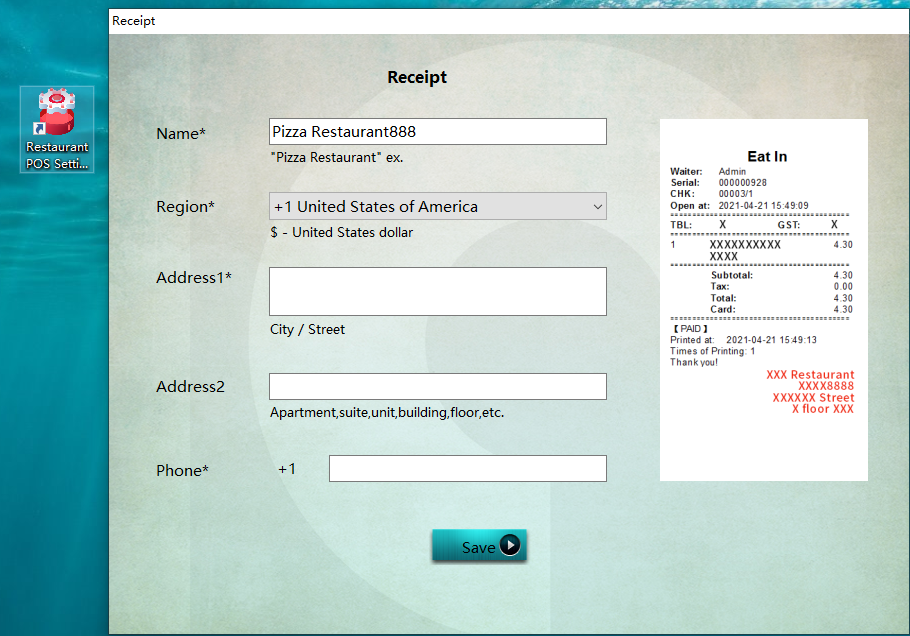
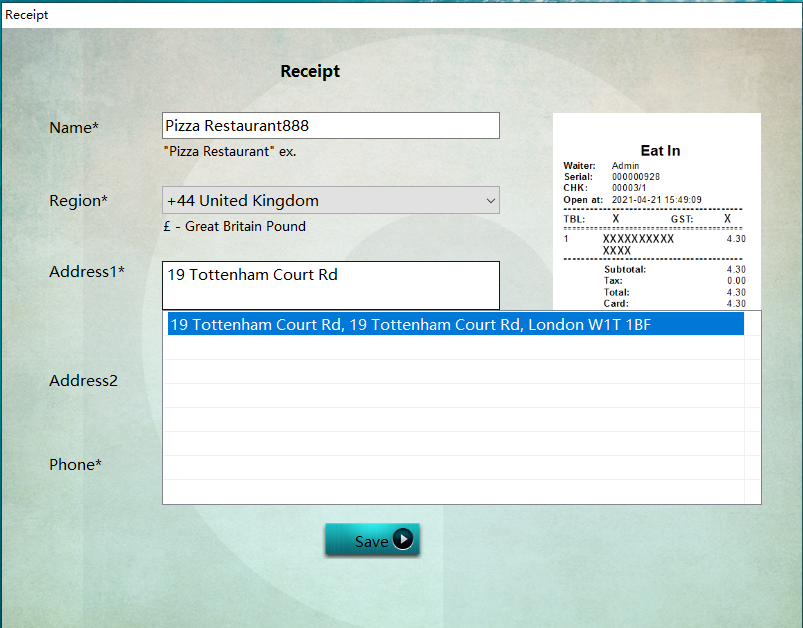
2、Set "Store Name", "Country and Region", "Address1", "Address2", "Phone",Save, as follows:
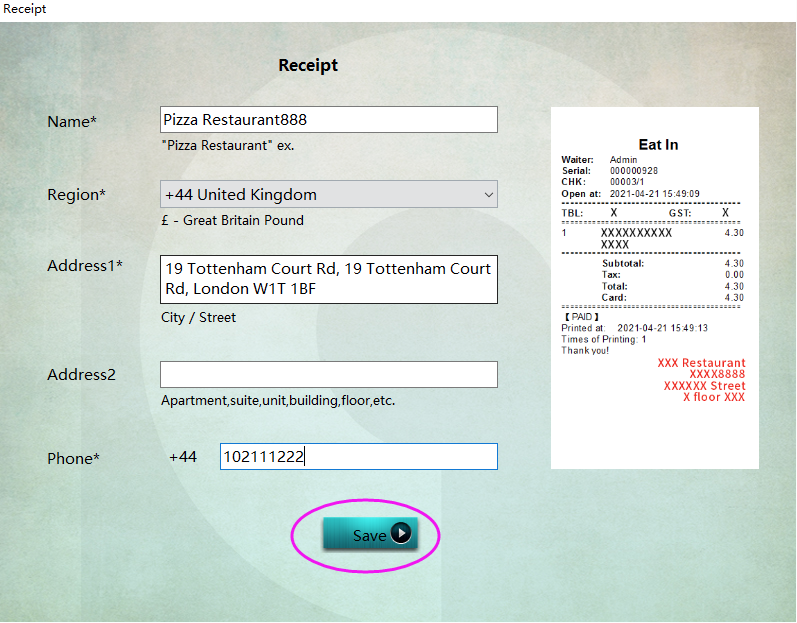
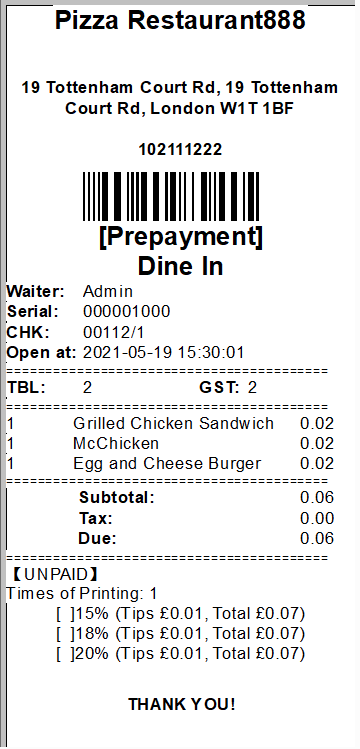
3、Once the setup is complete,and set up the receipt printer,Start the cashier and print the receipt,as follows:
Note:If you do not set the store information at the beginning,It can also be set by following these steps,Restaurant POS Settings——Device——Recepit
It is recommended to set up the store information marked with an asterisk
- Introduction to Pudding POS Management Software
- 1. Register
- 2. Orders
- 2.1 Login
- 2.2 Order
- 2.2 Pay
- 2.3 Cashier Shift & End of Day
- 3. Configurator
- 3.Setting the restaurant information
- 3.1 Modify Menu Items
- 3.2 Print Receipt
- 3.3 Table Settings
- 3.4 Employee Management
- 3.5 Discount
- 3.6 Tax Settings
- 3.7 Service Charge
- 3.8 Quick Service
- 3.9 Backup and Restore
- 4.0 Switch points floor
