## Keyboard Serial
This example listens for a byte coming from the serial port. When received, the board sends a keystroke back to the computer. The sent keystroke is one higher than what is received, so if you send an "a" from the serial monitor, you'll receive a "b" from the board connected to the computer. A "1" will return a "2" and so on.
NB: When you use the Keyboard.print() command, the Leonardo, Micro or Due board takes over your computer's keyboard! To insure you don't lose control of your computer while running a sketch with this function, make sure to set up a reliable control system before you call Keyboard.print(). This sketch is designed to only send a Keyboard command after the board has received a byte over the serial port.
### Hardware Required
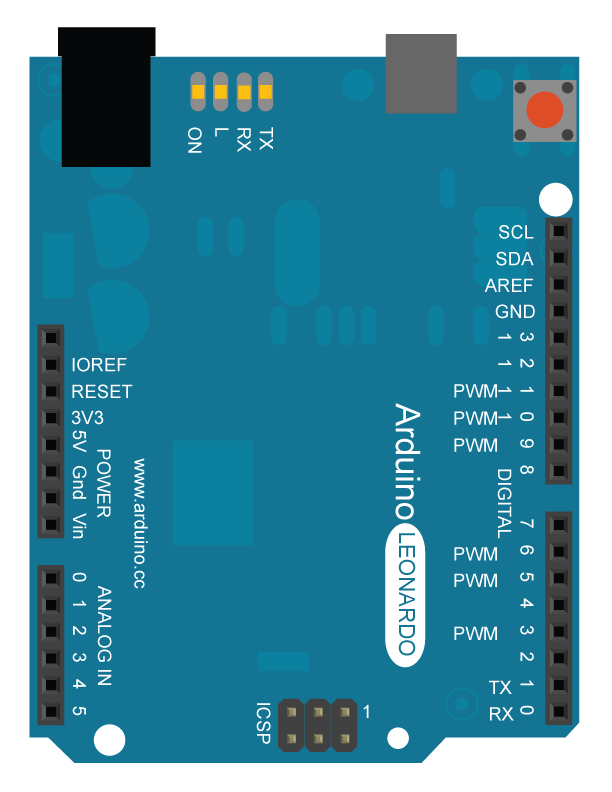
* Arduino Leonardo, Micro, or Due board
### Circuit
Connect your board to your computer with a micro-USB cable.
Once programmed, open your serial monitor and send a byte. The board will reply with a keystroke that is one number higher.
[](https://www.arduino.cc/en/uploads/Tutorial/KeyboardSerial_bb.png)
image developed using [Fritzing](http://www.fritzing.org/). For more circuit examples, see the [Fritzing project page](http://fritzing.org/projects/)
### Code
/*
Keyboard test
For the Arduino Leonardo, Micro or Due
Reads a byte from the serial port, sends a keystroke back.
The sent keystroke is one higher than what's received, e.g. if you send a,
you get b, send A you get B, and so forth.
The circuit:
- none
created 21 Oct 2011
modified 27 Mar 2012
by Tom Igoe
This example code is in the public domain.
http://www.arduino.cc/en/Tutorial/KeyboardSerial
*/
#include "Keyboard.h"
void setup() {
// open the serial port:
Serial.begin(9600);
// initialize control over the keyboard:
Keyboard.begin();
}
void loop() {
// check for incoming serial data:
if (Serial.available() > 0) {
// read incoming serial data:
char inChar = Serial.read();
// Type the next ASCII value from what you received:
Keyboard.write(inChar + 1);
}
}
[[Get Code]](https://www.arduino.cc/en/Tutorial/KeyboardSerial?action=sourceblock&num=1)
### See Also
* [Keyboard.write](https://www.arduino.cc/en/Reference/KeyboardWrite)()
* [Keyboard.print](https://www.arduino.cc/en/Reference/KeyboardPrint)()
* [Keyboard.println](https://www.arduino.cc/en/Reference/KeyboardPrintln)()
* [ASCIITable](https://www.arduino.cc/en/Tutorial/ASCIITable) - Demonstrates Arduino's advanced serial output functions.
* [KeyboardLogout](https://www.arduino.cc/en/Tutorial/KeyboardLogout) - Logs out the current user with key commands.
* [KeyboardMessage](https://www.arduino.cc/en/Tutorial/KeyboardMessage) - Sends a text string when a button is pressed.
* [KeyboardReprogram](https://www.arduino.cc/en/Tutorial/KeyboardReprogram) - Opens a new window in the Arduino IDE and reprograms the Leonardo with a simple blink program.
* [KeyboardAndMouseControl](https://www.arduino.cc/en/Tutorial/KeyboardAndMouseControl) - Demonstrates the Mouse and Keyboard commands in one program.
* [ButtonMouseControl](https://www.arduino.cc/en/Tutorial/ButtonMouseControl) - Control cursor movement with 5 pushbuttons.
* [JoystickMouseControl](https://www.arduino.cc/en/Tutorial/JoystickMouseControl) - Controls a computer's cursor movement with a Joystick when a button is pressed.
- 说明
- 系统示例文件目录结构及说明
- 01.Basics
- AnalogReadSerial
- BareMinimum
- Blink
- DigitalReadSerial
- Fade
- ReadAnalogVoltage
- 02.Digital
- BlinkWithoutDelay
- Button
- Debounce
- DigitalInputPullup
- StateChangeDetection
- toneKeyboard
- toneMelody
- toneMultiple
- tonePitchFollower
- 03.Analog
- AnalogInOutSerial
- AnalogInput
- AnalogWriteMega
- Calibration
- Fading
- Smoothing
- 04.Communication
- ASCIITable
- Dimmer
- Graph
- Midi
- MultiSerial
- PhysicalPixel
- ReadASCIIString
- SerialCallResponse
- SerialCallResponseASCII
- SerialEvent
- SerialPassthrough
- VirtualColorMixer
- 05.Control
- Arrays
- ForLoopIteration
- IfStatementConditional
- switchCase
- switchCase2
- WhileStatementConditional
- 06.Sensors
- ADXL3xx
- Knock
- Memsic2125
- Ping
- 07.Display
- barGraph
- RowColumnScanning
- 08.Strings
- CharacterAnalysis
- StringAdditionOperator
- StringAppendOperator
- StringCaseChanges
- StringCharacters
- StringComparisonOperators
- StringConstructors
- StringIndexOf
- StringLength
- StringLengthTrim
- StringReplace
- StringStartsWithEndsWith
- StringSubstring
- StringToInt
- 09.USB
- Keyboard
- KeyboardLogout
- KeyboardMessage
- KeyboardReprogram
- KeyboardSerial
- KeyboardAndMouseControl
- Mouse
- ButtonMouseControl
- JoystickMouseControl
- 10.StarterKit_BasicKit (与特定硬件相关,暂无)
- p02_SpaceshipInterface
- p03_LoveOMeter
- p04_ColorMixingLamp
- p05_ServoMoodIndicator
- p06_LightTheremin
- p07_Keyboard
- p08_DigitalHourglass
- p09_MotorizedPinwheel
- p10_Zoetrope
- p11_CrystalBall
- p12_KnockLock
- p13_TouchSensorLamp
- p14_TweakTheArduinoLogo
- p15_HackingButtons
- 11.ArduinoISP(暂无)
- ArduinoISP
