# COCO 动物数据集和预处理图像
对于我们的例子,我们将使用 COCO 动物数据集,这是 COCO 数据集的一小部分,由斯坦福大学的研究人员提供,链接如下: [http://cs231n.stanford.edu/coco- animals.zip](http://cs231n.stanford.edu/coco-animals.zip) 。 COCO 动物数据集有 800 个训练图像和 200 个动物类别的测试图像:熊,鸟,猫,狗,长颈鹿,马,绵羊和斑马。为 VGG16 和 Inception 模型下载和预处理图像。
对于 VGG 模型,图像大小为 224 x 224,预处理步骤如下:
1. 将图像调整为 224×224,其函数类似于来自 TensorFlow 的 `tf.image.resize_image_with_crop_or_pad` 函数。我们实现了这个函数如下:
```py
def resize_image(self,in_image:PIL.Image, new_width,
new_height, crop_or_pad=True):
img = in_image
if crop_or_pad:
half_width = img.size[0] // 2
half_height = img.size[1] // 2
half_new_width = new_width // 2
half_new_height = new_height // 2
img = img.crop((half_width-half_new_width,
half_height-half_new_height,
half_width+half_new_width,
half_height+half_new_height
))
img = img.resize(size=(new_width, new_height))
return img
```
1. 调整大小后,将图像从 PIL.Image 转换为 NumPy 数组并检查图像是否有深度通道,因为数据集中的某些图像仅为灰度。
```py
img = self.pil_to_nparray(img)
if len(img.shape)==2:
# greyscale or no channels then add three channels
h=img.shape[0]
w=img.shape[1]
img = np.dstack([img]*3)
```
1. 然后我们从图像中减去 VGG 数据集平均值以使数据居中。我们将新训练图像的数据居中的原因是这些特征具有与用于降雨模型的初始数据类似的范围。通过在相似范围内制作特征,我们确保再训练期间的梯度不会变得太高或太低。同样通过使数据居中,学习过程变得更快,因为对于以零均值为中心的每个通道,梯度变得均匀。
```py
means = np.array([[[123.68, 116.78, 103.94]]]) #shape=[1, 1, 3]
img = img - means
```
完整的预处理函数如下:
```py
def preprocess_for_vgg(self,incoming, height, width):
if isinstance(incoming, six.string_types):
img = self.load_image(incoming)
else:
img=incoming
img_size = vgg.vgg_16.default_image_size
height = img_size
width = img_size
img = self.resize_image(img,height,width)
img = self.pil_to_nparray(img)
if len(img.shape)==2:
# greyscale or no channels then add three channels
h=img.shape[0]
w=img.shape[1]
img = np.dstack([img]*3)
means = np.array([[[123.68, 116.78, 103.94]]]) #shape=[1, 1, 3]
try:
img = img - means
except Exception as ex:
print('Error preprocessing ',incoming)
print(ex)
return img
```
对于 Inception 模型,图像大小为 299 x 299,预处理步骤如下:
1. 图像大小调整为 299 x 299,其函数类似于来自 TensorFlow 的 `tf.image.resize_image_with_crop_or_pad` 函数。我们实现了之前在 VGG 预处理步骤中定义的此函数。
2. 然后使用以下代码将图像缩放到范围`(-1, +1)`:
```py
img = ((img/255.0) - 0.5) * 2.0
```
完整的预处理函数如下:
```py
def preprocess_for_inception(self,incoming):
img_size = inception.inception_v3.default_image_size
height = img_size
width = img_size
if isinstance(incoming, six.string_types):
img = self.load_image(incoming)
else:
img=incoming
img = self.resize_image(img,height,width)
img = self.pil_to_nparray(img)
if len(img.shape)==2:
# greyscale or no channels then add three channels
h=img.shape[0]
w=img.shape[1]
img = np.dstack([img]*3)
img = ((img/255.0) - 0.5) * 2.0
return img
```
让我们加载 COCO 动物数据集:
```py
from datasetslib.coco import coco_animals
coco = coco_animals()
x_train_files, y_train, x_val_files, x_val = coco.load_data()
```
我们从验证集中的每个类中取一个图像,制作列表, `x_test` 并预处理图像以制作列表 `images_test`:
```py
x_test = [x_val_files[25*x] for x in range(8)]
images_test=np.array([coco.preprocess_for_vgg(x) for x in x_test])
```
我们使用这个辅助函数来显示与图像相关的前五个类的图像和概率:
```py
# helper function
def disp(images,id2label=None,probs=None,n_top=5,scale=False):
if scale:
imgs = np.abs(images + np.array([[[[123.68,
116.78, 103.94]]]]))/255.0
else:
imgs = images
ids={}
for j in range(len(images)):
if scale:
plt.figure(figsize=(5,5))
plt.imshow(imgs[j])
else:
plt.imshow(imgs[j].astype(np.uint8) )
plt.show()
if probs is not None:
ids[j] = [i[0] for i in sorted(enumerate(-probs[j]),
key=lambda x:x[1])]
for k in range(n_top):
id = ids[j][k]
print('Probability {0:1.2f}% of[{1:}]'
.format(100*probs[j,id],id2label[id]))
```
上述函数中的以下代码恢复为预处理的效果,以便显示原始图像而不是预处理图像:
```py
imgs = np.abs(images + np.array([[[[123.68, 116.78, 103.94]]]]))/255.0
```
在 Inception 模型的情况下,用于反转预处理的代码如下:
```py
imgs = (images / 2.0) + 0.5
```
您可以使用以下代码查看测试图像:
```py
images=np.array([mpimg.imread(x) for x in x_test])
disp(images)
```
按照 Jupyter 笔记本中的代码查看图像。它们看起来都有不同的尺寸,所以让我们打印它们的原始尺寸:
```py
print([x.shape for x in images])
```
尺寸是:
```py
[(640, 425, 3), (373, 500, 3), (367, 640, 3), (427, 640, 3), (428, 640, 3), (426, 640, 3), (480, 640, 3), (612, 612, 3)]
```
让我们预处理测试图像并查看尺寸:
```py
images_test=np.array([coco.preprocess_for_vgg(x) for x in x_test])
print(images_test.shape)
```
维度为:
```py
(8, 224, 224, 3)
```
在 Inception 的情况下,维度是:
```py
(8, 299, 299, 3)
```
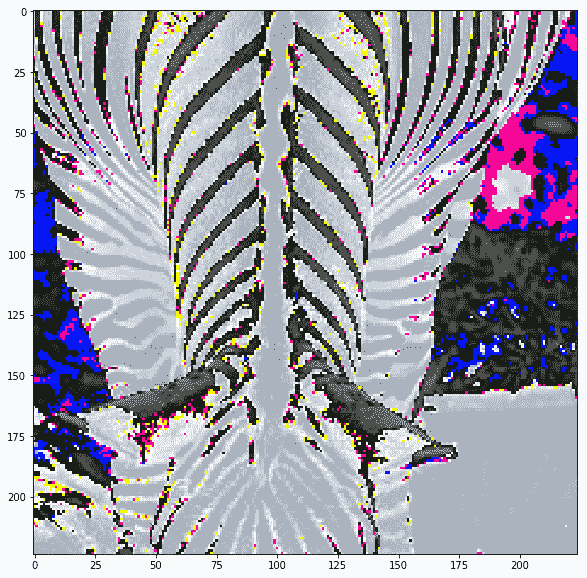
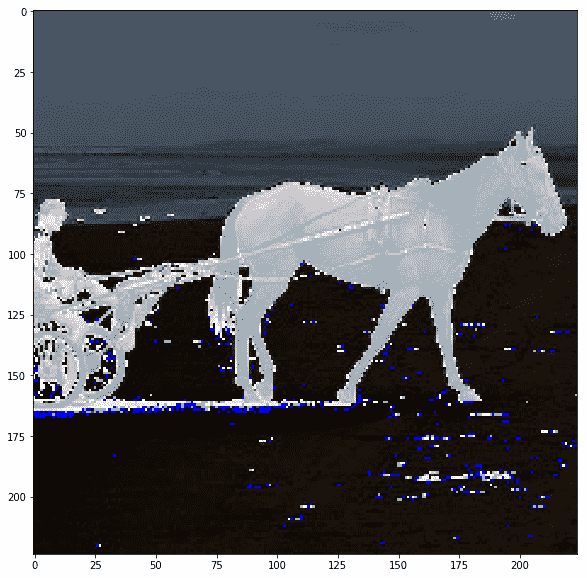
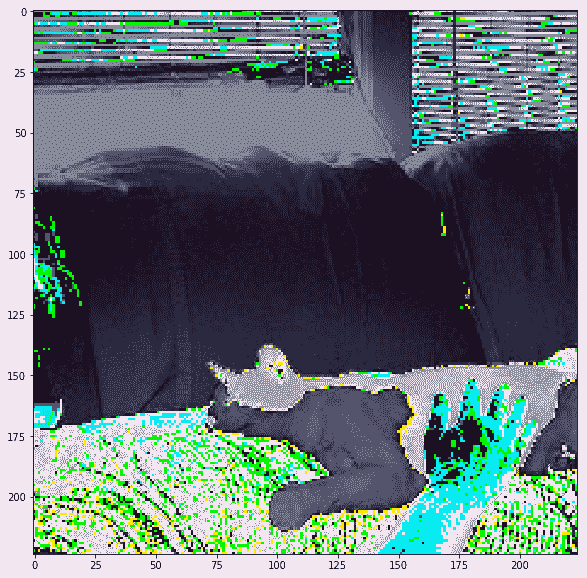
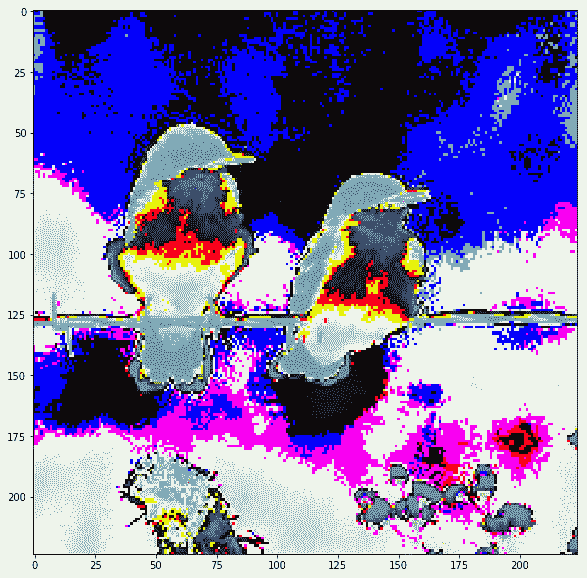
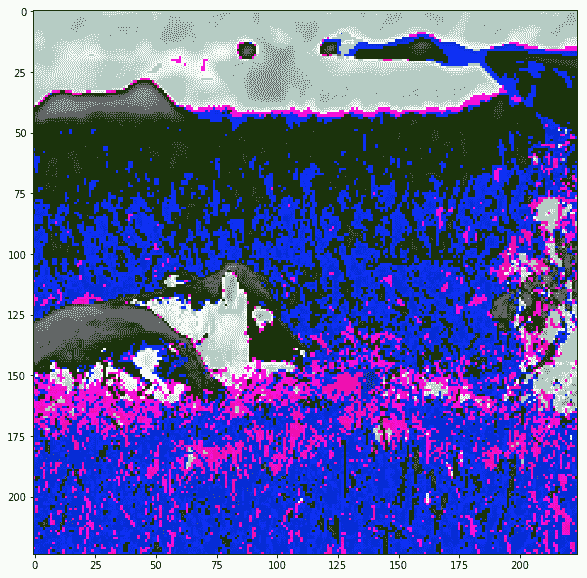
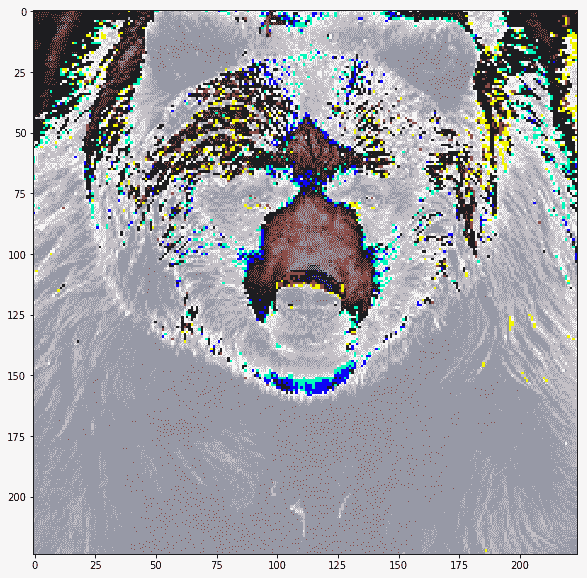
Inception 的预处理图像不可见,但让我们打印 VGG 的预处理图像,以了解它们的外观:
```py
disp(images_test)
```
| | |
| --- | --- |
|  |  |
|  |  |
|  |  |
| 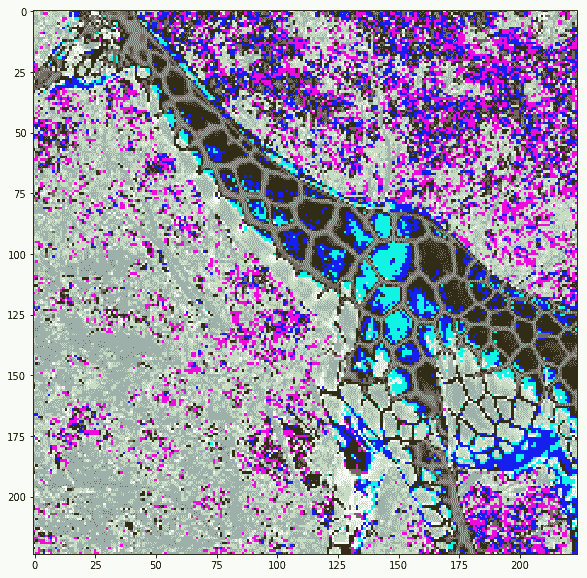 | 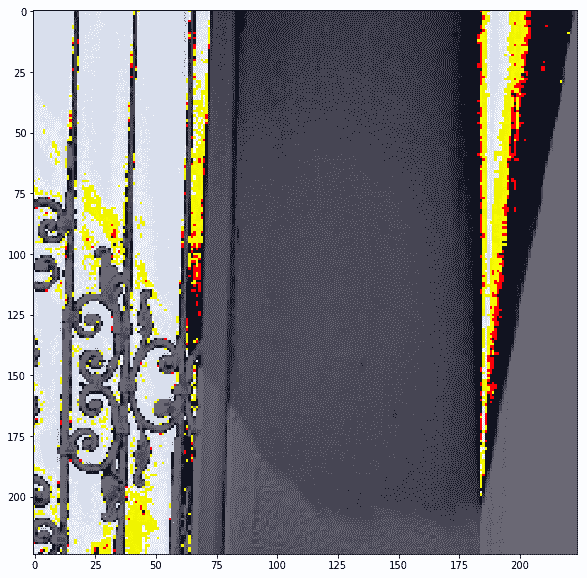 |
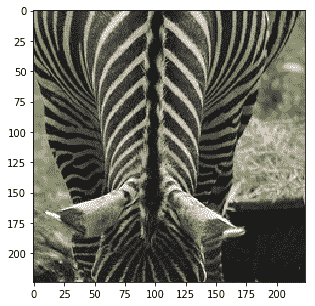
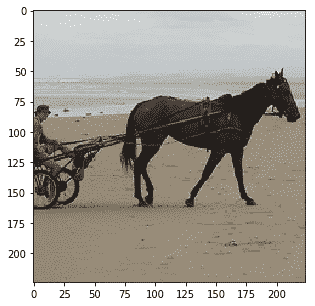
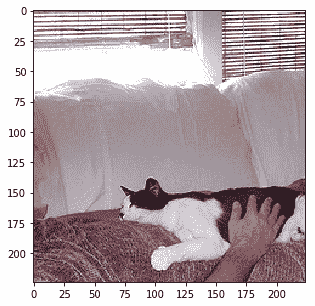
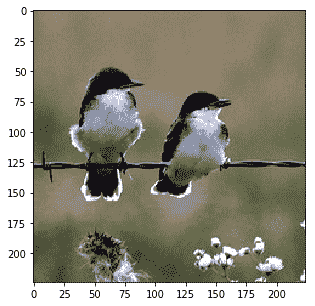
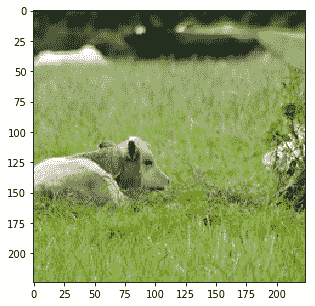
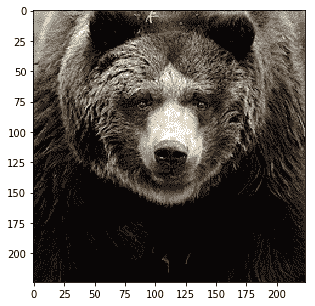
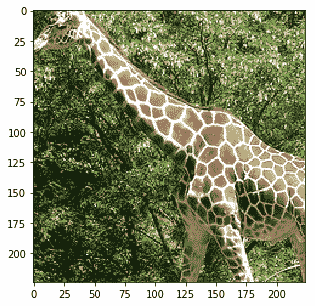
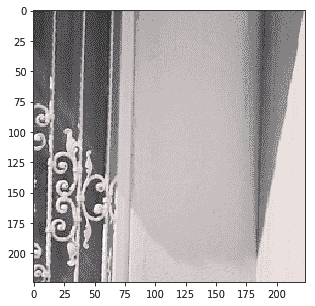
实际上图像被裁剪了,我们可以看到当我们在保持裁剪的同时反转预处理时它们的样子:
| | |
| --- | --- |
|  |  |
|  |  |
|  |  |
|  |  |
现在我们已经有来自 ImageNet 的标签以及来自 COCO 图像数据集的图像和标签,我们试试迁移学习示例。
- TensorFlow 101
- 什么是 TensorFlow?
- TensorFlow 核心
- 代码预热 - Hello TensorFlow
- 张量
- 常量
- 操作
- 占位符
- 从 Python 对象创建张量
- 变量
- 从库函数生成的张量
- 使用相同的值填充张量元素
- 用序列填充张量元素
- 使用随机分布填充张量元素
- 使用tf.get_variable()获取变量
- 数据流图或计算图
- 执行顺序和延迟加载
- 跨计算设备执行图 - CPU 和 GPU
- 将图节点放置在特定的计算设备上
- 简单放置
- 动态展示位置
- 软放置
- GPU 内存处理
- 多个图
- TensorBoard
- TensorBoard 最小的例子
- TensorBoard 详情
- 总结
- TensorFlow 的高级库
- TF Estimator - 以前的 TF 学习
- TF Slim
- TFLearn
- 创建 TFLearn 层
- TFLearn 核心层
- TFLearn 卷积层
- TFLearn 循环层
- TFLearn 正则化层
- TFLearn 嵌入层
- TFLearn 合并层
- TFLearn 估计层
- 创建 TFLearn 模型
- TFLearn 模型的类型
- 训练 TFLearn 模型
- 使用 TFLearn 模型
- PrettyTensor
- Sonnet
- 总结
- Keras 101
- 安装 Keras
- Keras 中的神经网络模型
- 在 Keras 建立模型的工作流程
- 创建 Keras 模型
- 用于创建 Keras 模型的顺序 API
- 用于创建 Keras 模型的函数式 API
- Keras 层
- Keras 核心层
- Keras 卷积层
- Keras 池化层
- Keras 本地连接层
- Keras 循环层
- Keras 嵌入层
- Keras 合并层
- Keras 高级激活层
- Keras 正则化层
- Keras 噪音层
- 将层添加到 Keras 模型
- 用于将层添加到 Keras 模型的顺序 API
- 用于向 Keras 模型添加层的函数式 API
- 编译 Keras 模型
- 训练 Keras 模型
- 使用 Keras 模型进行预测
- Keras 的附加模块
- MNIST 数据集的 Keras 序列模型示例
- 总结
- 使用 TensorFlow 进行经典机器学习
- 简单的线性回归
- 数据准备
- 构建一个简单的回归模型
- 定义输入,参数和其他变量
- 定义模型
- 定义损失函数
- 定义优化器函数
- 训练模型
- 使用训练的模型进行预测
- 多元回归
- 正则化回归
- 套索正则化
- 岭正则化
- ElasticNet 正则化
- 使用逻辑回归进行分类
- 二分类的逻辑回归
- 多类分类的逻辑回归
- 二分类
- 多类分类
- 总结
- 使用 TensorFlow 和 Keras 的神经网络和 MLP
- 感知机
- 多层感知机
- 用于图像分类的 MLP
- 用于 MNIST 分类的基于 TensorFlow 的 MLP
- 用于 MNIST 分类的基于 Keras 的 MLP
- 用于 MNIST 分类的基于 TFLearn 的 MLP
- 使用 TensorFlow,Keras 和 TFLearn 的 MLP 总结
- 用于时间序列回归的 MLP
- 总结
- 使用 TensorFlow 和 Keras 的 RNN
- 简单循环神经网络
- RNN 变种
- LSTM 网络
- GRU 网络
- TensorFlow RNN
- TensorFlow RNN 单元类
- TensorFlow RNN 模型构建类
- TensorFlow RNN 单元包装器类
- 适用于 RNN 的 Keras
- RNN 的应用领域
- 用于 MNIST 数据的 Keras 中的 RNN
- 总结
- 使用 TensorFlow 和 Keras 的时间序列数据的 RNN
- 航空公司乘客数据集
- 加载 airpass 数据集
- 可视化 airpass 数据集
- 使用 TensorFlow RNN 模型预处理数据集
- TensorFlow 中的简单 RNN
- TensorFlow 中的 LSTM
- TensorFlow 中的 GRU
- 使用 Keras RNN 模型预处理数据集
- 使用 Keras 的简单 RNN
- 使用 Keras 的 LSTM
- 使用 Keras 的 GRU
- 总结
- 使用 TensorFlow 和 Keras 的文本数据的 RNN
- 词向量表示
- 为 word2vec 模型准备数据
- 加载和准备 PTB 数据集
- 加载和准备 text8 数据集
- 准备小验证集
- 使用 TensorFlow 的 skip-gram 模型
- 使用 t-SNE 可视化单词嵌入
- keras 的 skip-gram 模型
- 使用 TensorFlow 和 Keras 中的 RNN 模型生成文本
- TensorFlow 中的 LSTM 文本生成
- Keras 中的 LSTM 文本生成
- 总结
- 使用 TensorFlow 和 Keras 的 CNN
- 理解卷积
- 了解池化
- CNN 架构模式 - LeNet
- 用于 MNIST 数据的 LeNet
- 使用 TensorFlow 的用于 MNIST 的 LeNet CNN
- 使用 Keras 的用于 MNIST 的 LeNet CNN
- 用于 CIFAR10 数据的 LeNet
- 使用 TensorFlow 的用于 CIFAR10 的 ConvNets
- 使用 Keras 的用于 CIFAR10 的 ConvNets
- 总结
- 使用 TensorFlow 和 Keras 的自编码器
- 自编码器类型
- TensorFlow 中的栈式自编码器
- Keras 中的栈式自编码器
- TensorFlow 中的去噪自编码器
- Keras 中的去噪自编码器
- TensorFlow 中的变分自编码器
- Keras 中的变分自编码器
- 总结
- TF 服务:生产中的 TensorFlow 模型
- 在 TensorFlow 中保存和恢复模型
- 使用保护程序类保存和恢复所有图变量
- 使用保护程序类保存和恢复所选变量
- 保存和恢复 Keras 模型
- TensorFlow 服务
- 安装 TF 服务
- 保存 TF 服务的模型
- 提供 TF 服务模型
- 在 Docker 容器中提供 TF 服务
- 安装 Docker
- 为 TF 服务构建 Docker 镜像
- 在 Docker 容器中提供模型
- Kubernetes 中的 TensorFlow 服务
- 安装 Kubernetes
- 将 Docker 镜像上传到 dockerhub
- 在 Kubernetes 部署
- 总结
- 迁移学习和预训练模型
- ImageNet 数据集
- 再训练或微调模型
- COCO 动物数据集和预处理图像
- TensorFlow 中的 VGG16
- 使用 TensorFlow 中预训练的 VGG16 进行图像分类
- TensorFlow 中的图像预处理,用于预训练的 VGG16
- 使用 TensorFlow 中的再训练的 VGG16 进行图像分类
- Keras 的 VGG16
- 使用 Keras 中预训练的 VGG16 进行图像分类
- 使用 Keras 中再训练的 VGG16 进行图像分类
- TensorFlow 中的 Inception v3
- 使用 TensorFlow 中的 Inception v3 进行图像分类
- 使用 TensorFlow 中的再训练的 Inception v3 进行图像分类
- 总结
- 深度强化学习
- OpenAI Gym 101
- 将简单的策略应用于 cartpole 游戏
- 强化学习 101
- Q 函数(在模型不可用时学习优化)
- RL 算法的探索与开发
- V 函数(模型可用时学习优化)
- 强化学习技巧
- 强化学习的朴素神经网络策略
- 实现 Q-Learning
- Q-Learning 的初始化和离散化
- 使用 Q-Table 进行 Q-Learning
- Q-Network 或深 Q 网络(DQN)的 Q-Learning
- 总结
- 生成性对抗网络
- 生成性对抗网络 101
- 建立和训练 GAN 的最佳实践
- 使用 TensorFlow 的简单的 GAN
- 使用 Keras 的简单的 GAN
- 使用 TensorFlow 和 Keras 的深度卷积 GAN
- 总结
- 使用 TensorFlow 集群的分布式模型
- 分布式执行策略
- TensorFlow 集群
- 定义集群规范
- 创建服务器实例
- 定义服务器和设备之间的参数和操作
- 定义并训练图以进行异步更新
- 定义并训练图以进行同步更新
- 总结
- 移动和嵌入式平台上的 TensorFlow 模型
- 移动平台上的 TensorFlow
- Android 应用中的 TF Mobile
- Android 上的 TF Mobile 演示
- iOS 应用中的 TF Mobile
- iOS 上的 TF Mobile 演示
- TensorFlow Lite
- Android 上的 TF Lite 演示
- iOS 上的 TF Lite 演示
- 总结
- R 中的 TensorFlow 和 Keras
- 在 R 中安装 TensorFlow 和 Keras 软件包
- R 中的 TF 核心 API
- R 中的 TF 估计器 API
- R 中的 Keras API
- R 中的 TensorBoard
- R 中的 tfruns 包
- 总结
- 调试 TensorFlow 模型
- 使用tf.Session.run()获取张量值
- 使用tf.Print()打印张量值
- 用tf.Assert()断言条件
- 使用 TensorFlow 调试器(tfdbg)进行调试
- 总结
- 张量处理单元
