# 路由
我们已经共同完成了教师列表组件、新建教师组件。本节我们使用`路由`将这两个组件结合起来。
## 什么是路由
在生活中我们接触`路由`这个词汇更多来源于`路由器`。生活中的路由器主要提供的供手机、电脑等网络设置上网,好像`路由`就等于`怎么上网`一样。
但实际上并不如此,一个看似不大的家庭路由器已经发展为集成拨号、路由、交换、无线发射等众多功能综合网络设备。而`路由`仅仅是这个设备一个核心功能而已。
路由一词来自于`router`,而`router`译为:拥有选择路线功能的能动体。比如生活中的快递小哥,就是个典型的`router`。他可以按照我们快照上的地址,选择合适的路线,将快递(数据)转发到我们(终端)手中。
综上所述,`router`的作用可以理解为**具有数据转发功能的X**。所以日后每当我们听到路由一词时,应该想到的都应该是**数据转发**。
在Angular中也同样如此,Angular中的路由同样起的是数据转发的作用。其具体的功能可以描述为:将浏览器地址栏中的数据转发到某个组件上。
## 默认路由
Angular提供了一条默认入口路由,该路由使得我们在访问[http://localhost:4200](http://localhost:4200)时,能够被App组件处理,该路由被定义在了`src/app/app.module.ts`中:
```typescript
@NgModule({
declarations: [
AppComponent,
AddComponent
],
imports: [
BrowserModule,
AppRoutingModule,
HttpClientModule,
FormsModule
],
providers: [],
👉 bootstrap: [AppComponent]
})
export class AppModule {
}
```
- bootstrap译为**启动**,当访问http://localhost:4200时实际上我们查看到的是AppComponent便是此处的代码生效。
## 路由设置
除了入口路由外,当前其它的路由在`src/app/app-routing.module.ts`中设置:
```typescript
import {NgModule} from '@angular/core';
import {Routes, RouterModule} from '@angular/router';
👉const routes: Routes = [];
@NgModule({
imports: [RouterModule.forRoot(routes)],
exports: [RouterModule]
})
export class AppRoutingModule {
}
```
- 在此routers数组中定义路由
比如我们当前希望用户访问 http://localhost:4200/add时触发Add组件,则可以如下设置:
```typescript
+import {AddComponent} from './add/add.component';
-const routes: Routes = [];
+const routes: Routes = [
+ {
+ path: 'add',
+ component: AddComponent
+ }
+];
```
如引,我们便设置了访问路径`path`以`AddComponent`的关联信息。
## 路由出口
此时我们使用`ng s`启动项目并在浏览器中输入http://localhost:4200/add查看效果。
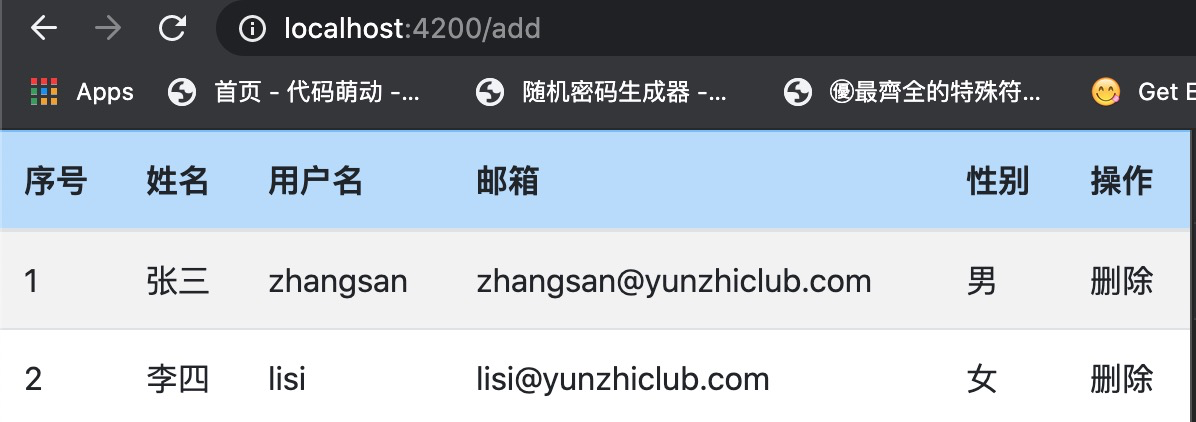
🤔 为什么会是这样呢?此时我们打开控制台,并没有发现任何报错信息,那么说好的Add组件呢?
这是由于在Angular中设置完路由后,需要为此路由指定一个出口。即在哪个位置上显示上当前路由对应的组件。当前访问的地址为:`http://localhost:4200/add`,Angular可以成功的获取到`/add`信息,并将其分解为父路径`/` ✚ 子路径 `add`,其中父路径`/`对应启动组件 -- App组件,而子路径`add`则对应Add组件。
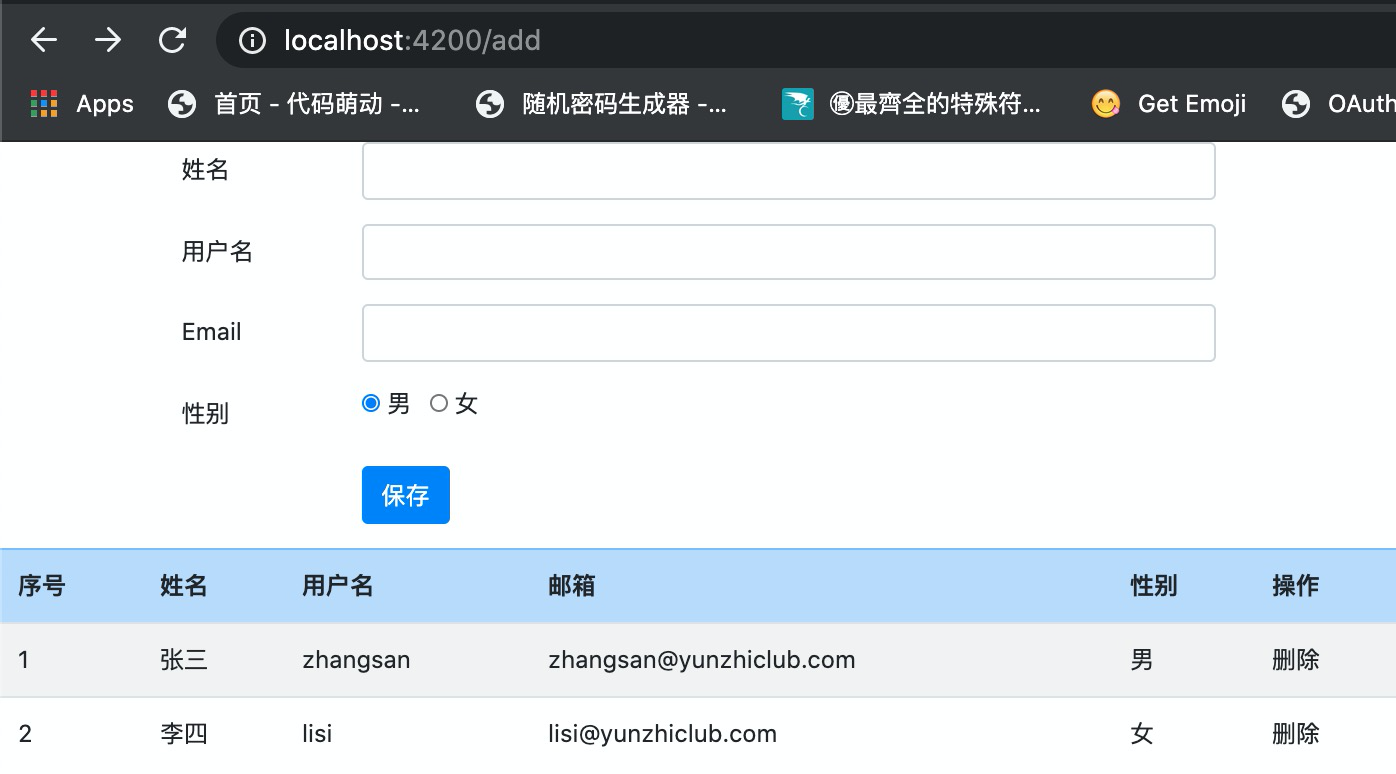
所以若想显示子路径对应的Add组件,则应该在其父路径对应的(父)组件上定义一个路由出口,即:在父组件的哪个位置上显示该Add子组件,假设我们想把子Add组件显示在表格上方:
```html
--- a/first-app/src/app/app.component.html
+++ b/first-app/src/app/app.component.html
@@ -1,3 +1,4 @@
+ 👉 <router-outlet></router-outlet>
<table class="table table-striped">
<thead>
<tr class="table-primary">
```
- 使用`<router-outlet></router-outlet>`来表示使用路由设置的子组件的位置。
## 生产环境
为了更好的查看到一些效果,我们接下来将父App组件中获取教师列表的功能,由测试开发环境变更为生产环境。
当前我们准备了如下API来获取后台系统中的所有教师数据。
```bash
GET /teacher
```
| **类型Type** | **名称Name** | **描述Description** | **类型Schema** |
| ------------ | ------------ | ------------------- | ------------------------------------------------------------ |
| Response | | | `[{id: number, username: string, name: string, email: string, sex: boolean}, {...}]` |
由以下接口信息,我们获取到:请求后台全部教师的地址、请求成功后将返回的数据格式为**教师数组**。则按该接口更新代码如下:
```typescript
--- a/first-app/src/app/app.component.ts
+++ b/first-app/src/app/app.component.ts
@@ -18,7 +18,7 @@ export class AppComponent implements OnInit {
* 组件初始化完成后将被自动执行一次
*/
ngOnInit(): void {
- this.httpClient.get<[]>('assets/teacher-all.json')
+ this.httpClient.get<[]>('http://angular.api.codedemo.club:81/teacher')
.subscribe(teachers => this.teachers = teachers);
}
}
```
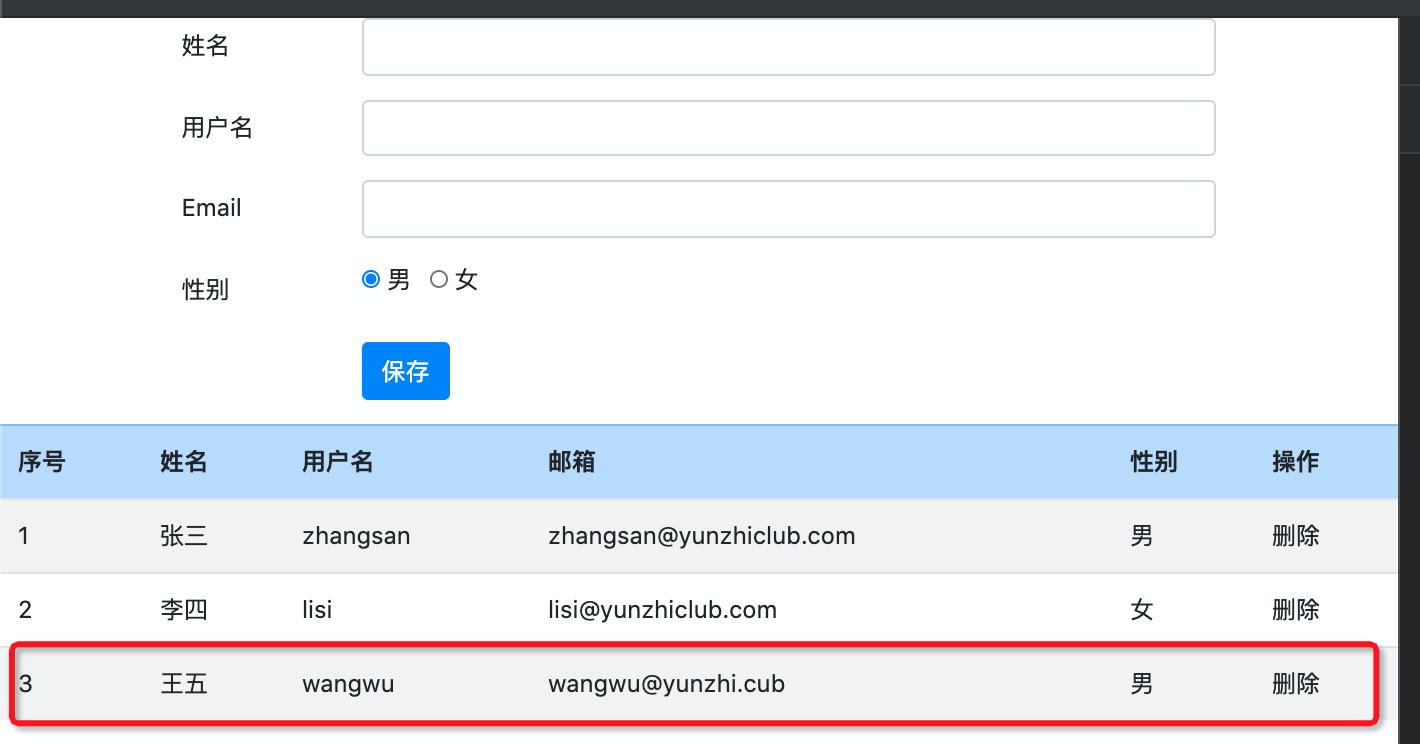
此时,添加新教师后再次刷新页面,可以查看到成功的添加了一位新教师:
> 你或许能够请求到更多的用户,这些用户可能是系统内置或是由其它的学生添加的。
## 验证
此时我们输入http://localhost:4200时,将显示教师列表;输入http://localhost:4200/add时,将显示新增教师及教师列表。
好了,就到这里。
## 本节作业
1. 请尝试将添加教师Add组件移动到其父组件的其它位置并查看效果。
2. 当前教师列表组件与教师添加组件是父子关系,这使得在添加教师时仍然显示了教师列表。如果甲方期待两个组件是并列关系,即访问http://localhost:4200/add仅显示添加组件,而访问http://localhost:4200仅显示教师列表组件。你的拟解决方案是什么,按此解决方案,应该如何去google关键字。
## 小结
- Angular根据路径来确认父子组件
- 需要在父组件中指定子组件的位置后,子组件才会成功的显示
- 在父组中的模板文件中使用`<router-outlet></router-outlet>`来指定子组件的位置
| 名称 | 地址 | 备注 |
| ---------------- | ------------------------------------------------------------ | ---- |
| 定义一个基本路由 | [https://www.angular.cn/guide/router#defining-a-basic-route](https://www.angular.cn/guide/router#defining-a-basic-route) | |
| 路由配置 | [https://www.angular.cn/guide/router#configuration](https://www.angular.cn/guide/router#configuration) | |
| 本节源码 | [https://github.com/mengyunzhi/angular11-guild/archive/step2.3.4.zip](https://github.com/mengyunzhi/angular11-guild/archive/step2.3.4.zip) | |
- 序言
- 第一章 Hello World
- 1.1 环境安装
- 1.2 Hello Angular
- 1.3 Hello World!
- 第二章 教师管理
- 2.1 教师列表
- 2.1.1 初始化原型
- 2.1.2 组件生命周期之初始化
- 2.1.3 ngFor
- 2.1.4 ngIf、ngTemplate
- 2.1.5 引用 Bootstrap
- 2.2 请求后台数据
- 2.2.1 HttpClient
- 2.2.2 请求数据
- 2.2.3 模块与依赖注入
- 2.2.4 异步与回调函数
- 2.2.5 集成测试
- 2.2.6 本章小节
- 2.3 新增教师
- 2.3.1 组件初始化
- 2.3.2 [(ngModel)]
- 2.3.3 对接后台
- 2.3.4 路由
- 2.4 编辑教师
- 2.4.1 组件初始化
- 2.4.2 获取路由参数
- 2.4.3 插值与模板表达式
- 2.4.4 初识泛型
- 2.4.5 更新教师
- 2.4.6 测试中的路由
- 2.5 删除教师
- 2.6 收尾工作
- 2.6.1 RouterLink
- 2.6.2 fontawesome图标库
- 2.6.3 firefox
- 2.7 总结
- 第三章 用户登录
- 3.1 初识单元测试
- 3.2 http概述
- 3.3 Basic access authentication
- 3.4 着陆组件
- 3.5 @Output
- 3.6 TypeScript 类
- 3.7 浏览器缓存
- 3.8 总结
- 第四章 个人中心
- 4.1 原型
- 4.2 管道
- 4.3 对接后台
- 4.4 x-auth-token认证
- 4.5 拦截器
- 4.6 小结
- 第五章 系统菜单
- 5.1 延迟及测试
- 5.2 手动创建组件
- 5.3 隐藏测试信息
- 5.4 规划路由
- 5.5 定义菜单
- 5.6 注销
- 5.7 小结
- 第六章 班级管理
- 6.1 新增班级
- 6.1.1 组件初始化
- 6.1.2 MockApi 新建班级
- 6.1.3 ApiInterceptor
- 6.1.4 数据验证
- 6.1.5 教师选择列表
- 6.1.6 MockApi 教师列表
- 6.1.7 代码重构
- 6.1.8 小结
- 6.2 教师列表组件
- 6.2.1 初始化
- 6.2.2 响应式表单
- 6.2.3 getTestScheduler()
- 6.2.4 应用组件
- 6.2.5 小结
- 6.3 班级列表
- 6.3.1 原型设计
- 6.3.2 初始化分页
- 6.3.3 MockApi
- 6.3.4 静态分页
- 6.3.5 动态分页
- 6.3.6 @Input()
- 6.4 编辑班级
- 6.4.1 测试模块
- 6.4.2 响应式表单验证
- 6.4.3 @Input()
- 6.4.4 FormGroup
- 6.4.5 自定义FormControl
- 6.4.6 代码重构
- 6.4.7 小结
- 6.5 删除班级
- 6.6 集成测试
- 6.6.1 惰性加载
- 6.6.2 API拦截器
- 6.6.3 路由与跳转
- 6.6.4 ngStyle
- 6.7 初识Service
- 6.7.1 catchError
- 6.7.2 单例服务
- 6.7.3 单元测试
- 6.8 小结
- 第七章 学生管理
- 7.1 班级列表组件
- 7.2 新增学生
- 7.2.1 exports
- 7.2.2 自定义验证器
- 7.2.3 异步验证器
- 7.2.4 再识DI
- 7.2.5 属性型指令
- 7.2.6 完成功能
- 7.2.7 小结
- 7.3 单元测试进阶
- 7.4 学生列表
- 7.4.1 JSON对象与对象
- 7.4.2 单元测试
- 7.4.3 分页模块
- 7.4.4 子组件测试
- 7.4.5 重构分页
- 7.5 删除学生
- 7.5.1 第三方dialog
- 7.5.2 批量删除
- 7.5.3 面向对象
- 7.6 集成测试
- 7.7 编辑学生
- 7.7.1 初始化
- 7.7.2 自定义provider
- 7.7.3 更新学生
- 7.7.4 集成测试
- 7.7.5 可订阅的路由参数
- 7.7.6 小结
- 7.8 总结
- 第八章 其它
- 8.1 打包构建
- 8.2 发布部署
- 第九章 总结