# 手写组件
以往的组件我们都是使用的angular cli来自动生成,本节我们手动创建一个:
## Welcome组件
我们需要一个欢迎组件来对登录成功后的用户显示欢迎信息,为此在`src/app`文件夹中创建`welcome.component.ts`文件:
```bash
panjiedeMacBook-Pro:app panjie$ pwd
/Users/panjie/github/mengyunzhi/angular11-guild/first-app/src/app
panjiedeMacBook-Pro:app panjie$ tree -L 1
.
├── add
├── app-routing.module.ts
├── app.component.css
├── app.component.html
├── app.component.spec.ts
├── app.component.ts
├── app.module.ts
├── edit
├── entity
├── index
├── login
├── personal-center
├── welcome.component.ts 👈
├── x-auth-token.interceptor.spec.ts
└── x-auth-token.interceptor.ts
6 directories, 9 files
```
接着打开该文件,简单写些组件初始化的注释:
```typescript
+++ b/first-app/src/app/welcome.component.ts
@@ -0,0 +1,6 @@
+// 定义类
+// 使用注解来标明它是一个组件
+// 将组件加入模块
+// 为组件设置一个selector,以使得其它组件能够使用它
+// 为组件设置V层模板
+// 新建个测试文件来测试组件
```
接下来分步完成任务:
## 定义类
```typescript
+++ b/first-app/src/app/welcome.component.ts
@@ -1,4 +1,7 @@
// 定义类
+export class WelcomeComponent {
+
+}
// 使用注解来标明它是一个组件
// 将组件加入模块
// 为组件设置一个selector,以使得其它组件能够使用它
```
此时应该注意两点:
- 类名应该与文件名保持一致,且以`Component`结尾。
- 必须加入`export`以使该类能够被其它文件引用
## 加注解
```typescript
+++ b/first-app/src/app/welcome.component.ts
@@ -1,8 +1,13 @@
// 定义类
+import {Component} from '@angular/core';
+
+// 使用注解来标明它是一个组件
+@Component({
+
+})
export class WelcomeComponent {
}
-// 使用注解来标明它是一个组件
// 将组件加入模块
// 为组件设置一个selector,以使得其它组件能够使用它
// 为组件设置V层模板
```
`@Component`位于`'@angular/core'`中,其接收的参数类型为**对象**。
注解是注释的一种延伸,使用`@`关键字打头。相对于普通的注释,注解不但可以起到对类、属性、方法等的说明作用,而且可以为其设置一些属性或其它更高级的做法。在Angular中,某个类是一个组件还是一个模块,都是由其类上对应的注解实现的。
比如我们在此使用`@Component`将`WelcomeComponent`类声明为一个Angular组件。如果没有此注解,则`WelcomeComponent`就是一个普普通通的类,如果我们在此使用`@Module`注解,则`WelcomeComponent`类便成为了Angular的一个模块。
除了`@Component`、`@Module`注解外,我们前面还接触了将类声明为管道的注解`@Pipe`,将类型的某个属性声明为可对接父组件方法的注解`@Output()`。
## 加入到模块
```typescript
+++ b/first-app/src/app/app.module.ts
@@ -13,6 +13,7 @@ import {IndexComponent} from './index/index.component';
import { PersonalCenterComponent } from './personal-center/personal-center.component';
import { SexPipe } from './personal-center/sex.pipe';
import {XAuthTokenInterceptor} from './x-auth-token.interceptor';
+import {WelcomeComponent} from './welcome.component';
@NgModule({
@@ -23,7 +24,8 @@ import {XAuthTokenInterceptor} from './x-auth-token.interceptor';
LoginComponent,
IndexComponent,
PersonalCenterComponent,
- SexPipe
+ SexPipe,
+ WelcomeComponent
],
imports: [
BrowserModule,
```
组件依赖于模块,没有模块的组件是没有意义的。
## 定义selector
```typescript
+++ b/first-app/src/app/welcome.component.ts
@@ -3,7 +3,7 @@ import {Component} from '@angular/core';
// 使用注解来标明它是一个组件
@Component({
-
+ selector: 'app-welcome'
})
export class WelcomeComponent {
```
使用`selector`来定义关键字,其它的组件在V层中使用`app-welcome`来加载该组件。
## 定义V层
V层可以定义一个单独的文件,也可以直接写在C层中:
```typescript
+++ b/first-app/src/app/welcome.component.ts
@@ -3,7 +3,8 @@ import {Component} from '@angular/core';
// 使用注解来标明它是一个组件
@Component({
-
+ selector: 'app-welcome',
+ template: `<h1 class="text-center">欢迎使用由软小白开发的教务管理系统</h1>`
})
export class WelcomeComponent {
```
- 直接定义模板时使用`template`.
- 定义模板文件时使用`templateUrl`
- 可以不定义样式文件或样式
## 测试
手动新建文件welcome.component.spec.ts
```bash
panjiedeMacBook-Pro:app panjie$ pwd
/Users/panjie/github/mengyunzhi/angular11-guild/first-app/src/app
panjiedeMacBook-Pro:app panjie$ tree -L 1
.
├── add
├── app-routing.module.ts
├── app.component.css
├── app.component.html
├── app.component.spec.ts
├── app.component.ts
├── app.module.ts
├── edit
├── entity
├── index
├── login
├── personal-center
├── welcome.component.spec.ts 👈
├── welcome.component.ts
├── x-auth-token.interceptor.spec.ts
└── x-auth-token.interceptor.ts
6 directories, 10 files
```
接下来,我们手动一步步的写一个测试方法,从而更清晰的明了测试文件代码的构成。
### 增加测试方法`describe`
测试方法需要写在`describe('对测试的描述', 回调函数)`中,所以我们需要在测试文件中首先调用`describe`方法。
```typescript
+++ b/first-app/src/app/welcome.component.spec.ts
@@ -0,0 +1,3 @@
+describe('welcome', () => {
+
+});
```
### 增加测试用例`fit`
执行的测试用例应写到`it('测试用例名称', 具体要执行的回调函数中)`,我们在此要测试Welcome组件是否可以初始化成功,则接着应该添加`it`方法。
```typescript
+++ b/first-app/src/app/welcome.component.spec.ts
@@ -1,3 +1,5 @@
describe('welcome', () => {
+ fit('welcome create', () => {
+ });
});
```
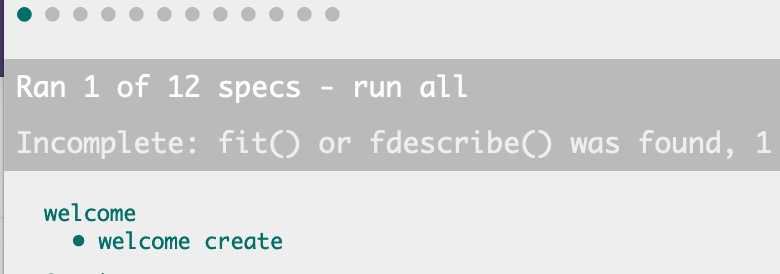
### 运行测试
使用`ng t`启动项目,并查看是否运行:

如上代码表明,测试用例**welcome create**成功执行,但该方法中没有任何断言。按单元测试的逻辑,我们应该在单元测试的代码以代码的形式来保证代码的正确性,在单元测试中,我们使用`expect()`关键字,比如我们断言`1+1`应该竺于`2`:
```typescript
+++ b/first-app/src/app/welcome.component.spec.ts
@@ -1,5 +1,5 @@
describe('welcome', () => {
fit('welcome create', () => {
-
+ expect(1 + 1).toBe(2);
});
});
```
此时`expect`中的值与`toBe`中的值相同,则表达断言通过。表明`expect`中的代码执行结果是符合预期的。
## 创建动态测试模块
在Angular的单元测试中,动态测试模块运行在一个叫`TestBed`测试机床中。它`TestBed`提供了配置动态模块的相关方法:
```typescript
+++ b/first-app/src/app/welcome.component.spec.ts
@@ -1,5 +1,10 @@
+import {TestBed} from '@angular/core/testing';
+
describe('welcome', () => {
fit('welcome create', () => {
- expect(1 + 1).toBe(2);
+ // 配置动态测试模块
+ TestBed.configureTestingModule({
+
+ });
});
});
```
预测试Welcome组件,则需要将其声明为动态测试模块的一部分:
```typescript
+++ b/first-app/src/app/welcome.component.spec.ts
@@ -1,10 +1,11 @@
import {TestBed} from '@angular/core/testing';
+import {WelcomeComponent} from './welcome.component';
describe('welcome', () => {
fit('welcome create', () => {
// 配置动态测试模块
TestBed.configureTestingModule({
-
+ declarations: [WelcomeComponent]
});
});
});
```
进模块进行配置后,通过调用其`compileComponents`完成对该模块中的组件的编译(可以理解为C语言中的编译,即把一种形式转换为另一种形式)工作。
```typescript
+++ b/first-app/src/app/welcome.component.spec.ts
@@ -6,6 +6,6 @@ describe('welcome', () => {
// 配置动态测试模块
TestBed.configureTestingModule({
declarations: [WelcomeComponent]
- });
+ }).compileComponents();
});
});
```
随后便可以调用`TestBed`提供的 来获取一个组件实例了:
```typescript
+++ b/first-app/src/app/welcome.component.spec.ts
@@ -7,5 +7,8 @@ describe('welcome', () => {
TestBed.configureTestingModule({
declarations: [WelcomeComponent]
}).compileComponents();
+
+ const welcomeComponent = TestBed.createComponent(WelcomeComponent);
+ expect(welcomeComponent).toBeTruthy();
});
});
```
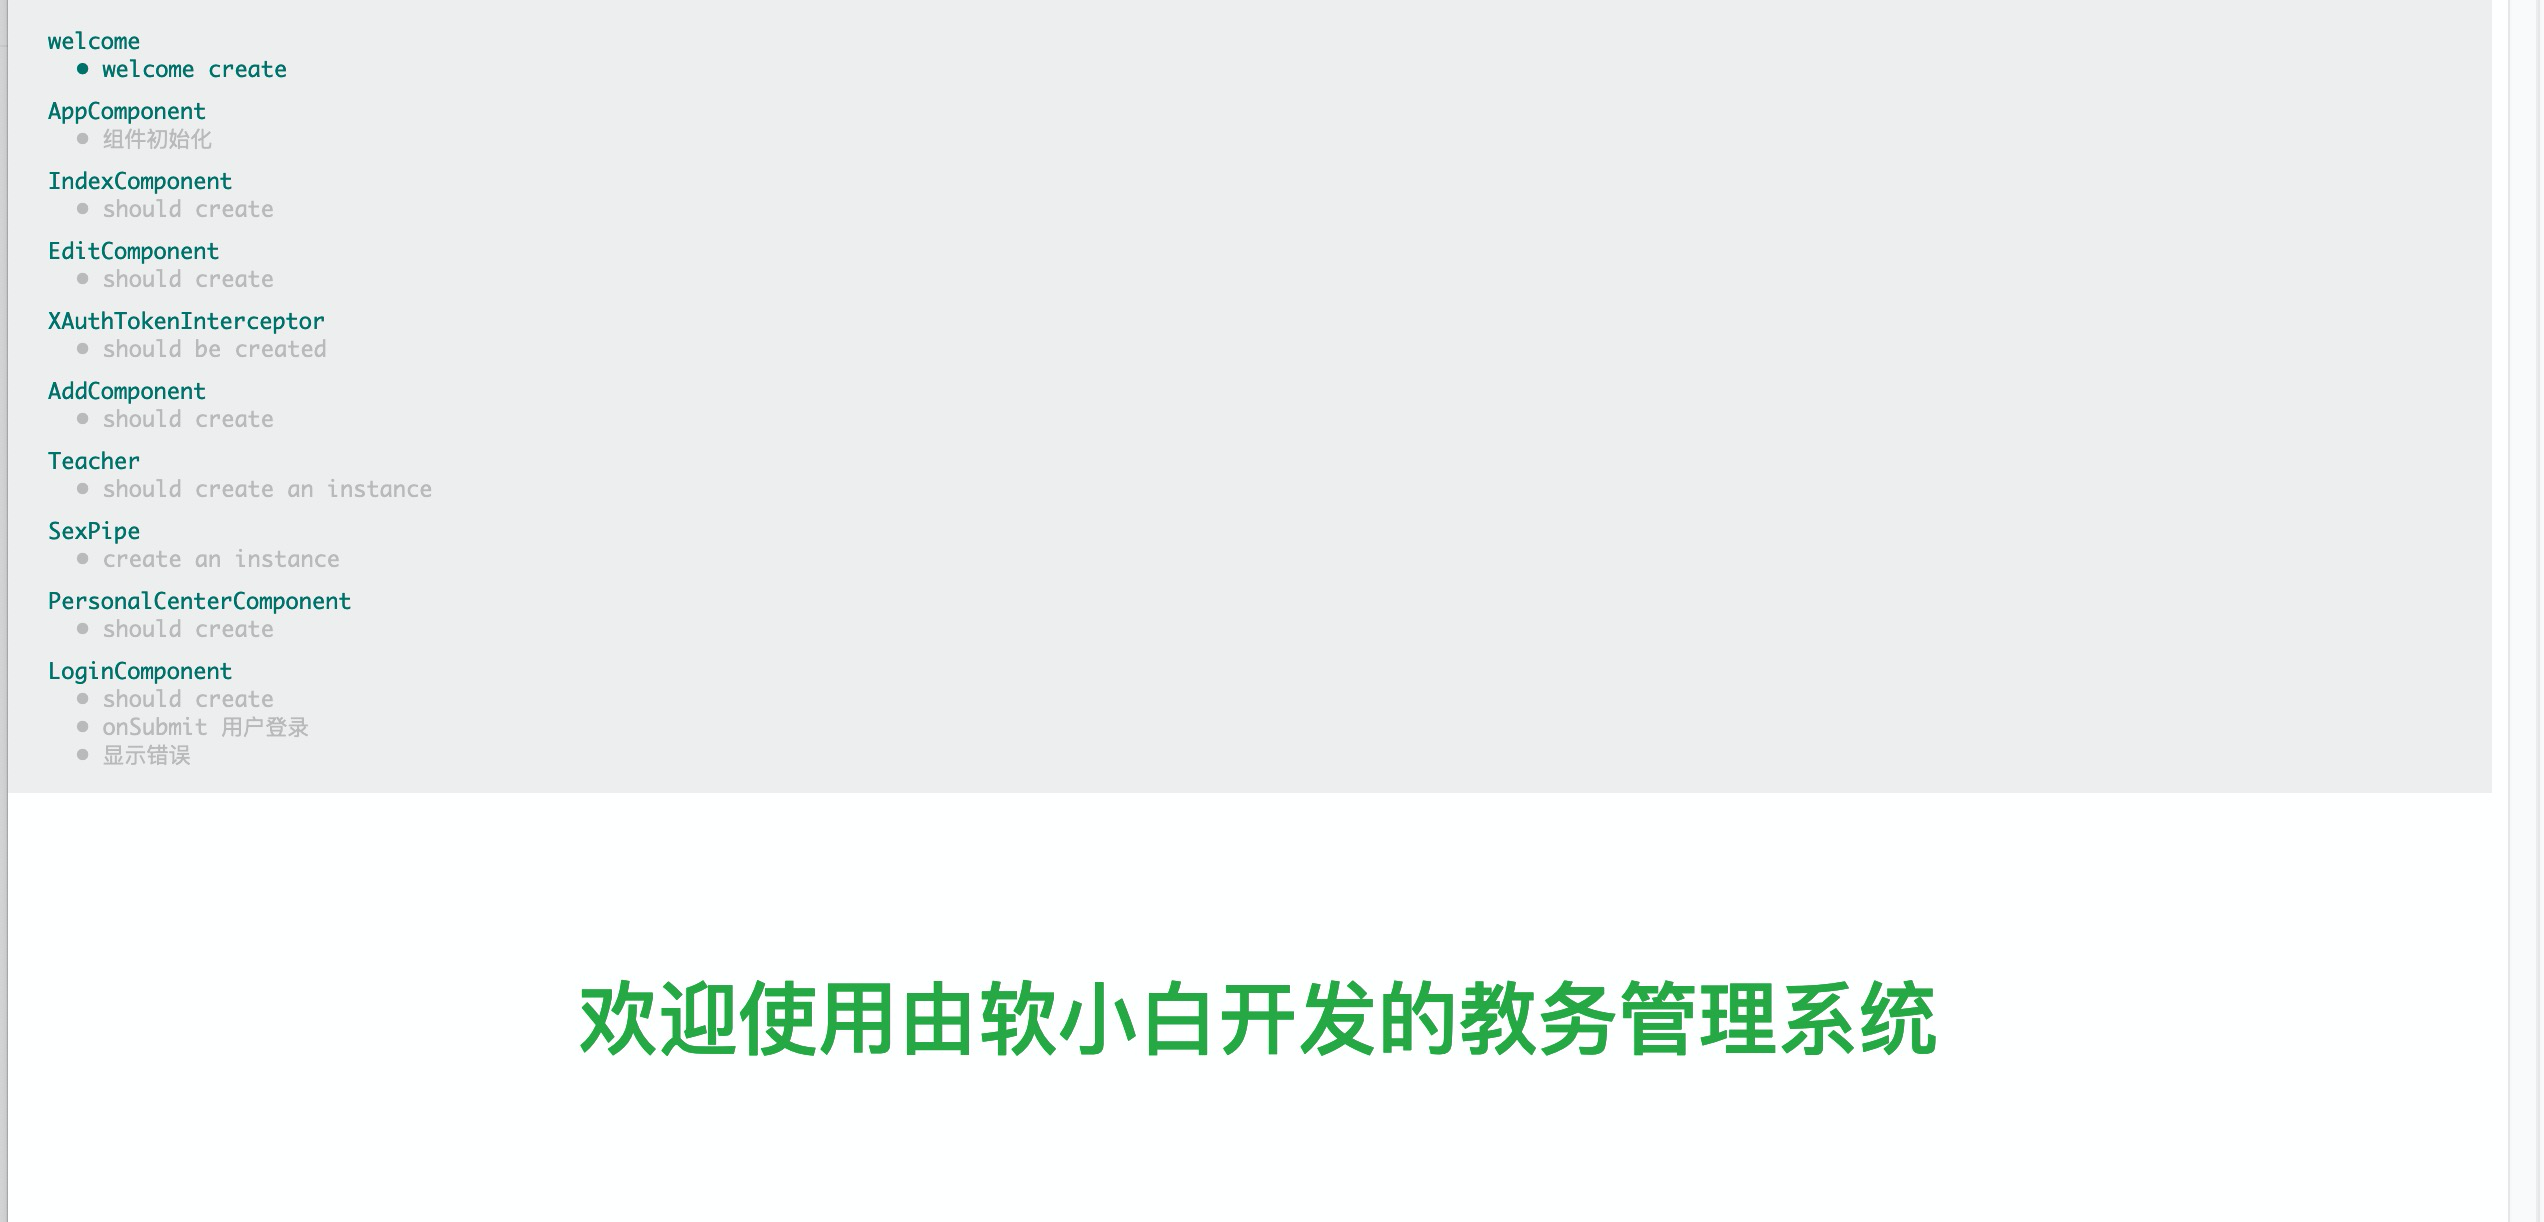
测试结果如下:

而至于使用angular cli自动创建的测试文件为什么与我们手写的不同,待后面有机会再共同学习。
## 完善组件
最后,我们为欢迎文字添加点颜色,并为其添加一个上边距,删除相关冗余的注释:
```typescript
+++ b/first-app/src/app/welcome.component.ts
@@ -4,12 +4,9 @@ import {Component} from '@angular/core';
// 使用注解来标明它是一个组件
@Component({
selector: 'app-welcome',
- template: `<h1 class="text-center">欢迎使用由软小白开发的教务管理系统</h1>`
+ template: `<h1 class="text-center text-success mt-5 pt-5">
+ 欢迎使用由软小白开发的教务管理系统</h1>`
})
export class WelcomeComponent {
}
-// 将组件加入模块
-// 为组件设置一个selector,以使得其它组件能够使用它
-// 为组件设置V层模板
-// 新建个测试文件来测试组件
```
| 名称 | 地址 |
| --------------- | ------------------------------------------------------------ |
| Angular组件概述 | [https://angular.cn/guide/component-overview#creating-a-component-manually](https://angular.cn/guide/component-overview#creating-a-component-manually) |
| TestBed | [https://angular.cn/api/core/testing/TestBed](https://angular.cn/api/core/testing/TestBed) |
| 本节源码 | [https://github.com/mengyunzhi/angular11-guild/archive/step5.2.zip](https://github.com/mengyunzhi/angular11-guild/archive/step5.2.zip) |
- 序言
- 第一章 Hello World
- 1.1 环境安装
- 1.2 Hello Angular
- 1.3 Hello World!
- 第二章 教师管理
- 2.1 教师列表
- 2.1.1 初始化原型
- 2.1.2 组件生命周期之初始化
- 2.1.3 ngFor
- 2.1.4 ngIf、ngTemplate
- 2.1.5 引用 Bootstrap
- 2.2 请求后台数据
- 2.2.1 HttpClient
- 2.2.2 请求数据
- 2.2.3 模块与依赖注入
- 2.2.4 异步与回调函数
- 2.2.5 集成测试
- 2.2.6 本章小节
- 2.3 新增教师
- 2.3.1 组件初始化
- 2.3.2 [(ngModel)]
- 2.3.3 对接后台
- 2.3.4 路由
- 2.4 编辑教师
- 2.4.1 组件初始化
- 2.4.2 获取路由参数
- 2.4.3 插值与模板表达式
- 2.4.4 初识泛型
- 2.4.5 更新教师
- 2.4.6 测试中的路由
- 2.5 删除教师
- 2.6 收尾工作
- 2.6.1 RouterLink
- 2.6.2 fontawesome图标库
- 2.6.3 firefox
- 2.7 总结
- 第三章 用户登录
- 3.1 初识单元测试
- 3.2 http概述
- 3.3 Basic access authentication
- 3.4 着陆组件
- 3.5 @Output
- 3.6 TypeScript 类
- 3.7 浏览器缓存
- 3.8 总结
- 第四章 个人中心
- 4.1 原型
- 4.2 管道
- 4.3 对接后台
- 4.4 x-auth-token认证
- 4.5 拦截器
- 4.6 小结
- 第五章 系统菜单
- 5.1 延迟及测试
- 5.2 手动创建组件
- 5.3 隐藏测试信息
- 5.4 规划路由
- 5.5 定义菜单
- 5.6 注销
- 5.7 小结
- 第六章 班级管理
- 6.1 新增班级
- 6.1.1 组件初始化
- 6.1.2 MockApi 新建班级
- 6.1.3 ApiInterceptor
- 6.1.4 数据验证
- 6.1.5 教师选择列表
- 6.1.6 MockApi 教师列表
- 6.1.7 代码重构
- 6.1.8 小结
- 6.2 教师列表组件
- 6.2.1 初始化
- 6.2.2 响应式表单
- 6.2.3 getTestScheduler()
- 6.2.4 应用组件
- 6.2.5 小结
- 6.3 班级列表
- 6.3.1 原型设计
- 6.3.2 初始化分页
- 6.3.3 MockApi
- 6.3.4 静态分页
- 6.3.5 动态分页
- 6.3.6 @Input()
- 6.4 编辑班级
- 6.4.1 测试模块
- 6.4.2 响应式表单验证
- 6.4.3 @Input()
- 6.4.4 FormGroup
- 6.4.5 自定义FormControl
- 6.4.6 代码重构
- 6.4.7 小结
- 6.5 删除班级
- 6.6 集成测试
- 6.6.1 惰性加载
- 6.6.2 API拦截器
- 6.6.3 路由与跳转
- 6.6.4 ngStyle
- 6.7 初识Service
- 6.7.1 catchError
- 6.7.2 单例服务
- 6.7.3 单元测试
- 6.8 小结
- 第七章 学生管理
- 7.1 班级列表组件
- 7.2 新增学生
- 7.2.1 exports
- 7.2.2 自定义验证器
- 7.2.3 异步验证器
- 7.2.4 再识DI
- 7.2.5 属性型指令
- 7.2.6 完成功能
- 7.2.7 小结
- 7.3 单元测试进阶
- 7.4 学生列表
- 7.4.1 JSON对象与对象
- 7.4.2 单元测试
- 7.4.3 分页模块
- 7.4.4 子组件测试
- 7.4.5 重构分页
- 7.5 删除学生
- 7.5.1 第三方dialog
- 7.5.2 批量删除
- 7.5.3 面向对象
- 7.6 集成测试
- 7.7 编辑学生
- 7.7.1 初始化
- 7.7.2 自定义provider
- 7.7.3 更新学生
- 7.7.4 集成测试
- 7.7.5 可订阅的路由参数
- 7.7.6 小结
- 7.8 总结
- 第八章 其它
- 8.1 打包构建
- 8.2 发布部署
- 第九章 总结